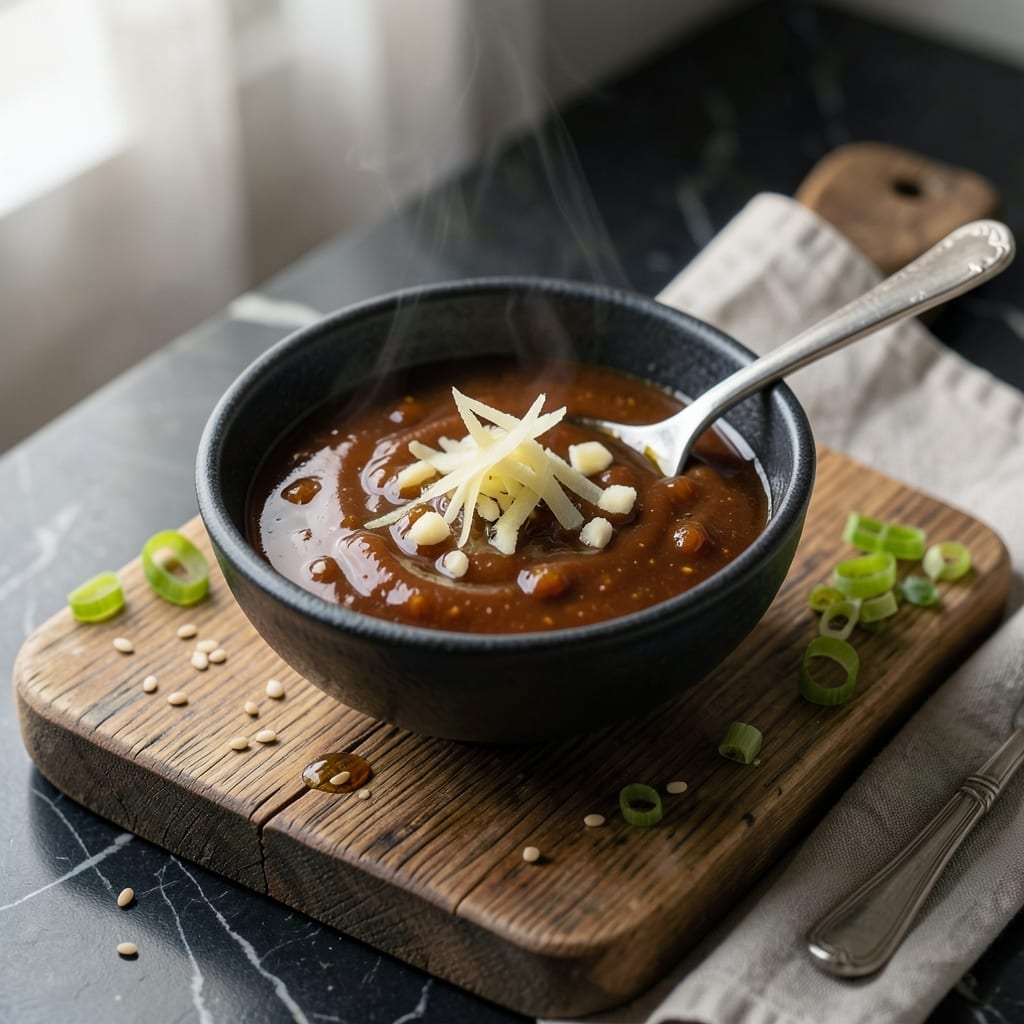
This teriyaki sauce achieves a glossy finish without cornstarch by using natural reduction techniques. The key is patience—simmering the mixture until it reaches the perfect consistency.
You’ll get a rich, savory glaze that clings beautifully to meats and vegetables, with no artificial thickeners needed. Store it in an airtight container for up to two weeks.
Ingredients for Teriyaki Sauce Recipe Without Cornstarch
Eight simple ingredients create a glossy, restaurant-worthy teriyaki without thickeners.
| Ingredient | Amount | Notes |
|---|---|---|
| Soy Sauce 🥢 | ¾ cup | Low-sodium preferred for balance |
| Mirin 🍶 | ½ cup | Sweet rice wine, essential for authenticity |
| Sake 🍶 | ¼ cup | Dry variety for depth |
| Brown Sugar 🟤 | ⅓ cup | Packed, light or dark |
| Fresh Ginger 🌿 | 1 tbsp | Grated, for zesty warmth |
| Garlic Cloves 🧄 | 3 cloves | Minced for aromatic base |
| Rice Vinegar 💧 | 2 tbsp | Balances sweetness with tang |
| Sesame Oil 🫒 | 1 tsp | Toasted, for nutty finish |
[recipe_ingredient_scaler]
The soy sauce is your foundation—Kikkoman or Yamasa are reliable brands you’ll find at any grocery store (even the corner bodega usually stocks them). Mirin and sake are in the Asian aisle, but if your store’s selection is sad, Amazon or an Asian market will have better options. Look for mirin labeled as hon-mirin if you want the real deal, though the cheaper versions work fine for this.
No mirin? 1 tbsp sugar + 2 tbsp water + 1 tbsp rice vinegar per 0.25 cup does the trick. Out of sake? Dry sherry or white wine in a pinch. Brown sugar can be swapped for honey or maple syrup (the flavor profile shifts slightly but still tastes great). The ginger and garlic are non-negotiable though—they’re what give this that bright, complex finish.
This keeps for 2 weeks in the fridge, but it’ll probably be gone long before then. Freeze extras in ice cube trays for 3 months—perfect for quick stir-fries. The flavor deepens after a day, so make it ahead if you can (worth the wait).
Why You’ll Love This Recipe
- 5-Minute Simmer: I just dump everything in a pan and let the soy, mirin, and brown sugar work their magic while I prep the rest of dinner.
- Deep Umami Bomb: The sake and fresh ginger give it that rich, restaurant-quality depth without any weird thickeners.
- Marinade to Meal: I use it on chicken one night, then toss the leftovers with noodles the next—no extra cooking, just flavor.
- Pantry Staples Only: Honestly, I always have these ingredients on hand, so I can make this sauce whenever a craving hits.
Step-by-Step Instructions for Teriyaki Sauce Without Cornstarch
Here’s the method I use to create a naturally thick, glossy sauce with no artificial thickeners.
Step 1: Combine and Dissolve the Base Ingredients
In a medium saucepan, combine the 0.75 cup Soy Sauce, 0.5 cup Mirin, 0.25 cup Sake, and 0.33 cup Brown Sugar. I like to add them in this order to prevent the sugar from sticking to the bottom before the liquids can dissolve it.
Heat over medium-low heat and stir constantly with a silicone spatula for 2-3 minutes until the brown sugar fully dissolves. You’ll see the mixture turn from cloudy to a deep amber color and the sugar granules will disappear completely. This gentle heat prevents burning and ensures even dissolution.
Step 2: Infuse with Aromatics
Add the 1 tbsp Fresh Ginger (grated) and 3 cloves Garlic Cloves (minced) to the saucepan. Stir well to distribute these aromatics throughout the liquid. The mixture will become incredibly fragrant within seconds.
Cook for 1-2 minutes until the raw edge of the garlic mellows but before it begins to brown. Here’s the thing—burnt garlic turns bitter and ruins the sauce, so keep the heat moderate and stir constantly. You want the aromatics to infuse their flavors without coloring.
Step 3: Build Depth with Acid
Pour in the 2 tbsp Rice Vinegar and stir to combine. This might seem counterintuitive after adding all that sugar, but the vinegar is essential—it cuts through the sweetness and adds the signature tang that balances teriyaki.
Bring the mixture to a gentle simmer over medium heat. You’ll notice small bubbles forming at the edges first, then spreading across the surface. This is your signal that the sauce is ready for the next step.
Step 4: Reduce to Natural Thickness
Once simmering, reduce the heat to medium-low and let the sauce cook undisturbed for 8-10 minutes. As the liquid reduces, it will naturally thicken due to the sugar content in the mirin and brown sugar—no cornstarch needed.
Watch for the sauce to develop a glossy sheen and coat the back of a spoon. When you run a finger through the sauce on the spoon, it should leave a clear path that holds for a second before slowly filling in. This visual test tells you it’s reached the perfect consistency.
Step 5: Finish with Sesame Oil
Remove the saucepan from heat and let it cool for 1 minute to stop the cooking process. Stir in the 1 tsp Sesame Oil—this adds that distinctive nutty aroma that makes teriyaki sauce so recognizable.
Taste and adjust the seasoning if needed, though I find this balance perfect as is. The sauce will continue to thicken slightly as it cools to room temperature. Use it immediately for glazing, or store in an airtight container in the refrigerator for up to 2 weeks.
Pro Tips For Making Teriyaki Sauce Recipe Without Cornstarch
- Reduce Slowly: Simmer the sauce on medium-low heat for 10-12 minutes—rushing it with high heat burns the sugar and makes it bitter. I learned this the hard way after ruining two batches.
- Grate the Ginger: Use a microplane for the fresh ginger to get every bit of juice and flavor. Sounds fussy, but it actually changes the outcome.
- Skip the Boiling: Never let it reach a rolling boil or the brown sugar will caramelize too fast and turn grainy. Keep it at a gentle bubble.
- Balance First: Taste before reducing—if the soy overpowers, add a teaspoon more brown sugar. My grandmother swore by this, and she was right.
Dietary Considerations for This Recipe
Keto-Friendly Options
For a keto-friendly teriyaki sauce, replace sugar with a low-carb sweetener like erythritol or monk fruit. Use coconut aminos instead of soy sauce to reduce carbs further. Xanthan gum can thicken the sauce naturally without cornstarch.
Gluten-Free
To make this recipe gluten-free, swap regular soy sauce for tamari or coconut aminos. Ensure all other ingredients, like vinegar and sweeteners, are certified gluten-free to avoid cross-contamination.
Allergens
This recipe is naturally free of dairy, eggs, and nuts. However, soy sauce contains soy, a common allergen. For a soy-free version, use coconut aminos or a soy-free alternative. Always check labels for hidden allergens.
Vegetarian Modifications
This teriyaki sauce is already vegetarian, but for a vegan version, ensure your sweetener (like honey) is plant-based. Maple syrup or agave work well as substitutes.
Low-Sodium
Reduce sodium by using low-sodium soy sauce or coconut aminos. Boost flavor with fresh garlic, ginger, or a splash of citrus instead of extra salt. This keeps the sauce tasty without the excess sodium.
Nutrition Facts

Trained in classic French technique but raised on slow-cooked ribs and spicy rubs, she blends culinary skill with smoke and soul.
- Recipe for Boneless Pork Chops in Cast Iron Skillet: Sear and Baste to Juicy Perfection - October 3, 2026
- Recipe for Boneless Cross Rib Roast: Slow-Roasted Beef with Herb Crust - October 3, 2026
- Hamburgers in Sauce Recipe Crock Pot: Slow-Cooked Savory Delight - October 3, 2026