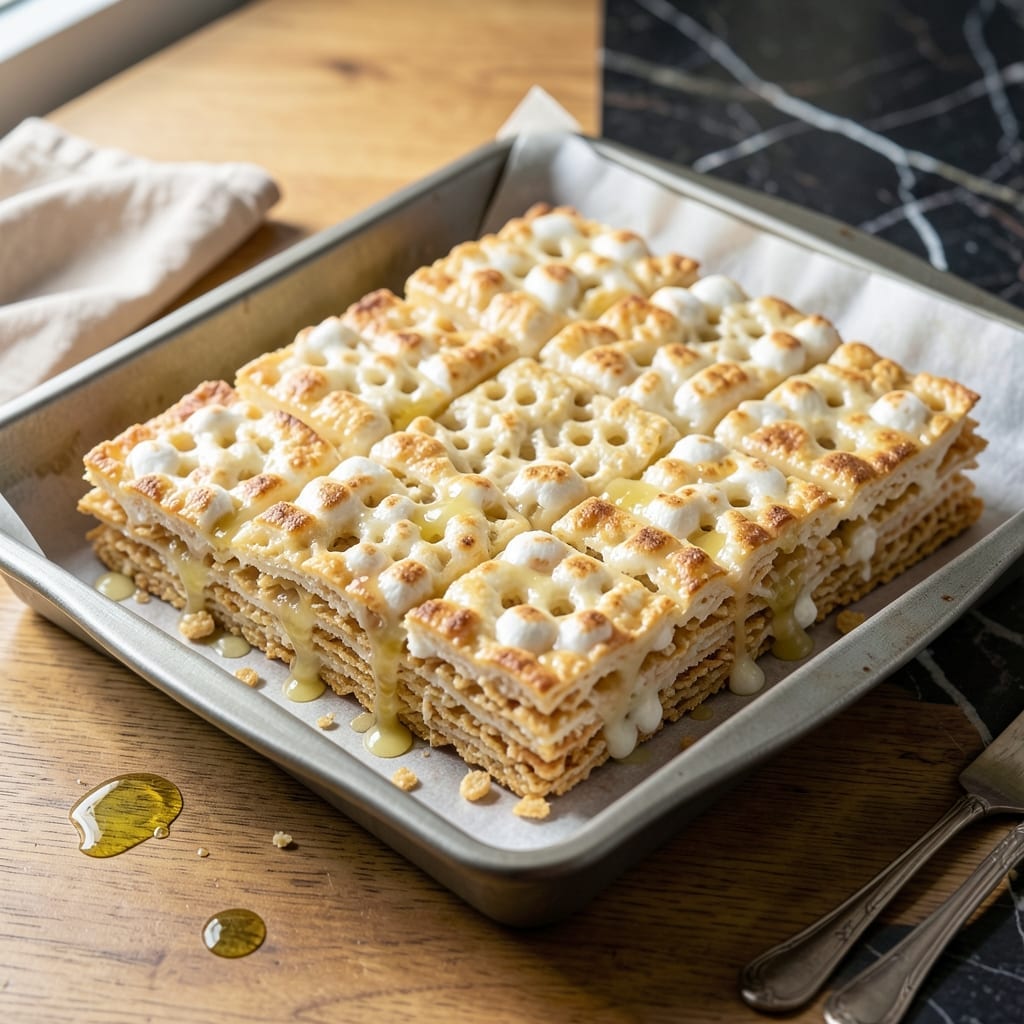
This recipe delivers the perfect balance of crispy and chewy in every square. The secret lies in precise melting and mixing techniques.
With just a handful of pantry staples, you’ll create treats that rival any bakery’s. The texture is what sets this version apart.
Ingredients for The Best Rice Krispie
Six ingredients transform into crispy-chewy perfection. Simple, fast, and foolproof.
| Ingredient | Amount | Notes |
|---|---|---|
| Rice Krispies Cereal 🥣 | 6 cups | Fresh, uncrushed for texture |
| Mini Marshmallows ⚪ | 10 oz | Fresh for best melt |
| Unsalted Butter 🧈 | 3 tbsp | For rich, smooth binding |
| Vanilla Extract 💧 | 1 tsp | Pure for best flavor |
| Salt 🧂 | ¼ tsp | Fine grain for balance |
| Light Corn Syrup 💛 | 1 tbsp | Optional for extra chew |
[recipe_ingredient_scaler]
The marshmallows are the heart of this. Jet-Puffed or Kraft melt the smoothest—avoid off-brands that get grainy. Rice Krispies should be fresh from the box; stale cereal won’t give that signature snap. Unsalted butter lets you control the salt, but if you only have salted, skip the added salt. Land O’Lakes or Kerrygold are my go-to brands for consistent results.
No mini marshmallows? 16 large marshmallows work fine—just cut the melting time slightly. Want a deeper flavor? Swap 1 tsp vanilla bean paste for the extract. Out of corn syrup? Honey or maple syrup adds a nice twist (though honey isn’t vegetarian for strict diets). The cereal can be generic, but name-brand holds its crunch better.
These keep 3-4 days at room temperature in an airtight container. Press plastic wrap directly on the surface to prevent drying out. For longer storage, freeze for up to 6 weeks—thaw 10 minutes before serving.
Why You’ll Love This Recipe
- One Pot Wonder: I melt the butter, toss in marshmallows, and stir in cereal—no extra bowls, no fuss.
- Vanilla Magic: That splash of vanilla makes them taste like a bakery treat, not just kid snack time.
- Party Ready: Honestly, they disappear faster than I can cut them at potlucks.
- Budget Hero: A box of cereal and marshmallows feeds a crowd for under ten bucks.
Step-by-Step Instructions for Rice Krispie Treats
This method ensures perfectly gooey, crisp-edged squares with minimal effort.
Step 1: Prepare the Pan and Measure Ingredients
Lightly grease an 8×8-inch baking pan with nonstick spray or butter, then line it with parchment paper, leaving an overhang on two sides for easy removal. This prevents the treats from sticking and makes cutting cleaner.
Measure out all the ingredients: the 6 cups Rice Krispies Cereal, 10 oz Mini Marshmallows, 3 tbsp Unsalted Butter, 1 tsp Vanilla Extract, 0.25 tsp Salt, and 1 tbsp Light Corn Syrup. Having everything ready ensures a smooth process once the melting begins.
Step 2: Melt the Butter and Marshmallows
In a large pot, melt the 3 tbsp Unsalted Butter over low heat. Add the 10 oz Mini Marshmallows and stir constantly with a silicone spatula or wooden spoon until completely melted and smooth.
Once the marshmallows are fully melted, stir in the 1 tsp Vanilla Extract, 0.25 tsp Salt, and 1 tbsp Light Corn Syrup. The mixture should be glossy and fragrant. Remove from heat immediately to prevent scorching—overheating can make the marshmallows tough and grainy.
Step 3: Mix in the Rice Krispies Cereal
Working quickly, add the 6 cups Rice Krispies Cereal to the melted marshmallow mixture. Use the spatula to fold everything together gently but thoroughly, ensuring every piece of cereal is evenly coated. Avoid pressing down too hard, which can crush the cereal and make the treats dense.
The mixture should look uniformly sticky with no dry cereal pieces visible. If it seems too stiff, return the pot to low heat for 10-15 seconds to soften the marshmallow mixture slightly, then stir again until fully combined.
Step 4: Press and Shape the Treats
Transfer the mixture to the prepared pan. Using the spatula or lightly greased hands, press it evenly into the pan. Press just enough to compact the mixture—too much pressure will make the treats hard instead of light and crisp.
Focus on the corners and edges to ensure they’re well-filled, as these areas can be tricky. The surface should be smooth and level. Let the treats cool at room temperature for 30-45 minutes until firm enough to cut but still slightly tacky to the touch.
Step 5: Cut and Serve
Once set, use the parchment paper overhang to lift the entire slab out of the pan. Place it on a cutting board and cut into squares using a sharp knife. Wipe the knife clean between cuts for neat edges.
For the best texture, serve the same day they’re made. Store any leftovers in an airtight container at room temperature for up to 2 days, though they’re best enjoyed fresh when the marshmallow is still at its gooiest.
Pro Tips For Making The Best Rice Krispie
- Melt Butter Low: Keep your butter on low heat when melting—high heat will brown it too fast and make your treats taste burnt. I learned this the hard way after ruining a batch with over-enthusiastic stirring.
- Use Fresh Marshmallows: Skip the stale mini marshmallows; they won’t melt as smoothly. Fresh ones give that perfect gooey texture that holds the cereal together just right.
- Press While Warm: Don’t wait for the mixture to cool before pressing it into the pan. Work fast while it’s still warm and sticky—it’ll set evenly and cut into clean squares.
- Add Vanilla Last: Stir in the vanilla extract after removing the marshmallow mixture from the heat. High heat can dull its flavor, and you want that rich vanilla taste to shine.
Flavor Customization for These Flavors
Chocolate Lovers
Add ½ cup semi-sweet chocolate chips to the melted marshmallow mixture. I prefer Ghirardelli for its smooth melt. Fold in with the cereal for even distribution. You can also drizzle melted chocolate over the top after pressing into the pan. 🔥
Peanut Butter Twist
Stir in ½ cup creamy peanut butter with the melted marshmallows. Use Jif or Skippy for consistent texture. For extra crunch, sprinkle ¼ cup chopped peanuts over the top before pressing. This adds a rich, nutty depth.
Fruity Fun
Mix in ½ cup dried cranberries or raisins with the cereal. The tartness balances the sweetness beautifully. For a tropical twist, try ¼ cup shredded coconut and ¼ cup dried pineapple. Press gently to avoid crushing the fruit.
Spiced Pumpkin
Add 1 tsp pumpkin pie spice and ½ cup pumpkin puree to the marshmallow mixture. This creates a seasonal treat perfect for fall. Use Libby’s brand for the best texture. The spice adds warmth without overpowering.
Cereal Swap
Replace 2 cups Rice Krispies with 2 cups Cocoa Krispies for a chocolatey base. Or try Fruity Pebbles for a colorful, fruity variation. Each swap brings a unique texture and flavor profile to the classic recipe.
Salted Caramel
Drizzle 2 tbsp caramel sauce over the treats after pressing into the pan. Sprinkle with flaky sea salt before cutting. I love Smucker’s caramel for its smooth consistency. This adds a sophisticated sweet-salty contrast. ✨
Nutrition Facts
Frequently Asked Questions
What can I use instead of marshmallows?
Fluffernutter fans can substitute marshmallow fluff, but it’s less stable. Vegan marshmallows like Dandies work in a pinch. Avoid regular gelatin-based marshmallows for dietary restrictions.
Why are my treats hard instead of chewy?
Over-melting the marshmallows or pressing too hard causes density. Use low heat and a light touch when pressing. Fresh marshmallows melt smoother for ideal texture.
Can I make these ahead of time?
Yes! They stay fresh for 2 days in an airtight container. For longer storage, freeze for up to 6 weeks. Thaw at room temperature for 10 minutes before serving.

Trained in classic French technique but raised on slow-cooked ribs and spicy rubs, she blends culinary skill with smoke and soul.
- Recipe for Boneless Pork Chops in Cast Iron Skillet: Sear and Baste to Juicy Perfection - October 3, 2026
- Recipe for Boneless Cross Rib Roast: Slow-Roasted Beef with Herb Crust - October 3, 2026
- Hamburgers in Sauce Recipe Crock Pot: Slow-Cooked Savory Delight - October 3, 2026