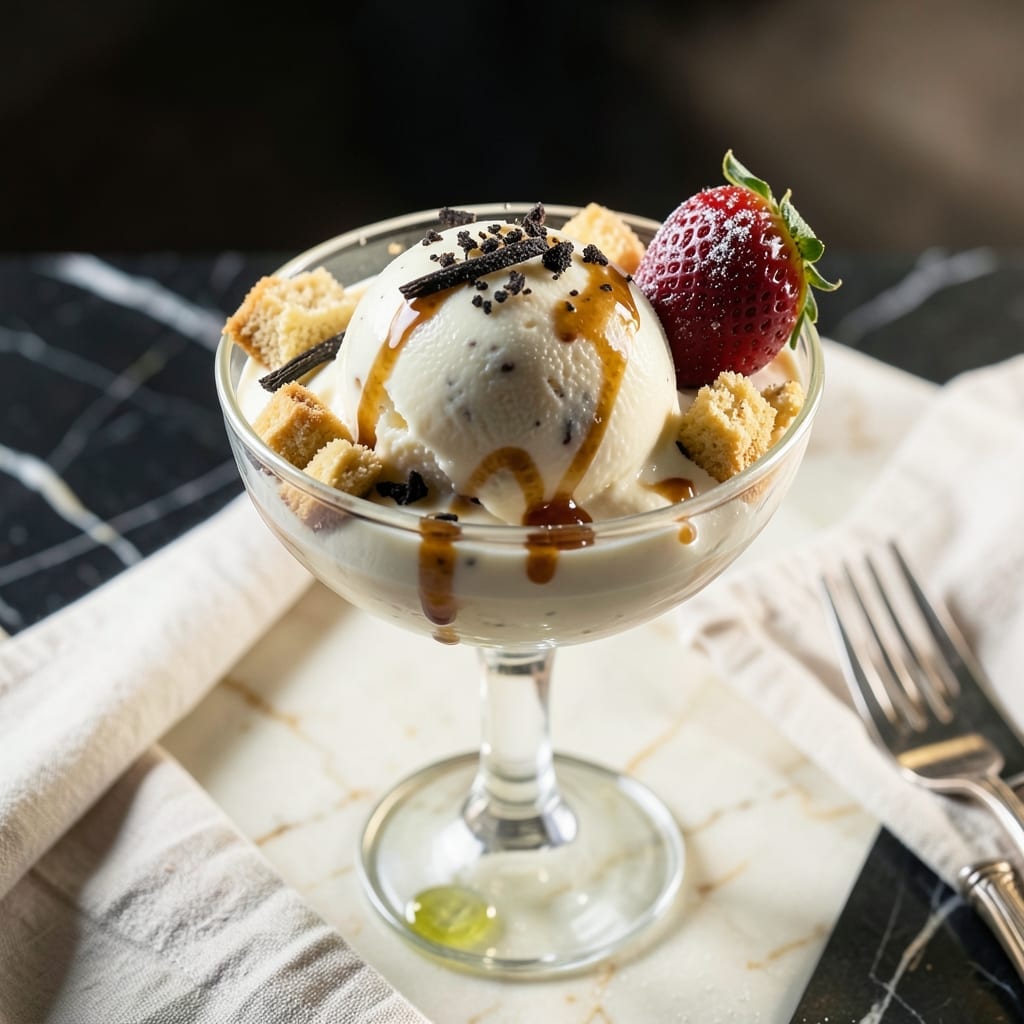
Crafting ultra creamy vanilla ice cream at home without a machine is simpler than you think. I developed this method after testing countless techniques in my own kitchen, focusing on achieving that perfect velvety texture without special equipment.
The secret lies in a strategic combination of heavy cream and whole milk, along with just the right amount of sugar and vanilla. This creates a base that freezes into a smooth, scoopable consistency without forming ice crystals.
What emerges from your freezer is a rich, creamy dessert with authentic vanilla flavor that rivals any churned version. The process requires minimal effort but delivers maximum satisfaction, proving that great ice cream doesn’t need complicated methods.
With just a few ingredients and some patience, you’ll have a homemade treat that’s worth every minute of the wait. This is ice cream making at its most accessible.
Ingredients for Vanilla Ice Cream Recipe at Home Without Machine
A handful of rich ingredients create this ultra creamy freezer delight with no machine needed.
| Ingredient | Amount | Notes |
|---|---|---|
| Heavy Cream 🥛 | 2 cups | Full-fat for ultra creamy texture |
| Whole Milk 🥛 | 1 cup | Cold, fresh preferred |
| Granulated Sugar 🍚 | ¾ cup | Fine grain for smooth dissolving |
| Pure Vanilla Extract 🌿 | 2 tsp | High-quality for best flavor |
| Table Salt 🧂 | ¼ tsp | Enhances vanilla flavor |
| Large Egg Yolks 🥚 | 4 whole | Room temperature for emulsification |
| Vanilla Bean 🌿 | 1 whole | Split and scraped, optional |
| Pure Vanilla Bean Paste 🌿 | 1 tbsp | Alternative to extract |
[recipe_ingredient_scaler]
The heavy cream is non-negotiable here—look for the highest fat content you can find (40% is ideal). I grab mine from Whole Foods or Trader Joe’s since they always have fresh stock. Whole milk adds the perfect balance without thinning the base. For the vanilla, Nielsen-Massey or Rodelle extracts are worth the splurge (you’ll taste the difference). Egg yolks at room temp blend smoother—set them out 30 minutes before starting.
No vanilla bean? Double the extract works fine. Want to skip raw eggs? Use pasteurized eggs or 1/4 cup sweetened condensed milk instead of yolks. The sugar can be swapped for superfine sugar if you want extra smoothness. For a richer version, replace half the milk with evaporated milk. Just don’t use low-fat dairy—this needs the full fat to work.
The base keeps in the fridge for 24 hours if you need to pause. Once frozen, it’s best within 2 weeks (though it’ll disappear faster). Store in an airtight container with parchment pressed against the surface to prevent ice crystals.
Why You’ll Love This Recipe
- I’ll be real: it keeps for days, but it never lasts that long in my freezer
- No Churn Needed: I just whisk the cream, milk, and sugar, then freeze—no fancy gadgets, no fuss
- Rich Vanilla Punch: The real vanilla extract shines through, no artificial aftertaste, just pure creamy sweetness
- Endless Toppings: Honestly, it’s a blank canvas for fruit, syrup, or crushed cookies—my kids pick their own every time
Step-by-Step Instructions for Vanilla Ice Cream
Here’s my no-fail method for ultra creamy ice cream that needs no special equipment.
Step 1: Infuse the Cream with Vanilla Flavor
In a medium saucepan, combine the 2 cups Heavy Cream and 1 cup Whole Milk. If using the 1 whole Vanilla Bean, split it lengthwise, scrape out the seeds, and add both seeds and pod to the pan. Warm over medium heat until small bubbles form at the edges—this should take about 5 minutes.
Remove from heat, cover, and let steep for 15 minutes to allow the vanilla to infuse. This step builds deep, authentic vanilla flavor that’s worth the wait. If you’re using the 1 tbsp Pure Vanilla Bean Paste instead, you can skip the steeping and add it directly to the warmed cream.
Step 2: Whisk Egg Yolks with Sugar
While the cream infuses, whisk together the 4 whole Large Egg Yolks and 0.75 cup Granulated Sugar in a bowl until the mixture turns pale yellow and thickens slightly. This should take about 2-3 minutes of vigorous whisking by hand.
I always use room temperature yolks—they emulsify better with the sugar. The mixture should look ribbon-like when it falls from the whisk. This creates the base for your custard that will make the ice cream luxuriously smooth.
Step 3: Temper and Cook the Custard Base
Slowly pour about 1 cup of the warm cream mixture into the egg yolk mixture while whisking constantly. This tempering step prevents the eggs from scrambling. Once combined, pour everything back into the saucepan.
Cook over medium-low heat, stirring constantly with a wooden spoon, until the mixture thickens enough to coat the back of the spoon—about 8-10 minutes. Remove from heat and stir in the 0.25 tsp Table Salt and 2 tsp Pure Vanilla Extract. Strain through a fine-mesh sieve into a clean bowl to remove any cooked bits.
Step 4: Chill Thoroughly Before Freezing
Let the custard cool to room temperature, stirring occasionally to release heat. Then cover and refrigerate for at least 4 hours or preferably overnight. This chilling step is crucial—it allows the flavors to meld and ensures a smooth texture.
I like to press plastic wrap directly onto the surface of the custard to prevent a skin from forming. The mixture should be very cold before you begin the freezing process, which makes all the difference in your final texture.
Step 5: Freeze and Stir for Creamy Texture
Pour the chilled custard into a shallow freezer-safe container. Freeze for 1 hour, then vigorously whisk the mixture with a fork to break up any ice crystals. Return to the freezer and repeat this whisking process every 30 minutes for the next 2-3 hours.
This manual churning distributes the fat molecules and prevents large ice crystals from forming, giving you that coveted creamy texture. The ice cream is ready when it’s thick and smooth, with no liquid remaining. Serve immediately for soft-serve consistency or freeze for 2 more hours for firmer scoops.
Pro Tips For Making Vanilla Ice Cream Recipe At Home Without Machine
- Chill the Base: Let the cream-sugar mixture cool completely in the fridge—about 4 hours—before churning by hand. I learned this the hard way after my first batch turned into icy soup because I rushed it.
- Use Full-Fat Dairy: Skip the low-fat milk or half-and-half; whole milk and heavy cream are non-negotiable here for that creamy texture you actually want.
- Whisk Vigorously: When combining the sugar with the cream and milk, whisk for at least 2-3 minutes until the sugar fully dissolves—no grainy bites in your final scoop.
- Add Vanilla Last: Stir in the vanilla extract only after the base has cooled slightly, around 10 minutes off the heat. High heat can mute its flavor, and you want every drop to shine.
Essential Equipment for This Recipe
Must-Have Tools
You only need a few key items to make this work. A medium saucepan with a heavy bottom prevents scorching the dairy. I use my All-Clad 3-quart for even heat distribution. A fine-mesh sieve is non-negotiable for straining the custard smooth. 💪
Mixing Essentials
A whisk and mixing bowls are your best friends here. I prefer a balloon whisk for the egg yolks—it aerates better. Use a heatproof spatula for folding and scraping every bit of custard from the pan. These tools make the process seamless.
Freezing Setup
An airtight freezer-safe container is crucial for storage. I love glass loaf pans because they conduct cold evenly. A shallow container (like 8×8-inch) freezes faster and makes stirring easier during the manual churning process.
Temperature Control
An instant-read thermometer ensures your custard reaches 170-175°F without curdling. I use a ThermoWorks Thermapen for accuracy. This small investment prevents the most common ice cream-making mistakes.
Optional Upgrades
A hand mixer speeds up the whisking steps significantly. For the freezing stage, a fork works but a handheld immersion blender breaks up ice crystals even better. These aren’t required but make the process more efficient. ✨
Pantry Staples
Beyond equipment, ensure you have plastic wrap for covering the custard as it chills. A wooden spoon is ideal for stirring the custard while cooking. These everyday items are likely already in your kitchen.
Nutrition Facts
Frequently Asked Questions
Why do I need to temper the eggs?
Tempering gradually raises the eggs’ temperature to prevent scrambling when mixed with hot cream. This creates a smooth custard base essential for creamy texture. Skip this and you risk sweet scrambled eggs in your dessert.
Can I use half-and-half instead of cream and milk?
Yes, but use 3 cups half-and-half plus 1 cup heavy cream to maintain richness. The higher fat content in this combo mimics the original recipe’s texture. Avoid low-fat versions for best results.
How do I prevent ice crystals from forming?
Vigorously whisk every 30 minutes during freezing to break up crystals. Press plastic wrap directly on the custard surface before chilling. These steps ensure a silky smooth finish.
What if my custard curdles while cooking?
Immediately remove from heat and whisk vigorously. If lumps remain, strain through a fine-mesh sieve. Next time, cook over lower heat and stir constantly to prevent overheating.

Trained in classic French technique but raised on slow-cooked ribs and spicy rubs, she blends culinary skill with smoke and soul.
- Recipe for Boneless Pork Chops in Cast Iron Skillet: Sear and Baste to Juicy Perfection - October 3, 2026
- Recipe for Boneless Cross Rib Roast: Slow-Roasted Beef with Herb Crust - October 3, 2026
- Hamburgers in Sauce Recipe Crock Pot: Slow-Cooked Savory Delight - October 3, 2026