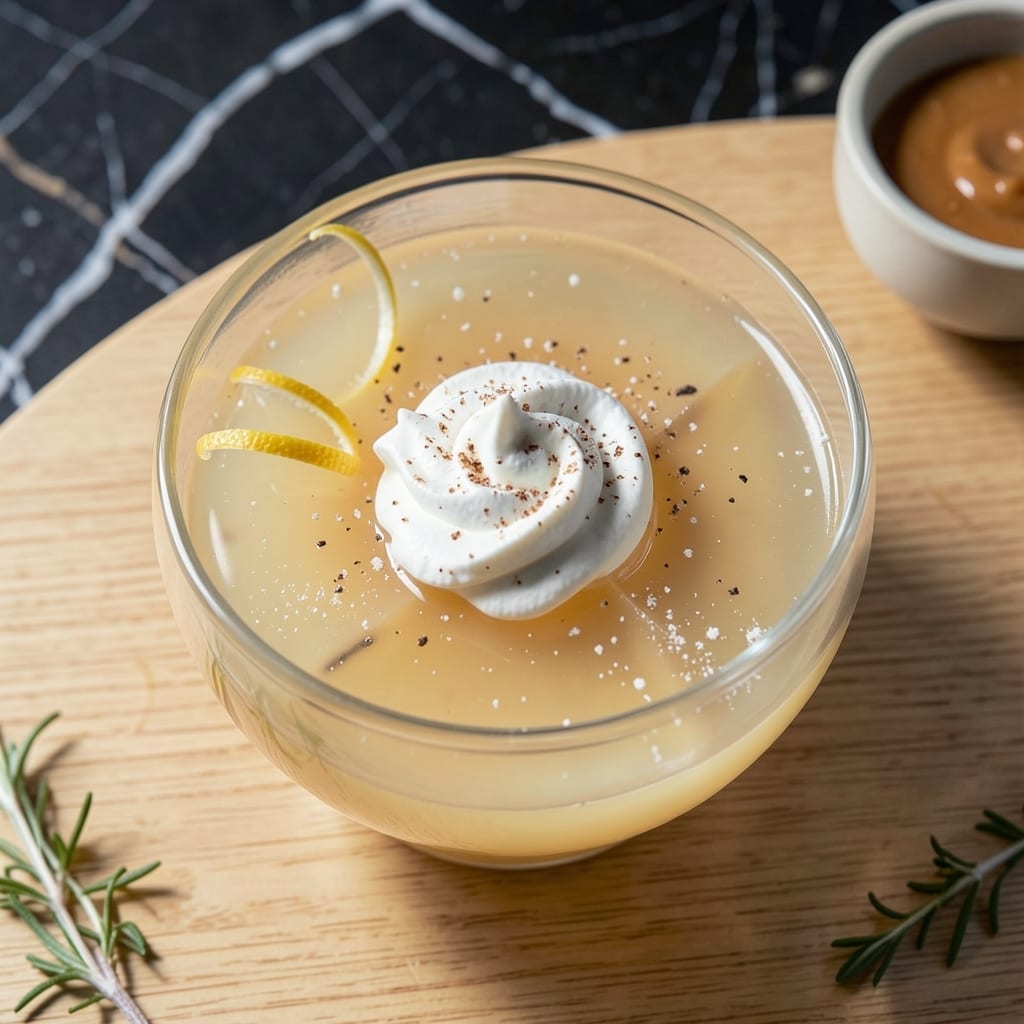
There’s something timeless about a well-made vanilla gelatin dessert that brings back childhood memories. This recipe delivers the classic wobble and smooth texture we all love.
With just a few simple ingredients and 2 hours of chilling time, you can create a dessert that’s as satisfying as it is nostalgic. The process is straightforward, requiring only boiling water and proper setting time.
The result is a perfectly set, smooth vanilla jello that holds its shape while maintaining that signature jiggle. Serve it plain or with fresh fruit for added flair.
This dish proves that sometimes the simplest recipes are the most rewarding. Here’s how to make it perfectly every time.
Ingredients for Vanilla Jello
Just a handful of ingredients for that nostalgic, jiggly vanilla goodness we all remember.
| Ingredient | Amount | Notes |
|---|---|---|
| Unflavored Gelatin 🍮 | 2 ½ tsp | Or 1 packet (0.25 oz each) |
| Granulated Sugar 🍚 | ⅓ cup | Adjust to taste preference |
| Pure Vanilla Extract 🌿 | 2 tsp | Real vanilla, not imitation |
| Boiling Water 💧 | 1 ½ cups | Freshly boiled for best set |
| Cold Water 💧 | 1 ½ cups | For dissolving gelatin |
| Heavy Cream 🥛 | ½ cup | Optional for creamier texture |
| Pinch of Salt 🧂 | 1 pinch | Enhances vanilla flavor |
| Fresh Strawberries 🍓 | 1 cup | Sliced, for serving (optional) |
| Fresh Blueberries 🫐 | 1 cup | For serving (optional) |
| Whipped Cream 🥣 | ½ cup | For topping (optional) |
[recipe_ingredient_scaler]
The gelatin is key here—Knox is the classic brand you’ll find at any grocery store. Use the unflavored kind (not Jell-O brand dessert mixes). The vanilla matters too: pure extract (like McCormick or Nielsen-Massey) beats imitation every time. If you’re adding cream, go for heavy whipping cream—it gives that velvety texture without curdling.
No cream? Skip it—this sets fine without. Out of vanilla extract? Vanilla bean paste works at the same ratio (and those little specks look fancy). For a dairy-free version, coconut milk replaces the cream nicely. The sugar can be reduced by half if you prefer less sweetness, but don’t omit it entirely—it helps with the texture.
Once set, this keeps covered in the fridge for 5 days. Avoid freezing (it’ll weep when thawed). If you’re adding fruit, wait until serving—acidic fruits like pineapple prevent proper setting. Leftovers? Just cover with plastic wrap directly on the surface.
Why You’ll Love This Recipe
- 5-Minute Magic: I just stir gelatin, sugar, and vanilla into hot water, then add cold—no baking, no fuss.
- Pure Vanilla Bliss: The real vanilla extract makes it taste like a creamy, wobbling dessert from a fancy bakery.
- Kid-Approved Treat: My little ones beg for this at parties, and I love that it’s just sugar, gelatin, and water.
- Penny-Pincher’s Dream: A box of gelatin and a splash of vanilla costs pennies and makes a whole batch.
Step-by-Step Instructions for Vanilla Jello
Here’s the classic method that delivers that perfect wiggly texture every time.
Step 1: Bloom the Gelatin Properly
Sprinkle the 2.5 tsp unflavored gelatin evenly over the surface of the 1.5 cups cold water in a heatproof bowl. This step is crucial—don’t stir yet. You’ll see the gelatin particles start to swell and look wrinkled as they absorb the liquid.
Let it sit undisturbed for 5-10 minutes until the mixture becomes thick and syrupy. I always set a timer because rushing this step results in weak jello that won’t set properly. The surface should look almost solid when it’s ready.
Step 2: Dissolve Sugar and Activate Gelatin
Pour the 1.5 cups boiling water over the bloomed gelatin mixture. Immediately add the 0.33 cup granulated sugar, 2 tsp pure vanilla extract, and pinch of salt. Stir vigorously with a whisk for 2-3 minutes until all gelatin and sugar granules are completely dissolved.
The liquid should be smooth and clear with no visible specks. If you see any undissolved gelatin floating on top, keep whisking—those little bits will create lumpy jello. The mixture will be thin at this stage but will thicken as it cools.
Step 3: Add Cream for Richness
Slowly pour in the 0.5 cup heavy cream while stirring gently to combine. This adds a luxurious creaminess to your jello that complements the vanilla beautifully. The mixture will turn a pale creamy color and look slightly opaque.
I’ve found that adding the cream after the gelatin has dissolved prevents it from curdling in the hot liquid. Stir just until fully incorporated—overmixing can introduce air bubbles that will create unsightly voids in your finished jello.
Step 4: Chill to Perfect Consistency
Pour the mixture into a glass or ceramic dish (I use an 8×8-inch pan for even setting). Refrigerate uncovered for 2-3 hours until completely set. You’ll know it’s ready when the surface is firm to the touch and doesn’t jiggle when you gently shake the dish.
For the classic wiggly texture, don’t move the dish during chilling. Any vibration can disrupt the setting process. If you’re in a hurry, you can place it in the freezer for 45-60 minutes, but watch closely to prevent freezing.
Step 5: Serve with Fresh Berries
Once fully set, cut into squares or use cookie cutters for fun shapes. Serve chilled with a dollop of 0.5 cup whipped cream and a scattering of 1 cup fresh strawberries and 1 cup fresh blueberries on top. The slight tartness of the berries balances the sweet vanilla perfectly.
This jello keeps well covered in the refrigerator for up to 5 days, though it’s best enjoyed within the first 48 hours when the texture is at its peak. The flavors actually deepen slightly after a day in the fridge.
Pro Tips For Making Vanilla Jello
- Bloom the Gelatin: Sprinkle the unflavored gelatin evenly over cold water and let it sit for 5-10 minutes—it should look spongy. I learned this the hard way after my first few batches had grainy texture from rushing this step.
- Use Real Vanilla: Skip the imitation stuff; a good pure vanilla extract actually changes the outcome. After burning three batches with weak flavor, I finally switched to the real thing and never looked back.
- Avoid Boiling Vanilla: Stir the vanilla extract into the hot water mixture after removing it from heat. Boiling it directly dulls the flavor and wastes good vanilla.
- Chill Properly: Refrigerate for at least 4 hours, uncovered first, then covered once set. My grandmother swore by this, and she was right: it prevents condensation from ruining the top layer.
Regional Styles of This vanilla jello
Midwest Church Potluck
In the Midwest, this dessert often appears at church potlucks with a twist. They add ½ cup mini marshmallows and ½ cup crushed pineapple (drained) to the mixture before chilling. The marshmallows float to the top, creating a decorative layer that kids love.
Southern Comfort Style
Down South, I’ve seen it transformed into a creamy vanilla panna cotta by replacing gelatin with agar-agar and adding 1 cup whole milk. The result is richer and holds up better in summer heat. Serve with peach slices for a true Southern touch.
West Coast Light
California bakers prefer a lighter version with coconut water instead of regular water and 1 tsp almond extract mixed with the vanilla. It’s refreshing and perfect for poolside gatherings. Top with kiwi or mango for extra flair.
New England Classic
In New England, they keep it traditional but elevate with Madagascar bourbon vanilla and serve in individual glass ramekins. A sprinkle of edible gold leaf makes it fancy for dinner parties. The vanilla flavor here is more pronounced.
Texas Bold
Everything’s bigger in Texas, including this dessert. They double the recipe, add 1 can sweetened condensed milk, and set it in a 9×13-inch pan. It’s cut into large squares and served with a side of vanilla ice cream. 💪
Nutrition Facts
Frequently Asked Questions
Can I use flavored gelatin instead of unflavored?
No, that would change the taste and texture. Stick with unflavored gelatin to keep the pure vanilla flavor. Flavored versions contain added sugars and colors that alter the result.
What happens if I don’t bloom the gelatin first?
Skipping the blooming step can create lumpy jello that doesn’t set properly. The 5-10 minutes of blooming ensures even dissolution for that smooth texture.
How can I make this dairy-free?
Replace the heavy cream with coconut milk for a dairy-free version. The process remains the same, and you’ll still get a creamy texture.
Why did my jello turn out rubbery?
Overmixing or using too much gelatin can cause a rubbery texture. Stick to the 2.5 tsp measurement and stir just until dissolved.

Trained in classic French technique but raised on slow-cooked ribs and spicy rubs, she blends culinary skill with smoke and soul.
- Recipe for Boneless Pork Chops in Cast Iron Skillet: Sear and Baste to Juicy Perfection - October 3, 2026
- Recipe for Boneless Cross Rib Roast: Slow-Roasted Beef with Herb Crust - October 3, 2026
- Hamburgers in Sauce Recipe Crock Pot: Slow-Cooked Savory Delight - October 3, 2026