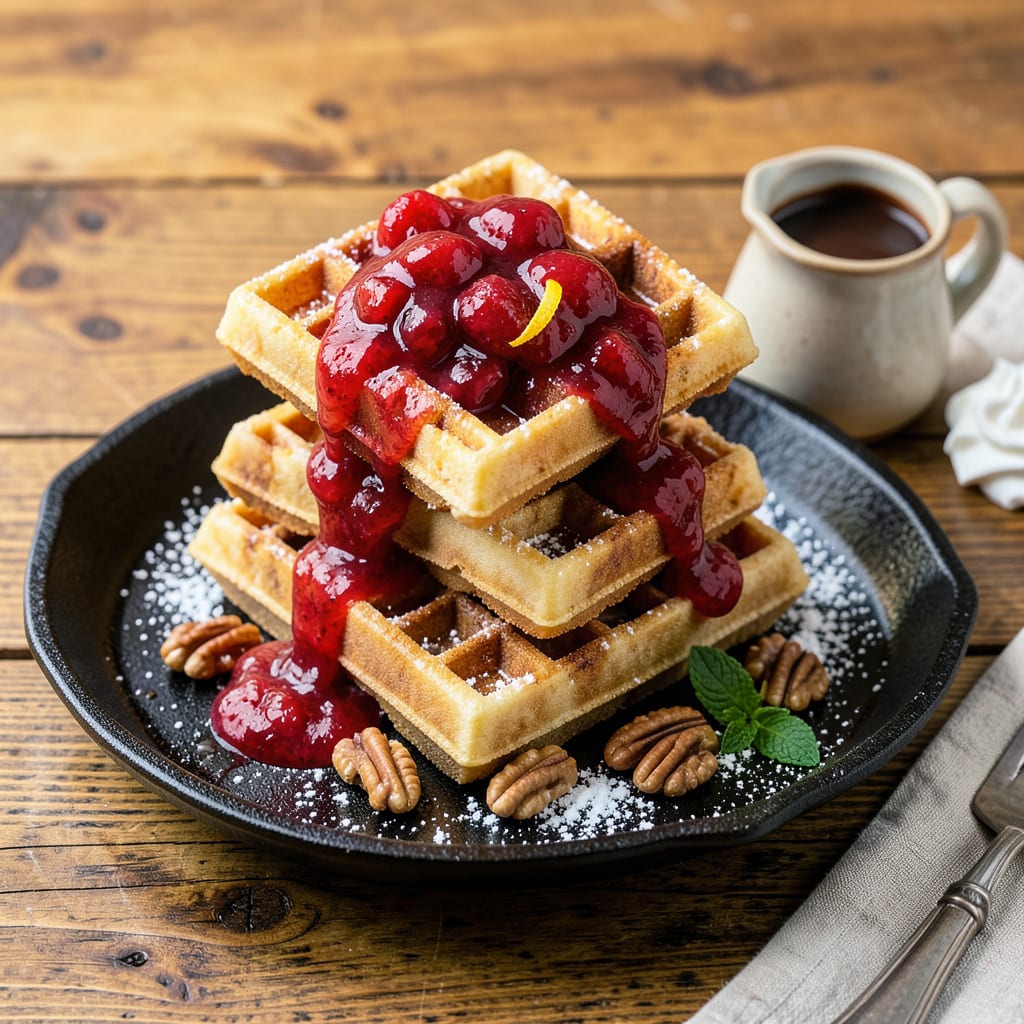
I’ll be real with you: making crispy waffles without a waffle maker seemed impossible until I cracked the stovetop method. The first time I flipped that golden grid pattern onto my plate, I knew this was a breakfast game-changer. No special equipment needed—just a pan and some clever technique.
This recipe transforms basic waffle batter into something magical using your everyday skillet. The secret lies in controlling the heat and using a simple grid pattern with the back of a knife. I’ve tested this method dozens of times, and it delivers that signature crispy exterior with fluffy centers every single time.
What you’ll get are authentic waffles with those coveted golden-brown edges and perfect square indentations—ideal for holding pools of syrup and butter. The aroma alone will have everyone gathering in the kitchen before the first waffle is done. And the best part? You can make these anytime, anywhere, with tools you already own.
Whether you’re craving a weekend brunch or need a quick breakfast fix, this method works. I’ve even made these camping with a cast iron skillet over a fire. Let’s get that batter ready and turn your stovetop into a waffle iron!
📚 In This Guide
- What You’ll Need
- Instructions
- Tips and Common Mistakes
What Youll Need
- ● Batter ingredients (makes 4-6 waffles): 1 ½ cups (190g) all-purpose flour
- ● 2 tsp baking powder
- ● ½ tsp salt
- ● 2 tbsp granulated sugar (or honey/maple syrup)
- ● 2 large eggs, separated
- ● 1 ¾ cups (420ml) milk (or dairy-free alternative)
- ● ½ cup (115g) melted butter (or coconut oil)
- ○ 1 tsp vanilla extract (optional but recommended!)
- ● Tools: 1 non-stick skillet (8-10 inches) or griddle pan (with lid)
- ● 1 whisk or fork (for batter)
- ● 1 mixing bowl (medium-sized)
- ● 1 ladle or ¼-cup measure (for pouring batter)
- ● 1 spatula (thin, flexible for flipping)
- ● Cooking spray or extra butter (for greasing)
- ○ Optional but handy: Waffle grid mold (silicone or metal, for shape)
- ● Electric griddle (for temperature control)
- ● Powdered sugar, syrup, or fresh fruit (for serving)
Instructions for Waffles Without a Waffle Maker
Making crispy waffles on your stovetop is easier than you think—here’s how to get perfect results every time.
Prepare Your Gridiron Pan
Start by selecting a heavy-bottomed skillet or griddle pan. I prefer cast iron because it holds heat beautifully and creates that coveted crispy exterior. Place the pan over medium heat and let it preheat for 5 minutes—you want it thoroughly heated before adding any batter.
Lightly brush the pan with neutral oil (like vegetable or canola) using a pastry brush. Make sure to coat the entire surface, including the ridges if using a grill pan. This creates that classic waffle pattern and prevents sticking. Don’t use too much oil—just enough to create a thin, even coating.
Create the Waffle Batter
While the pan heats, prepare your waffle batter. The key to crispy stovetop waffles is a slightly thicker batter than you’d use for a waffle maker. Whisk together your dry ingredients first, then create a well in the center for the wet ingredients. Mix just until combined—small lumps are fine and actually help create tender waffles.
Let the batter rest for 5 minutes before cooking. This allows the flour to hydrate fully and the gluten to relax. You’ll notice the batter thickens slightly during this time, which helps it hold its shape when poured onto the hot pan. Don’t skip this step—it makes a noticeable difference in texture.
Cook the Waffles in Batches
Pour ¼ cup of batter onto the hot pan for each waffle. Use the back of a spoon to gently spread it into a 4-inch circle, about ½-inch thick. Cook undisturbed for 3-4 minutes until you see bubbles forming on the surface and the edges look set.
Here’s the trick for crispy results: press down gently with a spatula during cooking to ensure even contact with the pan. When the bottom is deep golden brown and the waffle releases easily, it’s ready to flip. Cook the second side for 2-3 minutes until equally golden and crisp.
Keep Waffles Warm and Crisp
Transfer cooked waffles to a wire rack set over a baking sheet in a 200°F oven. This setup allows air to circulate around the waffles, preventing them from getting soggy while you finish cooking the batch. Never stack waffles directly on a plate—they’ll steam and lose their crispness.
If you’re making a large batch, you can reheat waffles briefly in a dry skillet to restore crispness before serving. I like to make all the waffles first, then crisp them up just before eating. This ensures everyone gets perfectly crispy waffles at the same time, even if they’re not all eaten immediately.
Serve with Your Favorite Toppings
Remove waffles from the oven and let them cool for just 1 minute before serving. This brief rest helps them firm up slightly for better topping adhesion. Arrange on plates and add your favorite toppings while the waffles are still warm—the contrast between crispy exterior and melty toppings is what makes these so special.
The waffles should have a crisp, golden exterior with a tender, fluffy interior. Each bite should deliver that satisfying crunch followed by soft, cake-like texture. Serve immediately with maple syrup, fresh berries, or whipped cream for the ultimate stovetop waffle experience.
Tips and Common Mistakes for Perfect Stovetop Waffles
Getting that golden, crispy exterior without a waffle iron takes a few clever tricks—here’s what I’ve learned from perfecting this method.
Pan Preparation Secret: In Step 1, don’t rush the 5-minute preheating time. I’ve found that cast iron needs this full duration to develop an even heat distribution across the entire surface. Test by sprinkling a few drops of water—they should dance and evaporate immediately when the pan is properly heated. A well-heated pan creates that signature crispness we’re after.
Batter Consistency Matters: When making your batter in Step 2, pay close attention to thickness after the 5-minute resting period. It should coat the back of a spoon but still drip off slowly. If it’s too runny, your waffles won’t hold their shape on the griddle. The resting time is crucial—it allows the flour to fully absorb the liquid, preventing gummy centers.
Cooking Technique Tip: During Step 3, when you’re cooking those 3-4 minutes per side, resist the urge to peek or move the waffles too soon. Let them develop that deep golden brown crust before flipping—this is what creates the satisfying crunch. I use a thin, flexible spatula to press down gently during cooking, ensuring maximum contact with the pan’s ridges.
Crispness Preservation: The wire rack and 200°F oven method in Step 4 isn’t just for keeping waffles warm—it’s essential for maintaining texture. Stacking waffles directly on a plate creates steam that turns crispy exteriors soggy. For large batches, I crisp them all at once, then do a quick 30-second reheat in a dry skillet right before serving to restore that just-cooked texture.
Pro Tips for Waffles Without Waffle Maker
- Getting that golden, crispy exterior without a waffle iron takes a few clever tricks—here’s what I’ve learned from pe…
- Pan Preparation Secret: In Step 1, don’t rush the 5-minute preheating time. I’ve found that cast iron needs this full…
- Batter Consistency Matters: When making your batter in Step 2, pay close attention to thickness after the 5-minute re…
Frequently Asked Questions
Can I make waffles without a waffle maker using any pan?
Yes! A non-stick skillet or griddle works best for even browning. Avoid thin pans—they can’t hold heat well, leading to uneven cooking. Cast iron is ideal for extra crispiness! Just preheat it well and grease lightly.
How long does it take to cook stovetop waffles?
About 3–5 minutes per side on medium-low heat. Look for golden-brown edges and bubbles forming on top before flipping. Patience is key—rushing can leave the center raw!
What’s the best batter consistency for pan waffles?
Slightly thicker than pancake batter but still pourable. If it’s too runny, the grid pattern won’t hold; too thick, and it won’t cook through. Aim for a smooth, ribbon-like drizzle off the spoon.
Why do my waffles stick to the pan even with oil?
Two common culprits: not enough heat or old non-stick coating. Preheat the pan fully (a drop of water should sizzle), and use a light brush of oil/butter between each waffle. If sticking persists, switch to parchment paper under a weighted pan.
Can I use a sandwich maker or George Foreman grill instead?
Both work like mini waffle irons. Spray the plates with oil, pour batter, and close the lid. Cook for 2–4 minutes—check often to avoid over-browning. Just skip the flip—pressure does the work!
Who knew you could whip up golden, crispy waffles without a waffle maker? 🍯 With just a pan, a little patience, and these simple tricks, you’ve got everything you need to turn breakfast into a stovetop masterpiece. No fancy gadgets—just delicious results!
Ready to take it further? Try experimenting with flavors (think cinnamon, vanilla, or even chocolate chips) or toppings (fresh berries, whipped cream, or maple syrup). Your next batch could be your best yet—so grab that spatula and get flipping!

Trained in classic French technique but raised on slow-cooked ribs and spicy rubs, she blends culinary skill with smoke and soul.
- Recipe for Boneless Pork Chops in Cast Iron Skillet: Sear and Baste to Juicy Perfection - October 3, 2026
- Recipe for Boneless Cross Rib Roast: Slow-Roasted Beef with Herb Crust - October 3, 2026
- Hamburgers in Sauce Recipe Crock Pot: Slow-Cooked Savory Delight - October 3, 2026