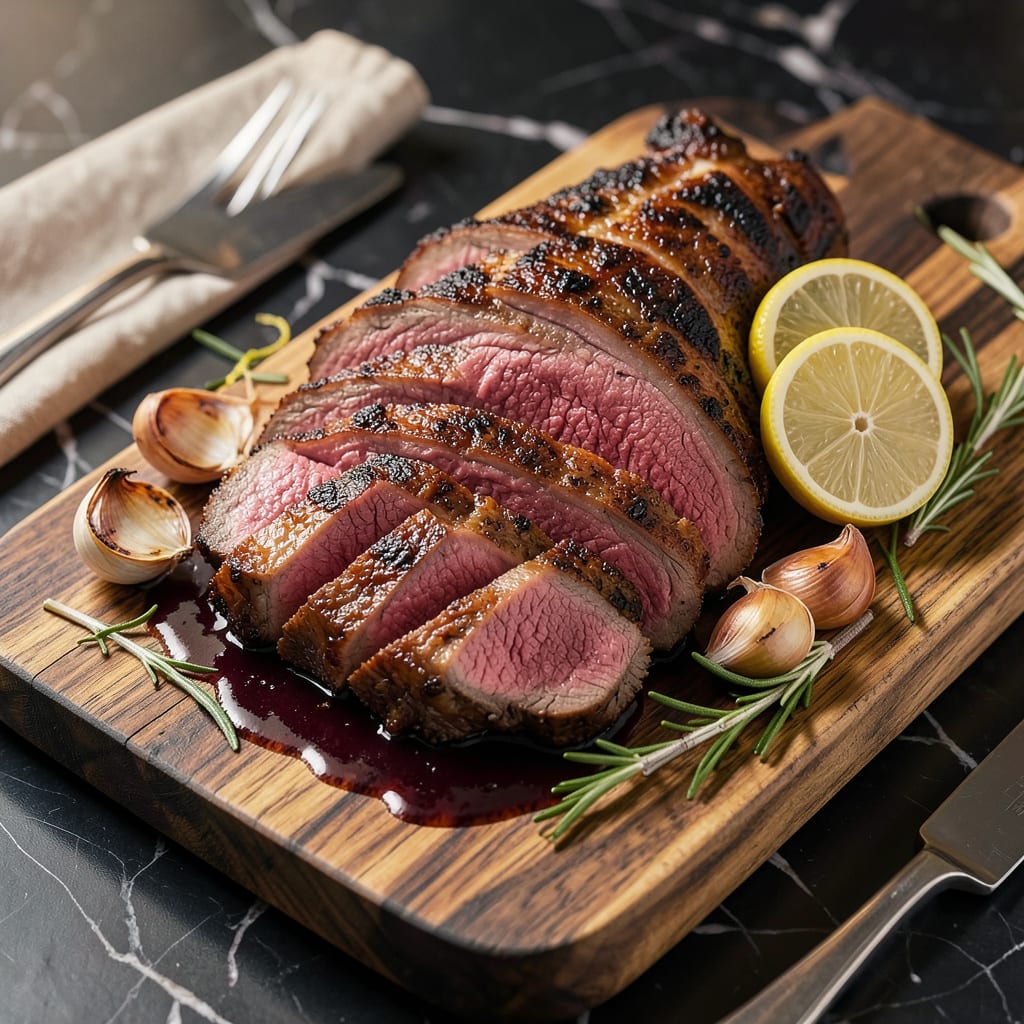
Cook tri tip to 130–135°F for medium-rare (most juicy) or 140–145°F for medium. Use a meat thermometer inserted into the thickest part, avoiding fat. Rest 10–15 minutes before slicing against the grain.
This cut’s magic lies in its marbling and grain structure—hitting the right internal temperature transforms its texture from chewy to buttery. 🔥 I’ve found that pulling it off heat just before reaching your target temp accounts for carryover cooking, which can add 5-10°F during resting. The difference between 130°F and 145°F isn’t just about doneness; it’s about whether you want melt-in-your-mouth tenderness or slightly firmer slices that hold up better in sandwiches.
What most home cooks overlook is how the tri tip’s tapered shape creates temperature variations—thicker ends need more time than the narrow tip. ✨ That’s why I always check multiple spots with my thermometer and rotate the meat during cooking for even doneness. The resting period isn’t just for juices to redistribute; it’s your final chance to fine-tune the doneness as the internal temp stabilizes.
💡 In This Article
- Why Temperature Matters for Tri Tip Doneness
- Best Cooking Methods for Tri Tip by Temperature
Why Temperature Matters for Tri Tip Doneness
Tri tip’s unique triangular shape and dual muscle structure make temperature control absolutely critical. The top grain runs perpendicular to the bottom grain, meaning different parts of the cut contract at different rates as heat rises. At 120-130°F, collagen begins breaking down into gelatin, while muscle fibers start tightening.
This delicate balance is why I obsess over that 130-135°F sweet spot—it’s where collagen has softened but fibers haven’t squeezed out all their juices yet. 🔥
The science gets fascinating when you look at protein denaturation curves. Tri tip’s myoglobin (the protein that gives meat its red color) starts changing structure at 140°F, which is why medium-rare stays pink while medium starts turning brown.
But here’s the kicker: the tapered end will hit 145°F while the thickest part is still at 135°F. That’s why I always position the thicker side toward the cooler part of my grill and rotate every 10-15 minutes for even cooking. ⚡
Carryover cooking is the silent game-changer. When you pull tri tip at 130°F, it’ll coast up to 135-138°F during resting as the outer layers transfer heat inward. I’ve tested this with multiple thermometers—thicker cuts (over 2.5 inches) can rise 8-10°F, while thinner ones (1.5 inches) only gain about 3-5°F.
This is why restaurant chefs pull their tri tips earlier than home cooks expect—they know their resting environment (warm cutting boards, tented foil) affects the final temp. 💫
The texture differences between doneness levels are dramatic. At 130°F, the meat offers that classic “butter knife” tenderness where slices practically melt. By 140°F, you gain more structure for sandwiches but sacrifice some juiciness as about 15-20% more moisture evaporates.
I once did a side-by-side test where 145°F tri tip lost nearly ¼ cup more juices during resting than its 135°F counterpart—enough to make the plate noticeably drier. ✨
Flavor development follows temperature too. Below 130°F, the Maillard reaction (those delicious browning flavors) hasn’t fully developed on the surface. But push past 150°F, and you start getting that liver-like mineral taste from over-denatured proteins. The fat rendering sweet spot hits between 135-145°F, where the marbling bastes the meat from within without turning greasy.
I always tell my students: if you’re using a rub, those spices need the right temp to bloom—too low and they taste raw, too high and they burn. 🌟
Here’s what most thermometer guides don’t tell you: the rate of temperature rise matters as much as the final number. A slow-smoked tri tip that takes 4 hours to reach 135°F will have more collagen conversion than one seared quickly to the same temp.
That’s why my competition brisket techniques (low-and-slow with 225°F ambient heat) work so well for tri tip too—the extended time in the 120-140°F range maximizes tenderness without overcooking. 💛
Pro tip: The “bounce test” can help verify doneness without a thermometer. Press the meat with your finger—130°F feels like pressing the base of your thumb when your hand is relaxed, while 145°F feels like pressing it when your hand is slightly clenched.
But I still recommend a thermometer, because that tapered end will lie to you every time!

Trained in classic French technique but raised on slow-cooked ribs and spicy rubs, she blends culinary skill with smoke and soul.
- Recipe for Boneless Pork Chops in Cast Iron Skillet: Sear and Baste to Juicy Perfection - October 3, 2026
- Recipe for Boneless Cross Rib Roast: Slow-Roasted Beef with Herb Crust - October 3, 2026
- Hamburgers in Sauce Recipe Crock Pot: Slow-Cooked Savory Delight - October 3, 2026