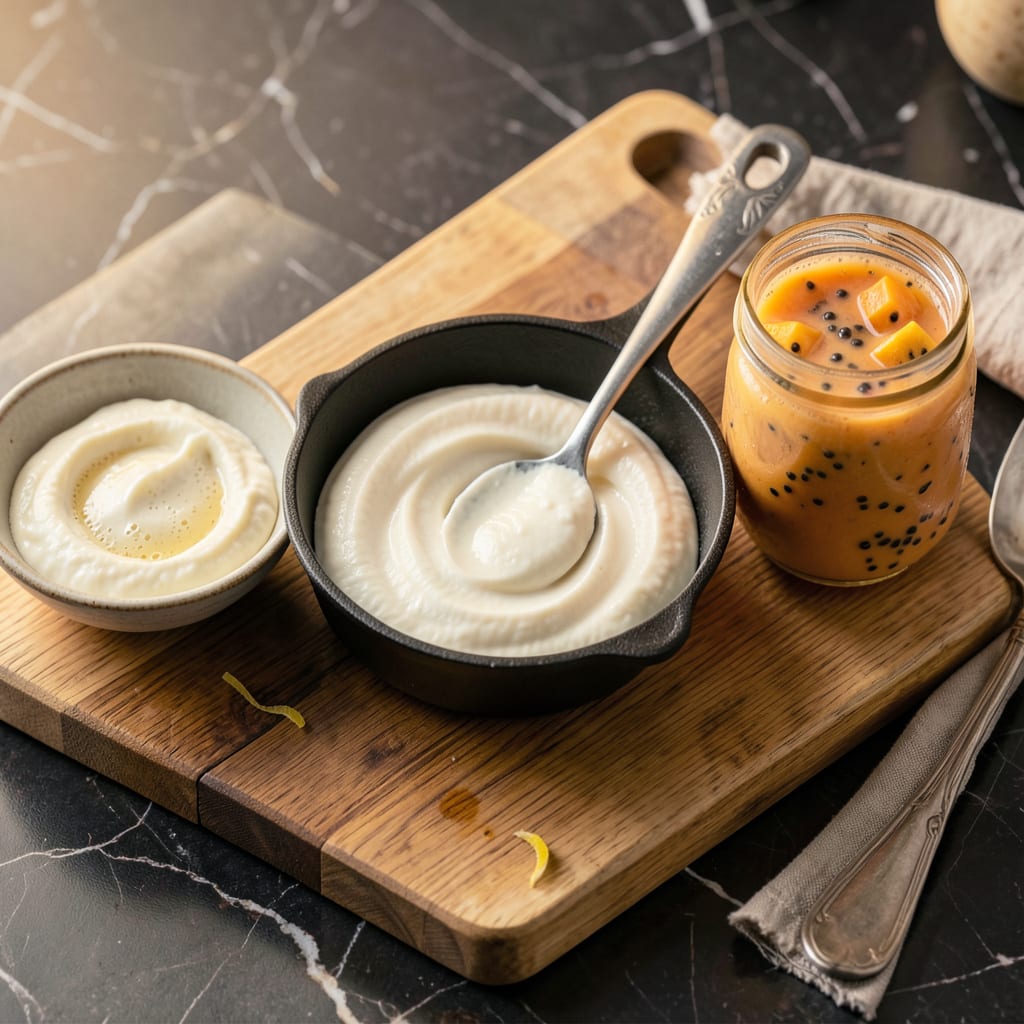
If your yogurt doesn’t set, try reheating the milk to 110°F and adding a fresh starter, or strain the mixture through cheesecloth. Ensure proper temperature control and starter culture freshness for best results.
I’ve found that yogurt-making is all about balance—live cultures need just the right environment to work their magic. When things go wrong, it’s usually because the milk cooled too fast or the starter wasn’t active enough. 🔥 The reheating trick works because it reactivates the bacteria, while straining removes excess whey for instant thickness. What many don’t realize is that even small temperature fluctuations during incubation can completely derail the process, which is why I always recommend using a dedicated yogurt maker or carefully monitored warm spot.
💡 In This Article
- Why Homemade Yogurt Fails to Thicken Properly
- Step-by-Step Fixes for Runny Yogurt Rescue
Why Homemade Yogurt Fails to Thicken Properly
The magic of yogurt happens when lactic acid bacteria (like Lactobacillus bulgaricus) ferment lactose into lactic acid. This acid causes milk proteins—primarily casein—to coagulate and form that signature thick texture. The process is temperature-sensitive: below 105°F, bacteria become sluggish; above 115°F, they die.
Most failures occur when the milk cools too quickly during incubation, preventing proper protein bonding. 🔥
Milk composition plays a huge role. Whole milk (with 3.5% fat) sets better than skim because fat stabilizes the protein matrix. Ultra-pasteurized milk often fails because its proteins are already damaged from high-heat processing.
I’ve seen homemade yogurt turn runny when using milk heated beyond 180°F during pasteurization—this denatures whey proteins that normally help thicken the final product. ✨
Starter culture viability is another critical factor. Old or contaminated starters may lack active bacteria, while store-bought yogurt with additives (like gelatin) can give false confidence. The ideal starter-to-milk ratio is 2 tablespoons per quart. Too little starter means insufficient bacteria to acidify the milk properly.
What surprises most people is that even 5°F temperature fluctuations during incubation can prevent proper setting. 💫
Incubation time matters more than you think. While 4-6 hours is standard, some milk types need up to 12 hours to fully acidify. Plant-based milks (like almond or coconut) often require added thickeners (agar-agar or pectin) because they lack dairy’s natural protein structure.
The pH should drop to 4.6 or lower for proper coagulation—test with pH strips if you’re serious about consistency. ⚡
Common mistakes include using chlorinated tap water (which kills bacteria), metal utensils (can react with acids), or skipping the 45-minute cooling period after heating milk. Even the container material affects results—glass retains heat better than plastic.
I once ruined a batch by incubating in a drafty spot; the temperature dropped to 98°F, and the yogurt never set. 🌟
For troubleshooting, check for these red flags: no tangy smell after incubation, watery separation (whey) on top, or a slimy texture. These indicate either bacterial inactivity or protein breakdown. The fix often involves adjusting just one variable—temperature, time, or starter quality—rather than starting completely over. 💛

Trained in classic French technique but raised on slow-cooked ribs and spicy rubs, she blends culinary skill with smoke and soul.
- Recipe for Boneless Pork Chops in Cast Iron Skillet: Sear and Baste to Juicy Perfection - October 3, 2026
- Recipe for Boneless Cross Rib Roast: Slow-Roasted Beef with Herb Crust - October 3, 2026
- Hamburgers in Sauce Recipe Crock Pot: Slow-Cooked Savory Delight - October 3, 2026