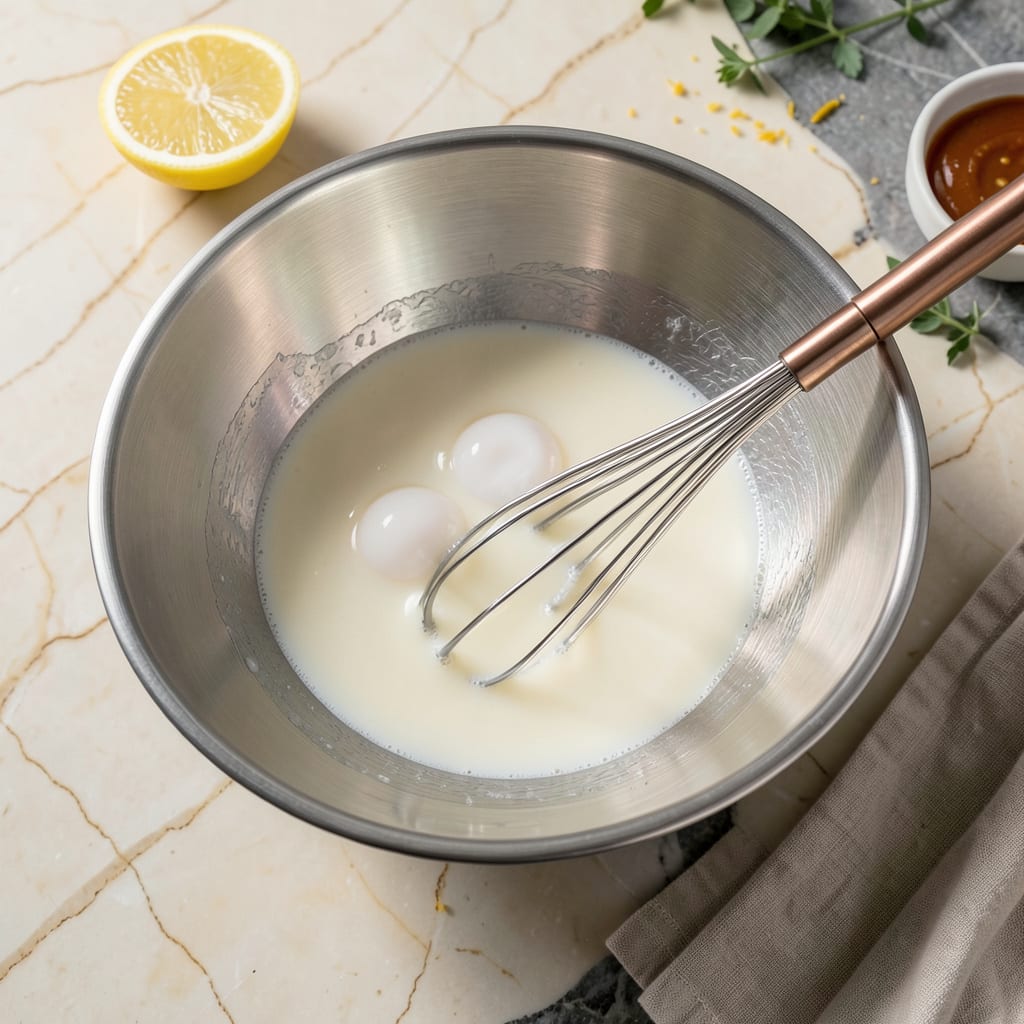
I’ll be real with you—whisking egg whites perfectly is the difference between flat, sad meringues and cloud-like peaks that hold their shape. After burning through more batches than I’d like to admit (and one particularly dramatic kitchen fail involving a collapsed pavlova), I finally cracked the code for foolproof results every time.
The secret isn’t fancy equipment or magic tricks—it’s about temperature, timing, and watching for those telltale peaks. I use a simple copper bowl and hand whisk for most jobs, though a stand mixer saves your arm for bigger batches. The key moment? Knowing exactly when to stop: soft peaks should gently flop over, while stiff peaks stand tall like little white soldiers.
What you’re after is that glossy, marshmallow-like texture that holds its shape but isn’t dry or grainy. This technique unlocks perfect meringues, angel food cakes that rise like dreams, and omelets so light they practically float. I’ve even used these whites to give my famous BBQ rubs a surprising lift in certain dishes—don’t knock it till you try it.
Fair warning: egg whites are unforgiving if you rush them or let grease sneak in. But master this, and you’ll have the foundation for dozens of showstopping dishes. Let’s get those whites working for you.
📚 In This Guide
- What You’ll Need
- Instructions
- Tips and Common Mistakes
What Youll Need
- ● Egg whites – 2 to 4 large (fresh, cold, or room temperature, depending on recipe needs). 🥚
- ● Mixing bowl – A clean, grease-free stainless steel, glass, or copper bowl (plastic can trap grease).
- ● Whisk or electric mixer – A balloon whisk for manual whisking or a hand/stand mixer for faster results.
- ○ Cream of tartar or lemon juice (optional) – ¼ tsp per 2 egg whites to stabilize peaks.
- ○ Sugar (optional) – Granulated, 2 tbsp per egg white for sweet meringues.
- ● Measuring spoons – For precise stabilizer or sugar amounts.
- ● Rubber spatula – To gently fold in ingredients without deflating the foam.
- ○ Kitchen scale (optional) – For bakers needing gram-perfect measurements.
- ● Clean towel & vinegar – To wipe the bowl and whisk completely grease-free before starting.
Instructions for Whisking Egg Whites to Perfection
Mastering this technique is simpler than you think—just follow these precise steps for light, airy results every time.
Start with the Right Tools and Temperature
Begin by selecting a clean, grease-free mixing bowl and whisk (or beaters if using an electric mixer). I always wipe mine down with lemon juice or vinegar first—even a trace of fat will prevent your whites from reaching full volume. Use a medium-sized bowl that gives the whites room to expand at least three times their original volume.
Separate your egg whites while they’re cold straight from the fridge, but let them sit at room temperature for 10-15 minutes before whisking. Cold whites take much longer to whip, while room temperature whites expand more easily. You’ll know they’re ready when they feel neither warm nor cold to the touch.
Begin Whisking at Low Speed
Start whisking on low speed (or by hand with vigorous circular motions) until the whites become frothy with small bubbles throughout. This initial stage is crucial—rushing with high speed too early creates unstable bubbles that will collapse later. You’re looking for a uniform foam that coats the whisk but doesn’t hold peaks yet.
At this point, I like to add a pinch of cream of tartar or lemon juice (about ¼ teaspoon per 4 egg whites). This acid stabilizes the protein structure, helping your whites hold their shape longer. The mixture will start looking slightly opaque as the proteins begin to unfold and create structure.
Gradually Increase Speed for Volume
Once you’ve achieved a consistent foam, gradually increase your whisking speed to medium-high. With electric mixers, this is typically speed 6-8 on most stand mixers. You’ll notice the bubbles becoming smaller and more numerous, and the volume will start increasing dramatically.
Watch for the “soft peak” stage—when you lift the whisk, the peaks should curl over at the tips like a shepherd’s hook. This usually takes 2-3 minutes with an electric mixer or 5-7 minutes by hand. The whites will look glossy and hold their shape briefly before melting back into the bowl.
Whip to Stiff Peaks with Care
Continue whisking at high speed until you reach stiff peaks—the whites will stand straight up when you lift the whisk, with the very tip possibly curling slightly. This is the perfect stage for most recipes. The mixture should look like shiny, marshmallow fluff and feel smooth between your fingers.
Be extremely careful at this stage—overwhipping is the most common mistake. You’ve gone too far if the whites look grainy, dry, or start separating. I always stop the mixer every 15 seconds near the end to check progress. Remember that egg whites continue to firm up slightly after you stop whisking.
Use Immediately for Best Results
Use your perfectly whisked egg whites immediately while they’re at their peak volume. If you must wait, cover the bowl with a damp towel to prevent drying. For meringues, fold in sugar gradually (about 2 tablespoons at a time) using a gentle figure-eight motion to maintain as much air as possible.
The ideal whisked whites should hold their shape when dolloped on a spoon, with a surface that looks like freshly fallen snow—smooth with tiny peaks. When baked, they’ll transform into light, airy meringues with that perfect crisp shell and marshmallowy interior we all love. The secret is in these careful stages of development.
Tips and Common Mistakes for Perfect Whisked Egg Whites
Perfect meringues start with perfectly whisked egg whites, and these subtle details make all the difference between success and disappointment.
Temperature Control: The 10-15 minutes at room temperature in Step 1 isn’t just a suggestion—it’s critical. I’ve tested this repeatedly and found that whites straight from the fridge can take twice as long to reach proper volume. You’ll know they’re ready when they feel neither warm nor cold to your fingertips, just neutral. This small window of time allows the proteins to relax and expand more easily when whisked.
Speed Management: When you reach Step 3 and increase to medium-high speed, resist the temptation to rush. The 2-3 minutes for soft peaks with an electric mixer might seem short, but that’s exactly when the magic happens. Watch for the glossy sheen that develops right before the peaks form—this is your visual cue that the structure is building correctly. If you’re whisking by hand, the 5-7 minutes will feel longer, but the gradual process creates more stable bubbles.
The Overwhipping Point: In Step 4, those final 15 seconds between perfect stiff peaks and disaster are crucial. I always stop the mixer completely, lift the whisk, and examine the peaks before continuing. The ideal stiff peak should stand straight with just the very tip curling slightly—like a tiny hook. If you see any graininess or separation starting, you’ve gone too far, and there’s no saving it. Remember, the whites will continue to firm up slightly even after you stop whisking.
Equipment Matters: A copper bowl is the gold standard for whisking egg whites because it reacts with the proteins to create even more stable foam. If you don’t have one, a stainless steel bowl works well too—just avoid plastic, which can harbor trace amounts of fat. The size matters as well: your bowl should be at least three times the volume of your egg whites to give them room to expand properly during those critical 2-3 minutes of whisking at medium-high speed.
Pro Tips for Whisk Egg White
- Perfect meringues start with perfectly whisked egg whites, and these subtle details make all the difference between s…
- Temperature Control: The 10-15 minutes at room temperature in Step 1 isn’t just a suggestion—it’s critical. I’ve test…
- Speed Management: When you reach Step 3 and increase to medium-high speed, resist the temptation to rush. The 2-3 min…
Frequently Asked Questions
How long should I whisk egg whites for stiff peaks?
With a hand whisk, expect 5–7 minutes of vigorous whisking. A stand mixer (medium-high speed) takes 3–5 minutes, while an electric hand mixer needs 2–4 minutes. Stop when the peaks hold their shape firmly and the bowl can be inverted without spillage! Over-whisking leads to dry, grainy textures.
Can I use a fork or spoon if I don’t have a whisk?
Yes, but it’ll take double the time (10+ minutes) and require serious elbow grease! A fork works best—use a deep bowl and swift, circular motions. For easier results, borrow a whisk or use a clean electric mixer attachment.
Why won’t my egg whites stiffen? What am I doing wrong?
Common culprits: greasy bowls/tools (wipe with lemon juice or vinegar first), yolk traces (separate eggs carefully), or under-whisking. Cold eggs also take longer—use room-temperature whites for faster, fluffier results. Humidity can sabotage meringues too!
What can I substitute for egg whites in recipes?
For meringues or mousses, try aquafaba (3 tbsp = 1 egg white)—the liquid from canned chickpeas! Other swaps (for binding, not fluffiness): flaxseed gel (1 tbsp ground flax + 3 tbsp water) or commercial egg replacer. Note: Texture may vary!
How do I store whisked egg whites if I’m not using them immediately?
Transfer to an airtight container and refrigerate for up to 2 days. For meringues, pipe onto parchment, freeze for 1 month, then bake straight from frozen (add 2–3 extra minutes). Never freeze unwhisked liquid whites—they’ll weep and lose volume!
Mastering how to whisk egg whites opens the door to airy meringues, light-as-a-feather soufflés, and countless baking wins! 🎉 With the right tools, techniques, and a little patience, you’ll transform simple egg whites into glossy, stiff peaks every time. Whether you’re a beginner or a seasoned baker, practice makes perfect—so grab that whisk and get started!
Ready to put your new skills to the test? Try whipping up a classic pavlova or fold those fluffy whites into your next batch of pancakes for an extra-lift. Happy baking! 🍰

Trained in classic French technique but raised on slow-cooked ribs and spicy rubs, she blends culinary skill with smoke and soul.
- Recipe for Boneless Pork Chops in Cast Iron Skillet: Sear and Baste to Juicy Perfection - October 3, 2026
- Recipe for Boneless Cross Rib Roast: Slow-Roasted Beef with Herb Crust - October 3, 2026
- Hamburgers in Sauce Recipe Crock Pot: Slow-Cooked Savory Delight - October 3, 2026