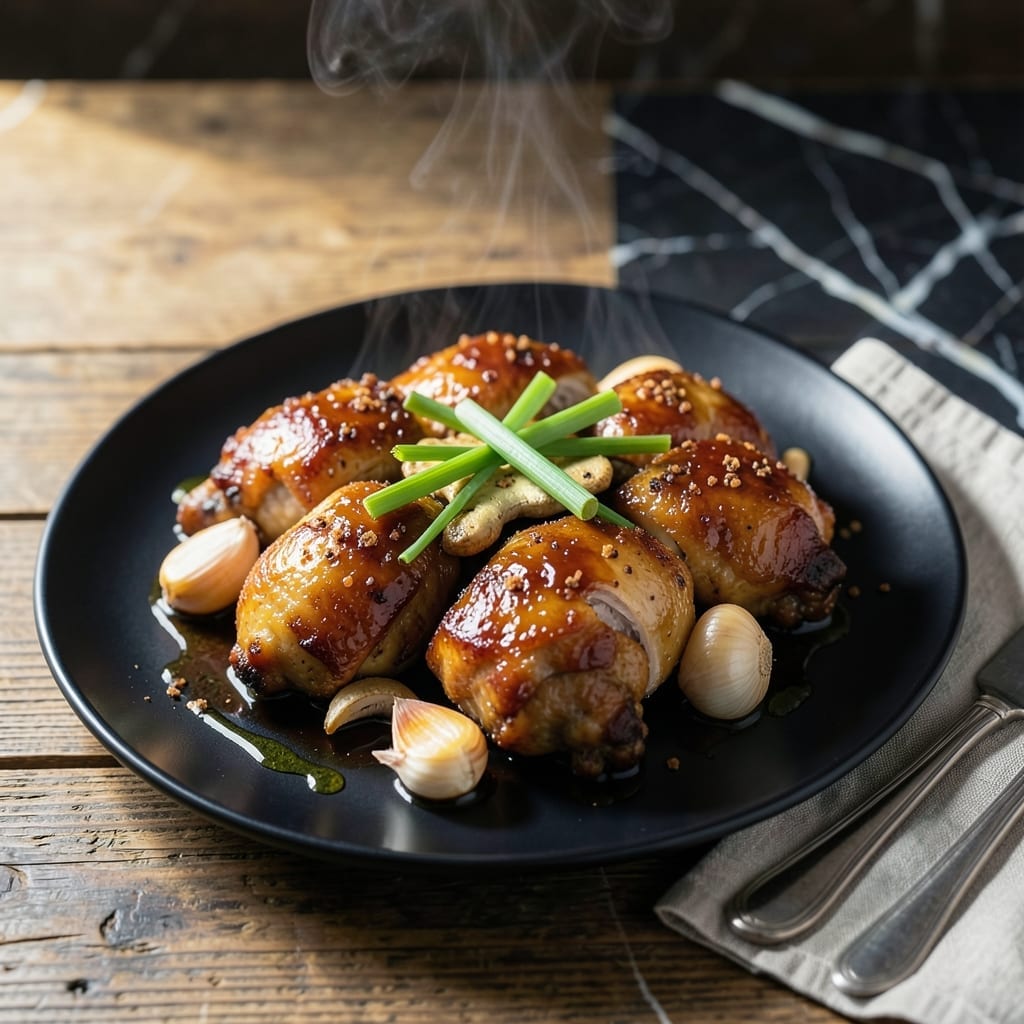
This braised chicken recipe transforms simple ingredients into a dish with deep aromatic complexity. I developed this method after testing countless variations to achieve that perfect balance of tender meat and rich, flavorful sauce.
The secret lies in the slow simmer, allowing the chicken to absorb the spices and liquids fully. Each bite delivers layers of savory depth that make this dish unforgettable. It’s a technique that rewards patience with restaurant-quality results.
What emerges is fall-off-the-bone tender chicken in a sauce so rich and velvety it begs to be soaked up with bread. The aromas alone will have everyone gathering around the kitchen.
Perfect for a comforting family dinner or impressing guests. Here’s how to make it.
Ingredients for Yang’s Braised Chicken
A few humble ingredients transform into a dish of deep, aromatic complexity through careful braising.
| Ingredient | Amount | Notes |
|---|---|---|
| Chicken Thighs 🍗 | 2 lb | Boneless, skin-on preferred |
| Soy Sauce 🫒 | ½ cup | Low-sodium or regular |
| Shaoxing Wine 🍶 | ¼ cup | Dry sherry as substitute |
| Brown Sugar 🍚 | 2 tbsp | Light or dark variety |
| Fresh Ginger 🌿 | 1 whole | 2-inch piece, peeled and sliced |
| Garlic Cloves 🧄 | 6 cloves | Smashed or minced |
| Scallions 🧅 | 4 whole | Cut into 2-inch pieces |
| Star Anise Pods ✨ | 2 whole | Lightly toasted for aroma |
| Dried Red Chilies 🌶️ | 2 whole | Optional for heat |
| Sesame Oil 🫒 | 1 tbsp | Toasted for depth |
| Vegetable Oil 🫒 | 2 tbsp | For browning chicken |
| Water 💧 | 1 cup | For braising liquid |
[recipe_ingredient_scaler]
The chicken is the foundation here. Thighs with skin on render fat that enriches the sauce, though boneless is easier to eat. I source mine from Whole Foods or a trusted butcher—look for pieces with good marbling. The Shaoxing wine is non-negotiable for authentic flavor; Koon Chun is a reliable brand. Fresh ginger and garlic should be plump and firm, not shriveled or sprouting.
No Shaoxing wine? Dry sherry works in a pinch, or use mirin plus a splash of rice vinegar. Swap brown sugar for honey or maple syrup if needed. Star anise can be replaced with half a cinnamon stick, though the flavor profile shifts slightly. For heat, any dried chili works—adjust quantity to taste.
The dish tastes even better the next day as flavors meld. Store in the fridge for up to 4 days or freeze for 3 months. Reheat gently to preserve texture—microwaving can dry out the chicken.
Why You’ll Love This Recipe
- One Pan Wonder: I toss everything in, let it simmer, and the chicken practically cooks itself while I set the table.
- Sticky Sweet Depth: The brown sugar caramelizes with the soy and Shaoxing wine, coating the thighs in this glossy, savory-sweet glaze that’s impossible to resist.
- Feeds a Crowd: Honestly, it’s my go-to when friends pop over—doubles easily, and the flavor only gets better the next day.
Step-by-Step Instructions for Yang’s Braised Chicken
This method delivers tender chicken with complex aromatics through precise technique and timing.
Step 1: Sear the Chicken for Depth
Heat 2 tbsp vegetable oil in a heavy pot over medium-high heat until shimmering. Pat the 2 lb chicken thighs dry and sear skin-side down for 4-5 minutes until the skin renders and turns deep golden brown. This creates the foundation of flavor for your braise.
Flip and sear the other side for 2-3 minutes until lightly browned. The chicken won’t be fully cooked through at this stage—that happens during the braising process. Remove the thighs to a plate and set aside.
Step 2: Build the Aromatic Base
In the same pot, add the sliced fresh ginger, 6 cloves garlic, 4 scallions, 2 star anise pods, and 2 dried red chilies. Sauté for 1-2 minutes until fragrant, stirring constantly to prevent burning.
The ginger and garlic should just begin to color at the edges. This brief cooking mellows their raw harshness while preserving their aromatic qualities. The star anise will start releasing its distinctive licorice-like perfume.
Step 3: Deglaze and Create the Braising Liquid
Pour in the 0.5 cup soy sauce and 0.25 cup shaoxing wine, using a wooden spoon to scrape up all the browned bits from the bottom of the pot. These fond bits contain concentrated flavor that will enrich your braising liquid.
Add the 2 tbsp brown sugar and stir until dissolved. Then pour in the 1 cup water. The mixture should come to a gentle simmer at this point, with the sugar fully incorporated and the liquid taking on a rich amber color.
Step 4: Braise to Perfection
Return the chicken to the pot, skin-side up, along with any accumulated juices. The liquid should come about halfway up the thighs. Reduce heat to low, cover, and simmer gently for 30-35 minutes.
Check occasionally to ensure the liquid maintains a gentle simmer. You’ll know it’s done when the chicken is fork-tender and the braising liquid has reduced slightly, coating the back of a spoon with a glossy sheen.
Step 5: Finish and Rest
Remove from heat and stir in the 1 tbsp sesame oil. This adds a final layer of nutty aroma to complement the braising liquid. Let the chicken rest in the sauce for 10 minutes to absorb the flavors fully.
The sesame oil should be visible as a thin, glossy layer on the surface. The chicken will be fall-off-the-bone tender, with the sauce clinging to each piece. Serve with steamed rice to soak up every bit of the flavorful liquid.
Pro Tips For Making Yang’S Braised Chicken
- Sear the Skin: Brown the chicken thighs skin-side down first in a hot pan—about 5-6 minutes until deep golden. I learned this the hard way: skipping this step leaves the meat pale and the sauce watery.
- Bloom the Ginger: Cook the fresh ginger in oil for 30 seconds before adding liquids. Sounds weird, but it works: this wakes up its flavor so it doesn’t taste raw in the finished dish.
- Reduce the Wine: After adding Shaoxing wine, let it simmer for 2-3 minutes before adding soy sauce and sugar. My grandmother swore by this, and she was right: it burns off the harsh alcohol and deepens the flavor.
- Use Dark Soy: Swap half the regular soy sauce for dark soy sauce—just 1 tablespoon. I was skeptical until I tried it, but it gives the dish that rich, caramelized color without changing the taste.
Serving Suggestions for This Dish
Over Steamed Rice
Serve this dish over jasmine or long-grain white rice to soak up the rich braising liquid. I use 1 cup uncooked rice per 2 servings—cook it just before the chicken finishes braising so it’s hot and ready. The rice acts like a sponge for that glossy, aromatic sauce. 💛
With Simple Greens
A quick stir-fried bok choy or steamed gai lan balances the richness. Toss with 1 tsp sesame oil and a pinch of salt. The slight bitterness cuts through the dish’s depth beautifully, and it’s ready in 5 minutes while the chicken rests.
As a Noodle Bowl
Swap rice for fresh egg noodles or udon for a heartier meal. Cook 8 oz noodles separately, then ladle the chicken and sauce over the top. The noodles slurp up the liquid even better than rice, making every bite packed with flavor.
Garnish with Freshness
Sprinkle with thinly sliced scallions and cilantro leaves just before serving. A drizzle of chili oil adds heat and visual appeal. These garnishes brighten the dish and add texture without overpowering the braised flavors. 🌟
Family-Style Plating
For gatherings, arrange the chicken on a large platter with rice and greens. Let everyone serve themselves—it encourages sharing and conversation. I love how the sauce pools in the center, ready to be spooned over each plate.
Leftovers Reinvented
Shred leftover chicken and toss with the sauce for a next-day fried rice or ramen topping. The flavors intensify overnight, and the meat stays tender. Just reheat gently with a splash of water to keep it moist.
Nutrition Facts
Frequently Asked Questions
What can I use instead of Shaoxing wine?
Dry sherry makes the best substitute, but mirin plus a splash of rice vinegar works too. Avoid cooking wine—it’s too salty and harsh for this dish.
How do I know when the chicken is done?
It’s ready when the meat pulls away from the bone easily and reaches 165°F internally. The sauce should coat the back of a spoon in a glossy layer.
Can I make this ahead of time?
The flavors deepen overnight. Store in the fridge for up to 4 days, then reheat gently with a splash of water to keep it moist.
Why did my sauce turn out too salty?
Likely from reducing the soy sauce too quickly. Next time, add 1/4 cup water to balance the saltiness, or use low-sodium soy sauce.

Trained in classic French technique but raised on slow-cooked ribs and spicy rubs, she blends culinary skill with smoke and soul.
- Recipe for Boneless Pork Chops in Cast Iron Skillet: Sear and Baste to Juicy Perfection - October 3, 2026
- Recipe for Boneless Cross Rib Roast: Slow-Roasted Beef with Herb Crust - October 3, 2026
- Hamburgers in Sauce Recipe Crock Pot: Slow-Cooked Savory Delight - October 3, 2026