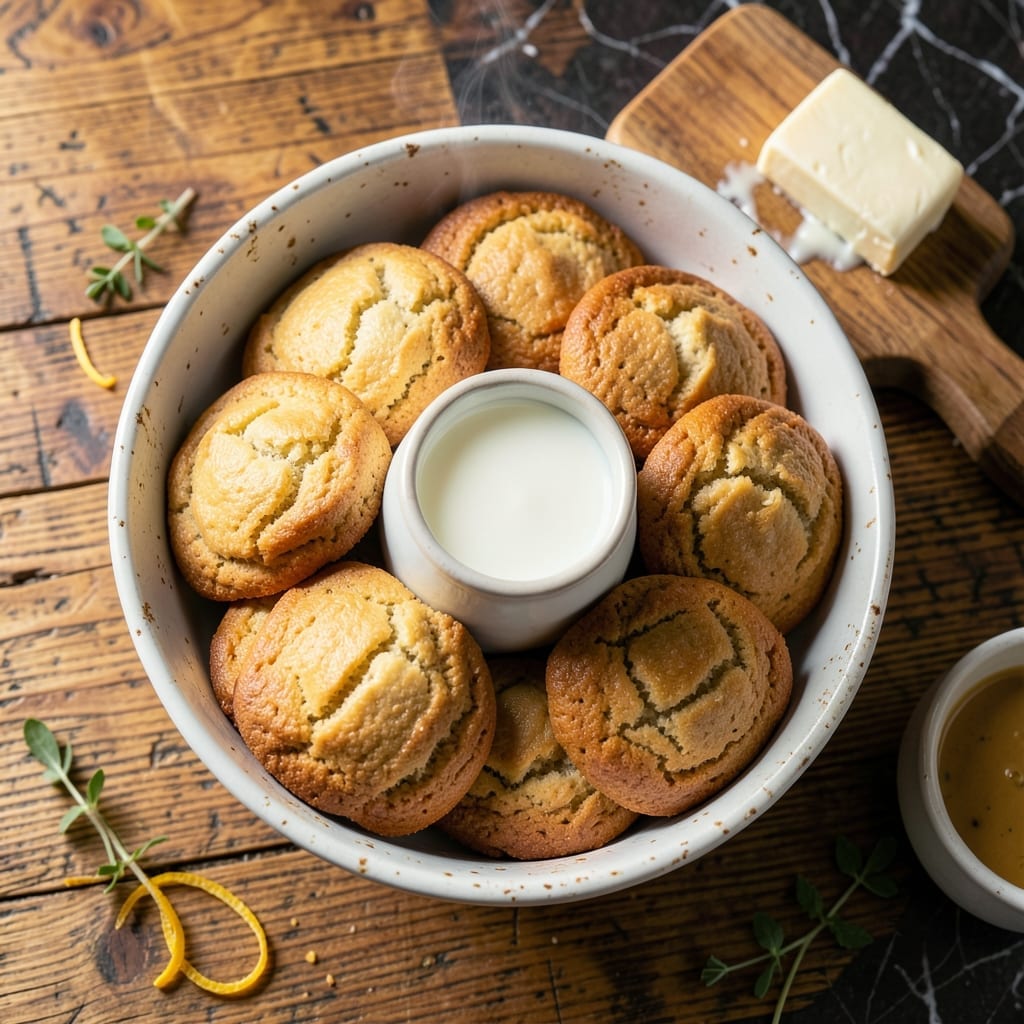
This minimalist biscuit recipe proves that fewer ingredients can deliver pillowy softness with maximum flavor. The secret lies in the perfect ratio of self-rising flour, cold milk, and a touch of fat.
No fancy techniques required—just mix, shape, and bake for golden results that rival traditional recipes. These emerge from the oven light, flaky, and ready to serve warm.
Ingredients for 3 Ingredient Biscuit Recipe with Milk
Three simple ingredients create pillowy, golden biscuits with minimal effort and maximum flavor.
| Ingredient | Amount | Notes |
|---|---|---|
| Self-Rising Flour 🌾 | 2 cups | All-purpose with leavening included |
| Whole Milk 🥛 | ¾ cup | Cold for flaky layers |
| Unsalted Butter 🧈 | ¼ cup | Chilled and cubed |
| Salt 🧂 | ½ tsp | Fine grain for even distribution |
[recipe_ingredient_scaler]
The flour is the foundation here. Self-rising flour eliminates the need for separate leavening agents—just ensure it’s fresh (check the expiration date). For best results, use a trusted brand like White Lily or King Arthur. The milk must be cold straight from the fridge to create those flaky layers. Whole milk is ideal for richness, but 2% works in a pinch.
No self-rising flour? Make your own by mixing 2 cups all-purpose flour with 1 tbsp baking powder and 1 tsp salt. Out of butter? Vegetable shortening works too—just keep it cold. For a lighter texture, some bakers swear by buttermilk instead of regular milk, but stick to the recipe’s simplicity if you’re a first-timer.
The dough can rest in the fridge for up to 24 hours (covered tightly) if you want to prep ahead. Baked biscuits are best served warm but will keep at room temperature for 1-2 days. Reheat in a 300°F oven for 5-10 minutes to revive flakiness.
Why You’ll Love This Recipe
- One Bowl Wonder: I just dump the self-rising flour, milk, and butter in a bowl—no fancy tools, no mess.
- Buttery Layers: That cold butter folded in creates flaky, golden layers that melt in your mouth.
- Breakfast to Dinner: Honestly, these work with jam at sunrise or smothered in gravy at dinnertime.
- Pocket Change: A dollar’s worth of flour, milk, and butter yields a dozen biscuits—can’t beat that.
Step-by-Step Instructions for 3 Ingredient Biscuits With Milk
Precision in technique transforms these minimal ingredients into tall, flaky biscuits every time.
Step 1: Combine Dry Ingredients for Even Distribution
In a large mixing bowl, whisk together the 2 cups Self-Rising Flour and 0.5 tsp Salt until thoroughly combined. This step ensures the leavening agents in the self-rising flour are evenly dispersed throughout the mixture, preventing any bitter pockets of concentrated baking powder.
The fine grain salt integrates completely during this whisking process, which is critical for consistent seasoning in every bite. Don’t skip this step—proper distribution of dry ingredients guarantees uniform rise and flavor.
Step 2: Cut in the Chilled Butter Using the Pinch Method
Add the 0.25 cup Unsalted Butter (chilled and cubed) to the flour mixture. Using your fingers, pinch and rub the butter into the flour until the mixture resembles coarse crumbs with pea-sized butter pieces visible. The key is working quickly so the butter stays cold.
This technique creates flaky layers as the butter melts during baking, releasing steam that lifts the dough. Stop when you see distinct butter pieces—overworking melts the butter and results in dense, tough biscuits rather than airy ones.
Step 3: Create the Dough With Cold Milk
Make a well in the center of the flour-butter mixture and pour in the 0.75 cup Whole Milk. Using a wooden spoon or silicone spatula, stir just until the dough comes together and pulls away from the sides of the bowl. The dough will be shaggy and slightly sticky.
It’s essential to use cold milk here—warm milk would melt the butter you just worked so hard to keep cold. Resist the urge to overmix; developing the gluten at this stage makes biscuits tough. The dough should look rough, not smooth.
Step 4: Fold and Shape for Maximum Lift
Turn the dough onto a lightly floured surface and gently pat it into a 1-inch thick rectangle. Fold the dough in half like a book, then pat it down again to 1-inch thickness. Repeat this folding and patting process 2-3 times total.
This lamination technique creates layers in the dough, resulting in biscuits that rise tall and flaky. Each fold builds another layer of butter between flour, which creates that desirable flaky texture when baked. Handle the dough as little as possible to keep it cold.
Step 5: Cut and Bake to Golden Perfection
Pat the dough to a final 1-inch thickness and use a 2.5-inch biscuit cutter to cut out biscuits. Press straight down without twisting—the twisting motion seals the edges and prevents proper rising. Gather and gently re-pat the scraps to cut more biscuits.
Place the biscuits on a parchment-lined baking sheet so they just touch each other. Bake at 450°F for 12-15 minutes until the tops are golden brown. The close placement helps the biscuits rise upward rather than outward. Serve warm for the best texture and flavor.
Pro Tips For Making 3 Ingredient Biscuit Recipe With Milk
- Chill the Butter: Cut your unsalted butter into small cubes and refrigerate it while prepping the rest—cold butter is non-negotiable for flaky layers. I learned this the hard way after ending up with dense hockey pucks instead of biscuits.
- Don’t Overwork It: Mix the dough just until it comes together, even if it looks shaggy. After making tough biscuits a few times, I finally realized less handling means more tenderness.
- Use Cold Milk: Swap room-temp milk for ice-cold whole milk to keep the butter from melting prematurely. Sounds weird, but it works—your biscuits will rise higher and stay fluffier.
- Bake Immediately: Get the biscuits in the oven as soon as they’re shaped, or the baking powder in self-rising flour will lose its oomph. My grandmother swore by this, and she was right.
Make-Ahead Tips for This Recipe
Pre-Mix Dry Ingredients
I always whisk together the 2 cups Self-Rising Flour and 0.5 tsp Salt the night before. Store this in an airtight container at room temperature. This saves 5 minutes of prep time the next morning.
Pre-Cut Butter
Cube the 0.25 cup Unsalted Butter and refrigerate it in a sealed container. Cold butter is crucial for flaky layers, and pre-cutting means you can start baking immediately. I use Lodge cast iron for even chilling.
Pre-Measure Milk
Measure out the 0.75 cup Whole Milk and store it in the fridge with your other prepped ingredients. Having everything ready to go makes the process seamless. This approach works perfectly for busy mornings.
Shape and Freeze Dough
After mixing, shape the dough into a 1-inch thick rectangle and wrap it tightly in plastic. Freeze for up to 1 month. When ready to bake, thaw in the fridge overnight, then proceed with cutting and baking. 💡
Bake and Store
Bake the biscuits as directed, then let them cool completely. Store in an airtight container at room temperature for up to 2 days. For longer storage, freeze baked biscuits for up to 3 months.
Reheating Tips
To revive, wrap biscuits in foil and warm in a 300°F oven for 10 minutes. For a quick fix, microwave for 20-30 seconds with a damp paper towel. They’ll taste almost fresh from the oven.
Nutrition Facts
Frequently Asked Questions
Can I use a different type of milk?
Yes! While whole milk gives the richest flavor, 2% or even skim milk will work. For extra flakiness, try buttermilk instead. Just keep it cold for best results.
Why is cold butter important?
Cold butter creates steam when baked, making flaky layers. If it melts before baking, your biscuits will be dense instead of light and airy. Work quickly to keep it chilled.
How do I make biscuits without a cutter?
Use a glass or round cookie cutter instead. Press straight down—don’t twist—or the edges won’t rise properly. A knife works too for square biscuits.
Can I make these ahead of time?
Shape the dough, wrap tightly, and freeze for up to 1 month. Thaw overnight in the fridge before cutting and baking. Baked biscuits keep 2 days at room temperature.

Trained in classic French technique but raised on slow-cooked ribs and spicy rubs, she blends culinary skill with smoke and soul.
- Recipe for Boneless Pork Chops in Cast Iron Skillet: Sear and Baste to Juicy Perfection - October 3, 2026
- Recipe for Boneless Cross Rib Roast: Slow-Roasted Beef with Herb Crust - October 3, 2026
- Hamburgers in Sauce Recipe Crock Pot: Slow-Cooked Savory Delight - October 3, 2026