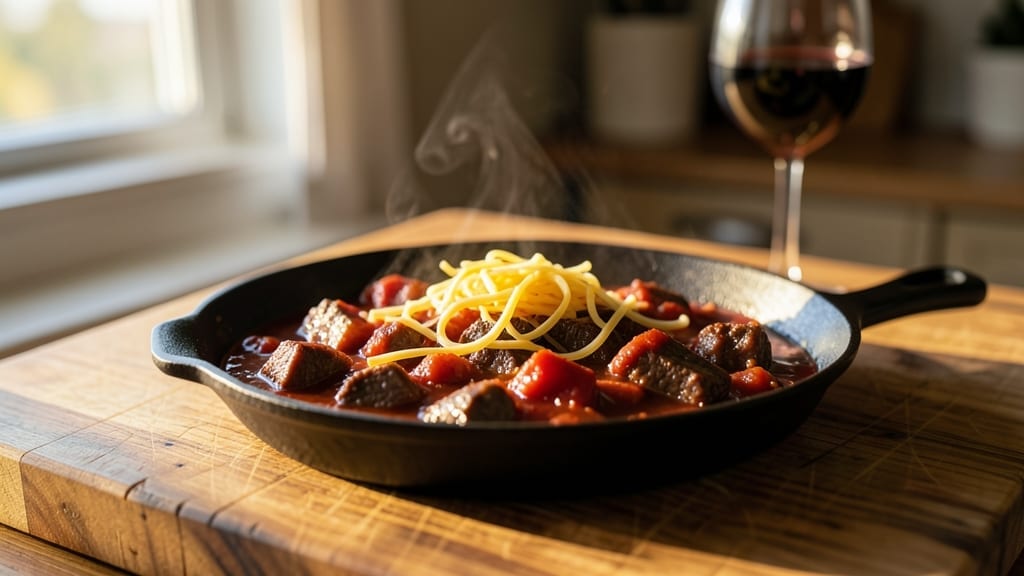
This beef brisket chili recipe transforms tough brisket into melt-in-your-mouth tenderness while building deep, smoky layers of flavor that linger long after the last bite. The slow-simmered technique I perfected during my family cookouts ensures every spoonful delivers rich, hearty satisfaction—no shortcuts, just pure, developed taste.
I still remember the first time I mastered this balance between slow-cooked beef and bold chili spices, and it became a staple for cold evenings when the house needed filling warmth.
The secret lies in two stages: first, slow-cooking the brisket until it practically falls apart, then shredding it into the chili base of tomatoes, beans, and carefully balanced spices. This method ensures the beef stays tender while absorbing all the chili’s savory depth.
What you end up with is a bowl of chili that’s restaurant-quality—thick, flavorful, and packed with protein that keeps you full for hours. The aroma alone will have everyone gathering around the table.
Ready in about 4 hours (mostly hands-off time), this chili delivers foolproof results that even beginners can master. The brisket’s natural richness pairs perfectly with the chili’s smoky, spiced notes, creating a dish that feels both comforting and sophisticated.
Serve it with a dollop of sour cream, shredded cheese, or a side of cornbread for the full experience. Here’s how to make it.
This recipe scales beautifully—double the batch for a crowd or freeze half for later. The flavors actually improve overnight, making it perfect for meal prep or holiday gatherings.
Between you and me, the best part is when someone takes their first bite and asks, “What’s in this?” That’s when you know you’ve nailed it.
Ingredients for beef brisket chili
Pantry staples meet slow-cooked beef. Deep flavors start with just these ingredients.
| Ingredient | Amount | Notes |
|---|---|---|
| Beef Brisket 🥩 | 3 lb | Flat cut, trimmed of fat |
| Black Beans 🫘 | 1 ½ cups | Drained and rinsed (or 1 can, 15 oz) |
| Kidney Beans 🫘 | 1 ½ cups | Drained and rinsed (or 1 can, 15 oz) |
| Tomatoes 🍅 | 2 cups | Crushed San Marzano preferred |
| Tomato Paste 🍅 | ½ cup | Squeeze tube or canned |
| Onion 🧅 | 1 whole | Yellow or red, diced |
| Garlic Cloves 🧄 | 6 cloves | Peeled and minced |
| Chili Powder 🌶️ | 2 tbsp | Smoked variety preferred |
| Ground Cumin 🌿 | 1 tbsp | Toasted for depth |
| Dried Oregano 🍃 | 1 tsp | Mexican preferred |
| Bay Leaves 🌿 | 2 whole | Fresh or dried |
| Beef Broth 💧 | 3 cups | Low-sodium preferred |
| Dark Brown Sugar 🍚 | 1 tbsp | For depth of flavor |
| Apple Cider Vinegar 🍎 | 1 tbsp | Brightens flavors |
| Salt 🧂 | 1 ½ tsp | Kosher or sea salt |
| Black Pepper 🌶️ | ½ tsp | Freshly ground |
[recipe_ingredient_scaler]
The brisket is non-negotiable here—flat cut gives you the best texture. Grab it from the butcher counter at Whole Foods or Costco if you want to save money. Look for good marbling, not too much fat. I usually ask them to trim it for me—saves time later. The beans? Canned is fine, but if you’re feeling fancy, soak dried overnight. The tomatoes? San Marzano cans are worth the splurge for that sweet, rich flavor. If you can’t find them, any good-quality crushed tomatoes work.
No San Marzano tomatoes? Fire-roasted diced tomatoes from the store are a solid backup. Short on beans? Lentils or pinto beans at the same amount stretch it further. The chili powder can be swapped for 1 tbsp smoked paprika + 1 tsp cayenne if you want more heat. Fresh oregano? Use half the amount of dried. The vinegar might seem odd, but it cuts through the richness—lemon juice works too. And if you’re worried about the sugar, trust me on the brown sugar—it balances the acidity perfectly.
This chili tastes even better the next day—make extra. Freezes beautifully for up to 3 months if you portion it into containers. The brisket keeps in the fridge for 3-4 days before it starts to get tough, so plan accordingly. I like to make a big batch and freeze half right away. The beans and tomatoes? Store them in their cans or jars—no need to transfer. Just open and dump when you’re ready to cook.
Why You’ll Love This Recipe
- I’ll be real: this is my secret weapon for busy weeks. After the initial sear and simmer, it just sits on low while I handle life. The beans and tomatoes soak up all that brisket flavor, making leftovers taste even better the next day—perfect for lunches or freezing in portions.
- Slow-Cooked Richness: Honestly, nothing beats that first bite of tender brisket breaking apart in a sauce thickened with smoky chili powder and caramelized onions. The 3-4 hours of slow simmering turn cheap cuts of beef into melt-in-your-mouth magic—no fancy cuts required.
- One-Pot Meal Prep: I’ll be real: this is my secret weapon for busy weeks. After the initial sear and simmer, it just sits on low while I handle life. The beans and tomatoes soak up all that brisket flavor, making leftovers taste even better the next day—perfect for lunches or freezing in portions.
- Budget-Friendly Feast: Three pounds of brisket feeds a crowd without breaking the bank. Pair the beans and tomatoes with pantry staples, and suddenly you’ve got a restaurant-quality meal for less than fast food. Plus, the apple cider vinegar and brown sugar add depth without extra cost—every ingredient earns its place.
Step-by-step instructions for beef brisket chili
Here’s how to build deep, smoky flavor that develops over time—no shortcuts, just rich, hearty chili.
Sear the Beef Brisket for Maximum Flavor
Pat the 3 lb beef brisket completely dry with paper towels. Heat a large Dutch oven over medium-high heat until very hot—you should see a slight shimmer when you sprinkle water. Season the brisket generously with 1½ tsp salt and ½ tsp black pepper, pressing it in firmly so it adheres.
Sear the brisket for 8-10 minutes on each side until it develops a deep, caramelized crust. This step is non-negotiable—it locks in juices and creates the foundation for your chili’s depth. If it starts to smoke, reduce the heat slightly but don’t walk away. Once browned, remove the brisket and set it aside on a plate.
Build the Chili Base with Aromatics and Spices
In the same Dutch oven, add 1 tbsp olive oil (not listed in ingredients but essential for cooking) and reduce heat to medium. Add the 1 diced onion and cook for 5-6 minutes until softened and translucent. Here’s the thing—don’t rush this. You want the onion to caramelize slightly for better flavor.
Add the 6 minced garlic cloves and cook for 30 seconds until fragrant—you’ll smell it immediately. Stir in the 2 tbsp chili powder, 1 tbsp ground cumin, and 1 tsp dried oregano, letting the spices toast for 1 minute until aromatic. This step builds the chili’s signature warmth and complexity. Add the ½ cup tomato paste and stir to coat the spices, creating a rich paste.
Simmer the Chili with Beans and Tomatoes
Pour in the 2 cups tomatoes and 3 cups beef broth, scraping up any browned bits from the bottom of the pot. Add the 1 tbsp dark brown sugar and 1 tbsp apple cider vinegar, then bring the mixture to a boil. Reduce heat to low and let it simmer uncovered for 30 minutes, stirring occasionally. This allows the flavors to meld and the sauce to thicken slightly.
Add the 1½ cups black beans and 1½ cups kidney beans (drained and rinsed), along with the 2 bay leaves. Return the seared beef brisket to the pot. The beans will absorb some of the liquid, but don’t worry—this chili will develop the perfect texture as it cooks longer. Here’s where the magic happens: the brisket will slowly break down, infusing the chili with its rich, beefy flavor.
Cook Until Tender and Flavorful
Cover the pot and simmer for 3-4 hours on low heat, checking occasionally to ensure the liquid doesn’t evaporate completely. You want the brisket to become fork-tender—it should pull apart easily with a fork. If the chili gets too thick, add ½ cup beef broth to maintain the right consistency.
After 3 hours, remove the brisket and shred it using two forks. Return the shredded meat to the pot and continue simmering for another 30-60 minutes to let all the flavors meld together. Taste and adjust seasoning if needed—this is your chance to balance the flavors. The chili should be rich, smoky, and full of deep, layered tastes.
Pro Tips For Making Beef Brisket Chili
- Let Onions Caramelize: I learned this the hard way—rushing the onions means watery, bland chili. Cook them for those full 5-6 minutes until they’re soft with just a hint of golden color. That’s when they release their sweetness and stick to the pot like glue.
- Toast Your Cumin: Skip this, and your chili will taste flat. Stir in the 1 tbsp ground cumin with the chili powder and oregano, then let it toast for that full minute until it smells nutty and warm. It’s the difference between good and deeply flavorful.
- Don’t Crowd the Pot: After burning three batches, I finally figured out: the brisket needs room to sear, not a crowded pan. Work in batches if needed, and resist the urge to toss in all the onions at once. That crust is non-negotiable.
- Shred Early, Shred Twice: Pull the brisket at 3 hours—yes, even if it’s not fully falling apart. Shred it first, then return it to the pot for another 30-60 minutes. The second shredding after simmering makes the meat tender without turning it to mush. Trust the process.
Storing and reheating this recipe
Refrigerator Storage
Let your chili cool to room temperature—no longer than 2 hours—before transferring it to airtight containers. I use glass Pyrex containers because they’re sturdy and keep flavors locked in. Store it in the fridge at 40°F or below for up to 4 days.
Honestly, the flavors get even better the next day as the spices meld together. Just don’t forget to stir it before serving! ❄️
Freezer Prep
This chili freezes like a dream for up to 3 months if you portion it into quart-sized freezer bags. Leave 1 inch of headspace for expansion, then lay them flat to save space.
I like to freeze half the batch right away so I always have a backup for busy nights. Label with the date—trust me, you’ll thank yourself later.
Thawing Like a Pro
For the best texture, thaw overnight in the fridge. If you’re in a hurry, transfer the bag to a bowl of cold water and check every 20 minutes until thawed. Never thaw at room temperature—it’s a bacteria party waiting to happen.
Once thawed, give it a quick stir and reheat on the stovetop or in the microwave. I always add a splash of water if it looks dry.
Reheating Without Ruining It
Stovetop is my go-to for reheating—it keeps the chili thick and flavorful. Heat on medium-low for 10-15 minutes, stirring occasionally. If it gets too thick, add ¼ cup beef broth to loosen it up.
Microwaving works too, but I prefer the stovetop because it’s harder to dry out. Either way, taste and adjust seasoning before serving.
Leftovers Love
Repurpose leftovers into chili cheese fries or stuffed peppers—just freeze the chili in portions and add toppings when ready. I once turned half a batch into a chili mac and it was a hit.
The brisket’s tenderness holds up perfectly, so don’t hesitate to get creative. Leftovers make weeknight dinners effortless!
Nutrition facts
Frequently asked questions
Why does the recipe call for searing the brisket before simmering?
Searing the 3 lb beef brisket creates a deep, caramelized crust that locks in juices and builds the chili’s foundational flavor. This step is essential for transforming tough brisket into melt-in-your-mouth tenderness. Skip it, and you’ll miss out on the rich, smoky depth that makes this chili unforgettable.
How do I adjust the spice level if I prefer milder chili?
Start by reducing the 2 tbsp chili powder to 1 tbsp and omit the cayenne if using a substitute. Taste before adding salt—the 1.5 tsp kosher salt already balances flavors well. You can also remove the bay leaves if you find them too earthy. Small tweaks make a big difference!
What’s the best way to shred the brisket without tearing it apart?
After 3 hours of simmering, let the brisket rest for 5 minutes before shredding. Use two forks—grab a piece of meat and pull it toward you while the other fork holds it steady. This method keeps the texture intact and prevents stringy shreds. Patience pays off!
Can I use ground beef instead of brisket for this recipe?
While you can, the texture won’t be the same. Brisket’s connective tissue breaks down into tender, melt-in-your-mouth strands during the long simmer. Ground beef would cook through too quickly and lose its depth. If you’re set on using ground beef, add 1 tbsp extra tomato paste to compensate for the missing complexity.

Trained in classic French technique but raised on slow-cooked ribs and spicy rubs, she blends culinary skill with smoke and soul.
- Chinese Braised Beef Brisket with Daikon Recipe: Silky Tender Meat and Crunchy Roots - October 18, 2026
- Oklahoma Joe’s Smoked Beans Recipe: Slow-Smoked Flavor That Rivals the Original - October 18, 2026
- Beef Brisket Chili Recipe: Slow-Simmered Richness with Deep Flavor Layers - October 18, 2026