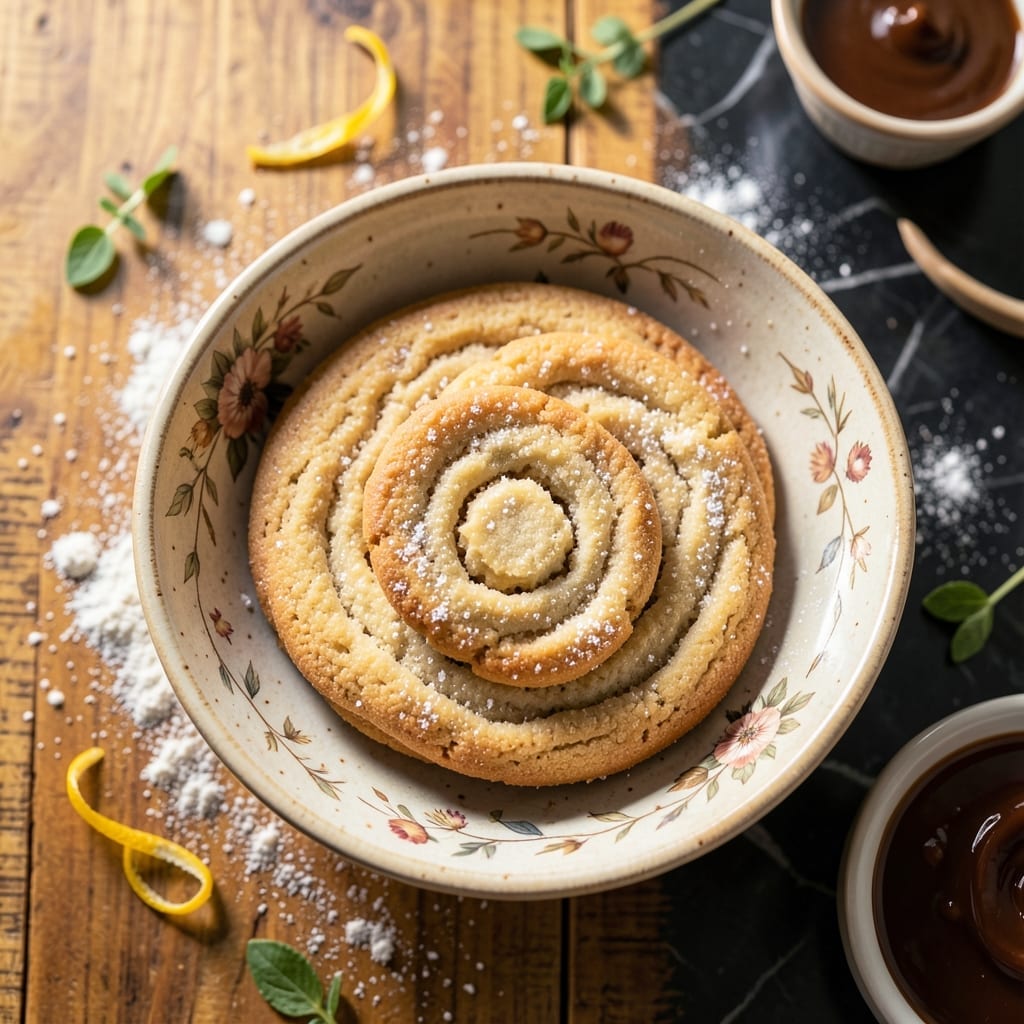
This shortbread recipe transforms simple ingredients into a buttery canvas for edible art. The brown bag method ensures even baking and a delicate texture that holds intricate designs beautifully.
I developed this technique to create cookies that are as visually stunning as they are delicious. The shortbread base provides a neutral, sweet foundation that lets your artistic decorations shine.
The dough comes together quickly with basic pantry staples, then bakes to a golden perfection in about 20 minutes. This method works for both intricate designs and simple patterns.
Once cooled, these cookies become your edible artwork, ready for icing, painting, or any decorative technique you choose. The flavor stays rich and buttery regardless of your design choices.
Ingredients for Brown Bag Cookie Art Shortbread
Basic pantry staples create this buttery, artistic shortbread base for intricate designs.
| Ingredient | Amount | Notes |
|---|---|---|
| Unsalted Butter 🧈 | 1 cup | Room temperature, high-fat content preferred |
| Granulated Sugar 🍚 | ½ cup | Fine grain for even distribution |
| All-Purpose Flour 🌾 | 2 cups | Sifted for lighter texture |
| Fine Sea Salt 🧂 | ¼ tsp | Enhances buttery flavor |
| Pure Vanilla Extract 🌿 | 1 tsp | High-quality for depth |
| Cornstarch 🌾 | 2 tbsp | Creates tender crumb |
| Brown Paper Bags 📦 | 2 whole | Food-safe, unbleached preferred |
| Parchment Paper 📜 | 1 sheet | For rolling dough |
| Rolling Pin 🎳 | 1 whole | For even dough thickness |
| Cookie Cutters ✂️ | 1 piece | Assorted shapes for designs |
[recipe_ingredient_scaler]
The butter is critical here—Plugra or European-style gives the best flavor and texture. King Arthur Flour is my go-to for all-purpose; their protein content is consistent. The sea salt should be fine grain to distribute evenly. I always use Nielsen-Massey vanilla because its flavor profile is cleaner than imitation. Cornstarch is the secret to that delicate, crumbly texture that holds designs perfectly.
No cornstarch? Arrowroot powder at the same ratio works. Out of vanilla? Skip it—the butter shines either way. For a richer flavor, replace 2 tbsp flour with powdered sugar. The paper bags need to be food-safe; lunch bags from the grocery store work if they’re unprinted. Want extra crispness? Chill the dough 30 minutes before rolling.
Dough keeps 3 days refrigerated or 1 month frozen. Baked cookies stay fresh 1 week in an airtight container at room temperature. For longer storage, freeze undecorated cookies for up to 3 months.
Why You’ll Love This Recipe
- One-Bowl Wonder: I just dump the butter, sugar, flour, salt, and vanilla in a single bowl—no fancy gadgets, no mess.
- Buttery Perfection: That rich, creamy unsalted butter mixed with vanilla gives it a melt-in-your-mouth taste that’s hard to beat.
- Kid-Friendly Fun: My nieces love pressing the dough into the brown bags and drawing their own cookie art before baking.
- Budget Stretcher: Five pantry staples and under $5 later, I’ve got a batch of shortbread that lasts all week.
Step-by-Step Instructions for Brown Bag Cookie Art Shortbread
This method ensures tender, buttery shortbread with crisp edges for your edible canvas.
Step 1: Cream Butter and Sugar to Light Perfection
In a large mixing bowl, beat the 1 cup Unsalted Butter with the 0.5 cup Granulated Sugar using a stand mixer or hand mixer on medium speed for 3-4 minutes. The mixture should transform from yellow to pale cream and develop a light, airy texture.
This creaming process incorporates air, which creates the melt-in-your-mouth quality characteristic of proper shortbread. Ensure the butter is at room temperature—cold butter won’t cream properly, while overly soft butter will create a greasy texture. Scrape the bowl sides as needed for even mixing.
Step 2: Incorporate Dry Ingredients with Precision
In a separate bowl, whisk together the 2 cups All-Purpose Flour, 2 tbsp Cornstarch, and 0.25 tsp Fine Sea Salt. The cornstarch is crucial—it inhibits gluten formation, guaranteeing that tender crumb we’re after.
Gradually add the dry ingredients to the butter mixture on low speed, mixing just until the dough comes together and no flour streaks remain. Overworking the dough will develop gluten, resulting in tough shortbread. The final texture should resemble coarse sand that holds together when pressed.
Step 3: Add Vanilla and Shape the Dough
Mix in the 1 tsp Pure Vanilla Extract until fully incorporated. The vanilla adds depth without overpowering the buttery flavor. Divide the dough in half and shape each portion into a 1-inch thick disc.
Wrap each disc in plastic wrap and chill in the refrigerator for 30 minutes. This resting period allows the flour to fully hydrate and the butter to firm up, making the dough easier to roll and preventing spreading during baking. The discs should feel firm but not rock-hard when ready.
Step 4: Roll, Cut, and Transfer to Brown Bags
On a surface dusted with additional flour, use the 1 whole Rolling Pin to roll one dough disc to ¼-inch thickness. For even rolling, rotate the dough 90 degrees after each pass to maintain uniform thickness.
Use the 1 piece Cookie Cutters to cut shapes from the dough. Transfer the cutouts to one of the 2 whole Brown Paper Bags, placing them 1 inch apart to prevent merging during baking. Gather the dough scraps, re-roll, and continue cutting until all dough is used.
Step 5: Bake to Golden Perfection
Preheat your oven to 325°F. Place the filled brown paper bag on a baking sheet—this creates the perfect environment for even heat distribution and that characteristic crisp texture. Bake for 20-25 minutes or until the edges are light golden brown.
The paper bag method also prevents the bottoms from over-browning while allowing the tops to develop color. Rotate the baking sheet 180 degrees halfway through baking for even color. Cool the shortbread on the 1 sheet Parchment Paper before decorating your edible art.
Pro Tips For Making Brown Bag Cookie Art Shortbread
- Chill the Dough: I learned this the hard way—let the dough rest in the fridge for at least 30 minutes before rolling and cutting. It prevents the butter from melting too soon and keeps your designs sharp.
- Use Room-Temp Butter: Sounds obvious, but take the butter out 1-2 hours before baking. Too cold and it won’t cream properly; too soft and your shortbread will spread and lose its shape.
- Skip Packed Brown Sugar: Stick to granulated sugar—brown sugar adds moisture that can make your shortbread spread, blurring the edges of your cookie art.
- Roll Between Parchment: My grandmother swore by this: roll the dough between two sheets of parchment to avoid extra flour and keep the thickness even—about ¼ inch works best for crisp, defined cookies.
Wine and Beer Pairings for These Flavors
Sweet Wine Pairings
For these buttery cookies, I love a Moscato d’Asti from Italy—its light effervescence and peach notes complement the shortbread’s richness without overpowering it. The subtle sweetness enhances the vanilla undertones beautifully.
Dessert Wine Classic
A chilled Sauternes from Bordeaux offers a luxurious pairing with its honey and apricot flavors. The wine’s acidity cuts through the butter while its sweetness matches the cookie’s delicate flavor. I save this for special occasions. 🍷
Coffee Pairing
For non-alcoholic options, a light roast Ethiopian coffee with its floral and citrus notes provides a wonderful contrast to the shortbread’s richness. The bright acidity refreshes your palate between bites.
Beer Options
Try a Belgian lambic like Cantillon—its fruity, slightly tart profile works surprisingly well with the buttery base. For darker beers, a stout with vanilla notes can mirror the cookie’s flavor. 🍺
Tea Pairings
A fragrant Earl Grey with its bergamot notes offers a lovely contrast to the shortbread’s simplicity. I also enjoy a chamomile tea for a soothing accompaniment that lets the cookie shine.
Sparkling Option
Prosecco’s light bubbles and apple-pear flavors make it a versatile choice. The effervescence cleanses your palate, preparing it for the next buttery bite. I prefer extra dry Prosecco for this pairing. ✨
Nutrition Facts
Frequently Asked Questions
Why use brown paper bags for baking?
The bags create even heat distribution, preventing over-browning while maintaining a crisp texture. This method also adds a subtle rustic charm to your edible art.
Can I use parchment paper instead of bags?
Yes, but the results differ. Parchment gives a more uniform bake, while bags create a slightly crispier edge. Both work for 20-25 minutes at 325°F.
How do I prevent designs from smudging?
Let cookies cool completely before decorating. Use royal icing for fine details, and allow each color layer to dry for 15-20 minutes before adding more.
Can I make the dough ahead?
The dough keeps refrigerated for 3 days or frozen for 1 month. Just thaw overnight in the fridge before rolling.

Trained in classic French technique but raised on slow-cooked ribs and spicy rubs, she blends culinary skill with smoke and soul.
- Recipe for Boneless Pork Chops in Cast Iron Skillet: Sear and Baste to Juicy Perfection - October 3, 2026
- Recipe for Boneless Cross Rib Roast: Slow-Roasted Beef with Herb Crust - October 3, 2026
- Hamburgers in Sauce Recipe Crock Pot: Slow-Cooked Savory Delight - October 3, 2026