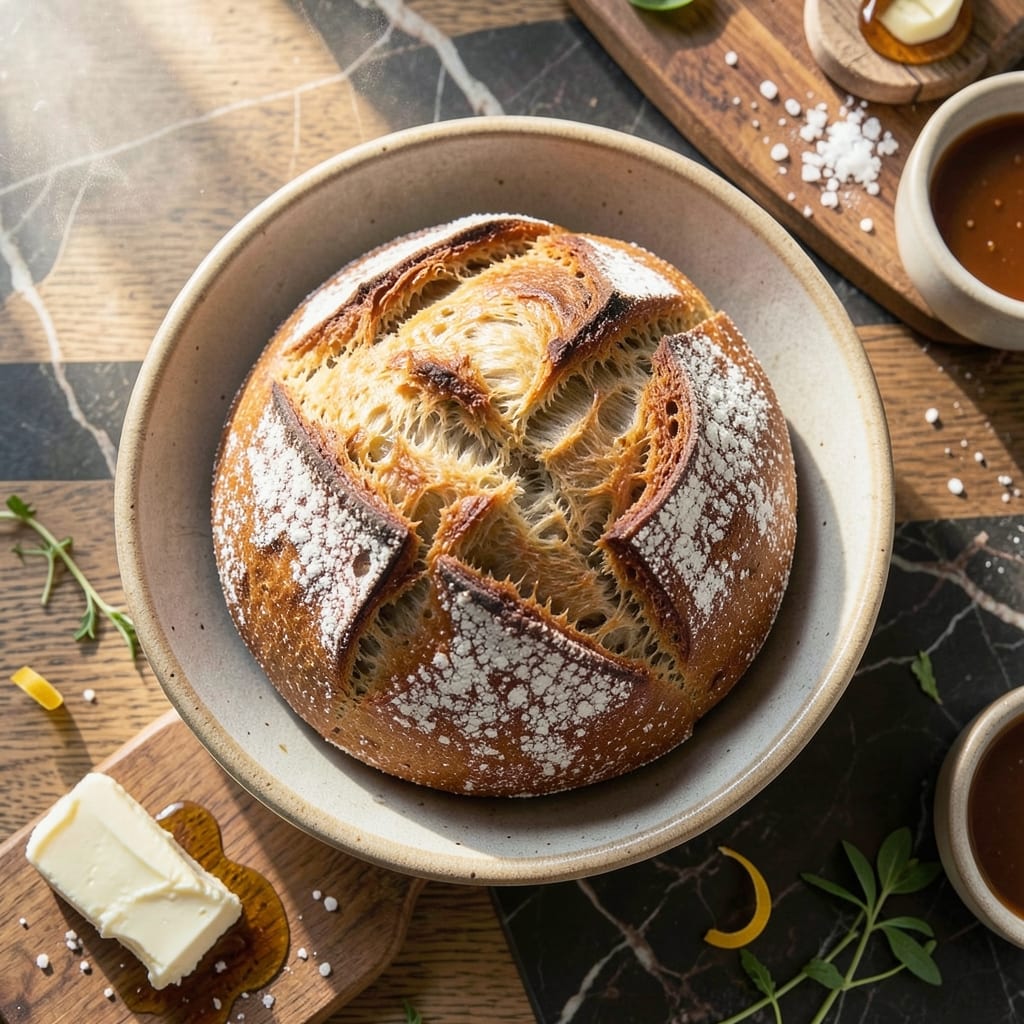
I developed this sourdough method specifically for beginners who want bakery-quality results without the complexity. The technique focuses on minimal hands-on time while delivering foolproof texture and flavor.
This approach uses a simplified schedule with extended fermentation to build flavor naturally. You’ll work with the dough’s timeline, not against it, creating that signature open crumb structure.
The result is a loaf with a crispy crust and airy interior that rivals artisanal bakeries. No special equipment required—just patience and this proven method.
Perfect for first-time bakers ready to achieve professional results at home. The process is straightforward, with clear steps to ensure success.
Ingredients for Easiest Sourdough Bread Recipe for Beginners
Minimal ingredients yield bakery-quality sourdough with open crumb and crispy crust.
| Ingredient | Amount | Notes |
|---|---|---|
| Bread Flour 🌾 | 3 ½ cups | High-protein all-purpose works too |
| Active Sourdough Starter 🍞 | ½ cup | Fed and bubbly, at peak |
| Water 💧 | 1 ½ cups | Filtered, room temperature |
| Sea Salt 🧂 | 2 tsp | Fine grain, dissolved in water |
| Olive Oil 🫒 | 1 tbsp | For bowl lubrication |
| Rice Flour 🌾 | ¼ cup | For dusting banneton |
| Whole Wheat Flour 🌾 | ½ cup | Optional for enhanced flavor |
| Honey 🍯 | 1 tsp | Optional for slight sweetness |
| Vital Wheat Gluten 🌾 | 1 tbsp | Optional for extra structure |
| Cornmeal 🌽 | 2 tbsp | For baking surface |
[recipe_ingredient_scaler]
The flour is foundational here. King Arthur Bread Flour delivers consistent results with its high protein content, though Gold Medal All-Purpose can substitute in a pinch. Your sourdough starter must be active and fed—look for a bubbly surface and slight rise before using. For the best texture, use filtered water to avoid chlorine interference. Most bakeries source their flour from specialty mills, but grocery store brands work for home bakers.
No bread flour on hand? All-purpose plus 1 tbsp vital wheat gluten per cup mimics the protein content. Sea salt can be swapped with kosher salt at double the volume. The rice flour for dusting can be replaced with all-purpose flour, though it may stick slightly more. For a nuttier flavor, substitute rye flour for up to 25% of the bread flour.
Store unused starter in the fridge for up to 1 week between feedings. Flour keeps in airtight containers for 6-12 months. Baked loaves stay fresh in a bread box for 3-4 days or freeze for 3 months.
Why You’ll Love This Recipe
- No-Knead Magic: I just mix flour, water, and my active starter the night before—no fancy techniques, just time doing the work for me.
- Tangy Crust: The sourdough starter gives it that signature depth, while olive oil adds a subtle richness that’s honestly hard to beat.
- Weeknight Hero: I bake a loaf Sunday and it’s breakfast toast, lunch sandwiches, or dinner sides all week—no waste, all reward.
- Pantry Staples: Bread flour, salt, and my ever-ready starter mean I’m never more than 24 hours away from fresh, warm bread.
Step-by-Step Instructions for Easiest Sourdough Bread
Master the basics with this straightforward approach to artisanal bread at home.
Step 1: Mix and Autolyse the Dough
In a large mixing bowl, combine the 3.5 cups Bread Flour, 0.5 cup Active Sourdough Starter, and 1.5 cups Water. If using, add the 0.5 cup Whole Wheat Flour, 1 tsp Honey, and 1 tbsp Vital Wheat Gluten for enhanced flavor and structure.
Mix with a wooden spoon or your hands until no dry flour remains. The dough will be shaggy and sticky—that’s normal. Cover with a damp towel and let it rest for 30-60 minutes. This autolyse period kickstarts gluten development without kneading.
Step 2: Incorporate Salt and Perform Stretch-and-Folds
After the autolyse, sprinkle the 2 tsp Sea Salt evenly over the dough. Dimple the salt into the surface with wet hands to distribute it thoroughly. The dough will feel slightly stronger as the salt tightens the gluten network.
Over the next 2 hours, perform 3-4 sets of stretch-and-folds, spaced 30 minutes apart. Wet your hands, grab one side of the dough, stretch it upward, and fold it over itself. Rotate the bowl and repeat on all sides. The dough should become smoother and more elastic with each set.
Step 3: Bulk Ferment Until Doubled
After the final stretch-and-fold, cover the dough and let it ferment at room temperature for 4-6 hours, or until it has increased in volume by about 50-75%. Look for bubbles on the surface and at the edges of the bowl—this indicates active fermentation.
If your kitchen is cool, the fermentation may take longer. Don’t rush this step; the flavor develops significantly during this time. The dough is ready when it jiggles slightly when shaken and has a slightly domed top.
Step 4: Shape, Proof, and Prepare for Baking
Turn the dough out onto a lightly floured surface. Shape it into a tight boule or batard by pulling the edges toward the center and pinching them together to create surface tension. Place the dough seam-side up in a well-floured banneton dusted with 0.25 cup Rice Flour.
Cover and refrigerate for 12-18 hours for cold proofing. This slow fermentation enhances flavor and makes scoring easier. Before baking, turn the dough out onto a piece of parchment paper dusted with 2 tbsp Cornmeal.
Step 5: Bake to Perfection
Preheat your oven to 475°F with a Dutch oven inside for 45 minutes. This ensures the pot is thoroughly heated. Carefully transfer the dough (still on parchment) into the hot Dutch oven. Score the top with a sharp knife or razor blade in a swift, confident motion.
Bake covered for 20 minutes, then remove the lid and bake for another 20-25 minutes until the crust is deep golden brown and the internal temperature reaches 205-210°F. The loaf should sound hollow when tapped on the bottom. Allow it to cool on a wire rack for at least 1 hour before slicing to preserve the open crumb structure.
Pro Tips For Making Easiest Sourdough Bread Recipe For Beginners
- Test Your Starter: I learned this the hard way—float a spoonful of your sourdough starter in water before using it. If it sinks, it’s not ready, and your bread won’t rise properly.
- Autolyse First: Mix the bread flour and water first, then let it sit for 30-60 minutes before adding salt and starter. This step makes the dough easier to handle and improves texture.
- Skip Cold Water: Use lukewarm water (around 80-90°F) to keep the fermentation active. Cold water slows everything down, and beginners often mistake this for a failed rise.
- Oil the Bowl: After kneading, coat the dough and the bowl with about 1 tablespoon of olive oil before the first rise. This prevents sticking and makes shaping later a breeze.
Serving Suggestions for Leftovers
Fresh from the Oven
I always let my sourdough cool for at least 1 hour before slicing—this preserves the open crumb. The first slice should reveal that beautiful airy interior with a crispy crust that cracks satisfyingly. Serve warm for the best texture experience. 🔥
Butter and Jam
For breakfast, I love spreading thick slices with salted butter that melts into the warm bread. Pair it with homemade strawberry jam for a classic combination. The tang of the sourdough balances the sweetness perfectly.
Olive Oil Dip
Channel my Sicilian roots with a simple olive oil dip. Mix ¼ cup extra virgin olive oil with 1 tsp balsamic vinegar and a pinch of flaky salt. Tear off chunks of crust for dipping—just like Nonna taught me.
Cheese Board Star
This bread shines on a cheese board with sharp cheddar, brie, and aged gouda. I add prosciutto from my local Italian deli and some honeycomb. The crust holds up to all the toppings without getting soggy.
Soup Companion
Pair with hearty soups like minestrone or tomato basil. The bread’s texture soaks up broth beautifully while maintaining its structure. I always toast my slice lightly before serving with soup for extra crunch.
Garlic Bread Twist
Transform leftovers into garlic bread by rubbing cut sides with a garlic clove, drizzling with olive oil, and toasting at 375°F for 5-7 minutes. It’s a delicious way to use every last piece. ✨
Nutrition Facts
Frequently Asked Questions
What if my starter isn’t very active?
Feed it 1:1:1 (starter:flour:water) every 12 hours until bubbly. Use it at peak activity for best rise.
Can I skip the cold proof?
Not recommended. The 12-18 hour cold proof develops flavor and makes scoring easier. Room temp proofing works but yields less complex taste.
Why did my bread turn out dense?
Likely underproofed or weak starter. Ensure dough rises 50-75% during bulk fermentation and your starter floats in water before using.
How do I store leftovers?
Keep in a paper bag at room temp for 3-4 days, or freeze sliced for up to 3 months. Reheat in toaster for freshness.

Trained in classic French technique but raised on slow-cooked ribs and spicy rubs, she blends culinary skill with smoke and soul.
- Recipe for Curried Tofu: Aromatic Spices With Crispy Edges - October 3, 2026
- Recipe for Dumplings in Crock Pot: Fluffy Pillows with Minimal Effort - October 3, 2026
- Recipe For Diced Pork In Slow Cooker: Melt-In-Your-Mouth Tenderness All Day - October 3, 2026