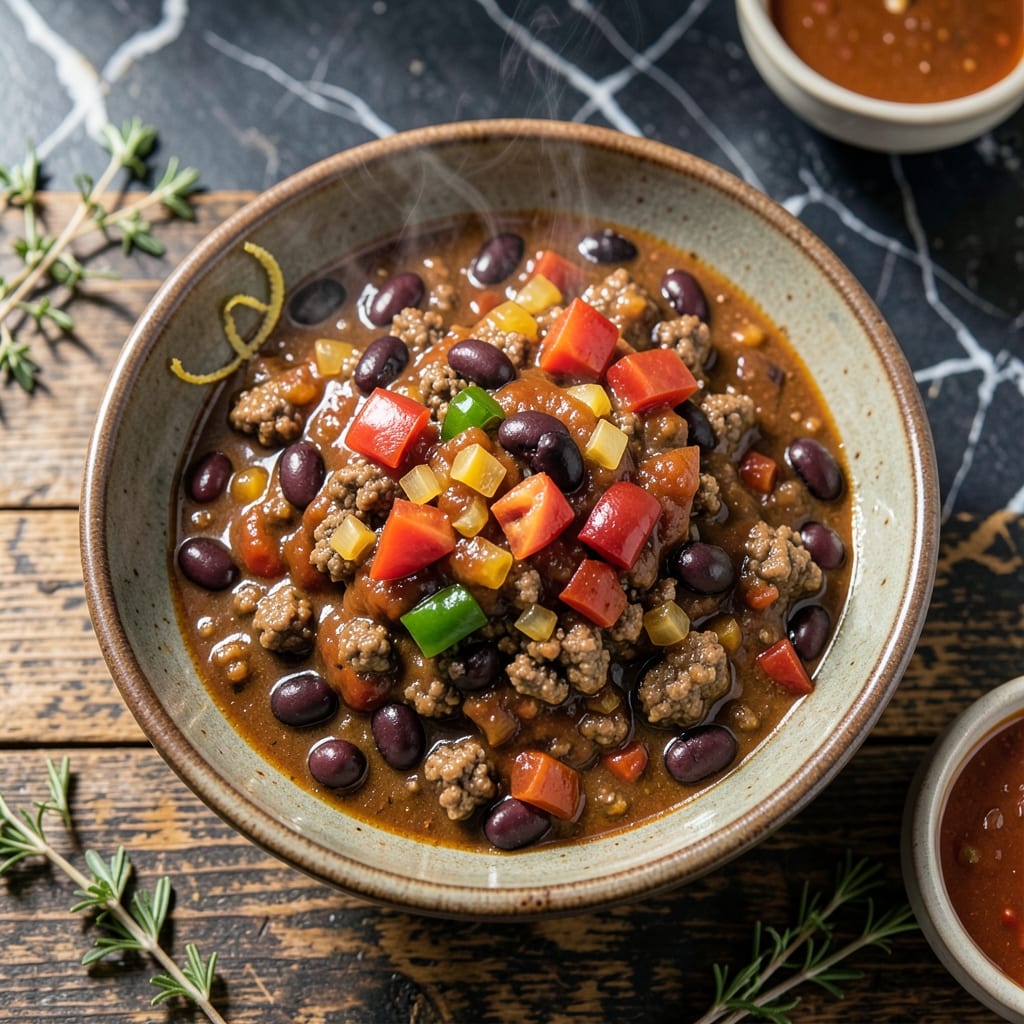
There’s nothing more comforting than a warm bowl of chili, especially when it’s easy to make. I developed this recipe while testing different equipment in my kitchen, ensuring it works flawlessly for beginners.
This one-pot method means less cleanup and more flavor. Simple ingredients simmer together, creating a rich, hearty base that’s hard to resist. David, my official taste-tester, always asks for seconds.
What you’ll get is a thick, satisfying chili with tender beans and a deep, savory taste. It’s the kind of dish that feels like a hug in a bowl, perfect for any night of the week.
Serve it with cornbread or over rice for a meal that’s as filling as it is comforting.
Ingredients for Easy Chili Recipe for Beginners
Pantry staples and a quick grocery run. Nothing complicated, just hearty comfort.
| Ingredient | Amount | Notes |
|---|---|---|
| Ground Beef 🥩 | 1 lb | 80/20 lean-to-fat ratio preferred |
| Kidney Beans 🫘 | 2 cans | 15 oz each, drained and rinsed |
| Black Beans 🫘 | 1 can | 15 oz, drained and rinsed |
| Diced Tomatoes 🍅 | 2 cans | 14.5 oz each, undrained |
| Tomato Paste 🍅 | 2 tbsp | For deep umami flavor |
| Yellow Onion 🧅 | 1 whole | Medium, finely diced |
| Garlic Cloves 🧄 | 3 cloves | Minced for maximum flavor |
| Green Bell Pepper 🌶️ | 1 whole | Seeds removed, diced small |
| Chili Powder 🌶️ | 2 tbsp | Mild or medium heat |
| Ground Cumin 🌿 | 1 tsp | Toasted for warmth |
| Smoked Paprika 🌶️ | 1 tsp | For smoky depth |
| Dried Oregano 🍃 | 1 tsp | Mediterranean variety preferred |
| Beef Broth 🥘 | 2 cups | Low-sodium preferred |
| Olive Oil 🫒 | 1 tbsp | For sautéing vegetables |
| Salt 🧂 | 1 tsp | Adjust to taste |
[recipe_ingredient_scaler]
The beef is the base here—80/20 ground chuck gives you rich flavor without being greasy. Most supermarkets carry it pre-packaged. I grab mine from Whole Foods when I’m restocking the freezer (their butcher does great quality). For the beans, canned works perfectly—just rinse them well to remove that metallic taste. The tomatoes? Any brand’s fine, but San Marzano if you’re feeling fancy.
No ground beef? Ground turkey or plant-based crumbles work great—just brown them the same way. Swap kidney beans for pinto if that’s what’s in the cupboard. Missing green bell pepper? Red or yellow bell peppers add a sweeter note. Fresh out of chili powder? One tablespoon each cumin and paprika plus a pinch of cayenne gets you close. The broth can be vegetable if you’re avoiding beef.
This chili tastes even better the next day—4-5 days in the fridge, 3 months frozen. I always make a double batch (freeze half for later). Leftovers reheat beautifully on the stove or in the microwave.
Why You’ll Love This Recipe
- One Pot Wonder: I brown the beef, dump in the rest, and let it simmer—no chopping piles of veggies or juggling multiple pans.
- Rich and Hearty: The combo of kidney and black beans with those diced tomatoes gives it a deep, meaty flavor even without fancy spices.
- Feeds a Crowd: I make a double batch and it’s dinner for two nights, or a potluck dish that disappears fast.
- Budget Stretcher: Ground beef and canned beans keep the cost low, but it tastes like I spent hours on it. Honestly, my wallet thanks me.
Step-by-Step Instructions for Easy Chili
This one-pot method keeps things simple while delivering maximum flavor every time.
Step 1: Brown the Ground Beef
Heat the 1 tbsp olive oil in a large pot over medium-high heat. Add the 1 lb Ground Beef and cook, breaking it up with a wooden spoon, until it’s no longer pink and starts to develop a light crust, about 5-7 minutes.
I like to let the beef sit undisturbed for about 1 minute at a time to develop some browned bits—this adds depth of flavor. Drain off excess fat if needed, but leave about 1 tbsp in the pot for the next step. Season the cooked beef with the 1 tsp Salt and stir to combine.
Step 2: Sauté the Vegetables
Add the finely diced 1 whole Yellow Onion, diced 1 whole Green Bell Pepper, and minced 3 cloves Garlic Cloves to the pot with the beef. Cook over medium heat for 4-5 minutes, stirring occasionally, until the vegetables soften and the onion becomes translucent.
You’ll know it’s ready when the mixture becomes fragrant and the vegetables start to release their moisture. This creates a flavorful base for your chili. Don’t let the garlic burn—if it starts to brown too quickly, reduce the heat slightly.
Step 3: Add Spices and Build the Base
Stir in the 2 tbsp Chili Powder, 1 tsp Ground Cumin, 1 tsp Smoked Paprika, and 1 tsp Dried Oregano. Cook for 30 seconds until the spices become aromatic and lightly toasted. This step wakes up the flavors in your spices.
Immediately add the 2 tbsp Tomato Paste and cook for another 1 minute, stirring constantly. The tomato paste should darken slightly in color, which means it’s caramelizing and adding rich umami depth to your chili. Watch carefully to prevent burning.
Step 4: Simmer and Develop Flavors
Add the 2 cans Diced Tomatoes (with their juices), 2 cans Kidney Beans, 1 can Black Beans, and 2 cups Beef Broth. Stir well to combine all ingredients. Bring the mixture to a boil, then reduce the heat to low.
Let the chili simmer uncovered for 20-25 minutes, stirring occasionally. You want it to thicken slightly and the flavors to meld together. The beans should be heated through and the liquid should reduce enough that the chili coats the back of a spoon. Taste and adjust seasoning if needed.
Pro Tips For Making Easy Chili Recipe For Beginners
- Brown the Beef Well: Cook the ground beef until it’s deeply browned, not just gray—about 5-7 minutes over medium-high heat. I learned this the hard way when my chili tasted flat because I rushed this step.
- Drain the Beans: Rinse and drain the kidney and black beans to remove excess starch. Sounds tedious, but it prevents a gummy texture in your chili.
- Skip the Raw Paste: Bloom the tomato paste in the pot for 1-2 minutes after browning the beef—it kills the tinny flavor. My grandmother swore by this, and she was right.
- Simmer Low and Slow: Once everything’s in the pot, keep it at a gentle simmer, not a rolling boil. After burning three batches, I finally figured out that slow heat lets the flavors meld properly.
Dietary Considerations for This easy chili recipe for beginners
Gluten-Free Naturally
This chili is naturally gluten-free as long as you check your spice blends carefully. Some chili powder brands use wheat flour as an anti-caking agent. I always grab McCormick or Penzeys at Central Market—both are reliably gluten-free. 💡
Vegetarian Option
Swap the 1 lb Ground Beef for 1 lb plant-based crumbles like Beyond Meat or Impossible. Brown them the same way, and use vegetable broth instead of beef. David couldn’t tell the difference in my last batch.
Lower Sodium
Use low-sodium beans and low-sodium broth to cut the salt content significantly. I also recommend reducing the added 1 tsp Salt by half. The flavors still shine through beautifully.
Dairy-Free
This recipe is already dairy-free with no modifications needed. If you’re serving with toppings, skip the cheese or use dairy-free shreds. Many brands at Whole Foods melt nicely.
Spice Level Control
For mild chili, use mild chili powder and skip the smoked paprika. For more heat, add ½ tsp cayenne with the other spices. I often set out hot sauce so everyone can adjust their own bowl. 🌶️
Bean-Free Version
Omit the beans entirely and double the Ground Beef to 2 lbs. You may need an extra ½ cup broth to maintain the right consistency. This makes a heartier, meat-focused chili.
Nutrition Facts
Frequently Asked Questions
Can I use ground turkey instead?
Swap the beef for 1 lb ground turkey. It cooks the same way and stays just as tender. The flavor will be slightly milder, but still delicious.
How do I make it less spicy?
Use mild chili powder and skip the smoked paprika. Taste before serving and adjust with a pinch of sugar if needed. This keeps it kid-friendly.
Can I make this in a slow cooker?
Yes! Brown the meat first, then transfer everything to your slow cooker. Cook on low for 6-8 hours or high for 3-4 hours. The flavors deepen beautifully.
What’s the best way to store leftovers?
Let it cool completely, then store in an airtight container in the fridge for up to 5 days. For longer storage, freeze for up to 3 months.

Trained in classic French technique but raised on slow-cooked ribs and spicy rubs, she blends culinary skill with smoke and soul.
- Recipe for Boneless Pork Chops in Cast Iron Skillet: Sear and Baste to Juicy Perfection - October 3, 2026
- Recipe for Boneless Cross Rib Roast: Slow-Roasted Beef with Herb Crust - October 3, 2026
- Hamburgers in Sauce Recipe Crock Pot: Slow-Cooked Savory Delight - October 3, 2026