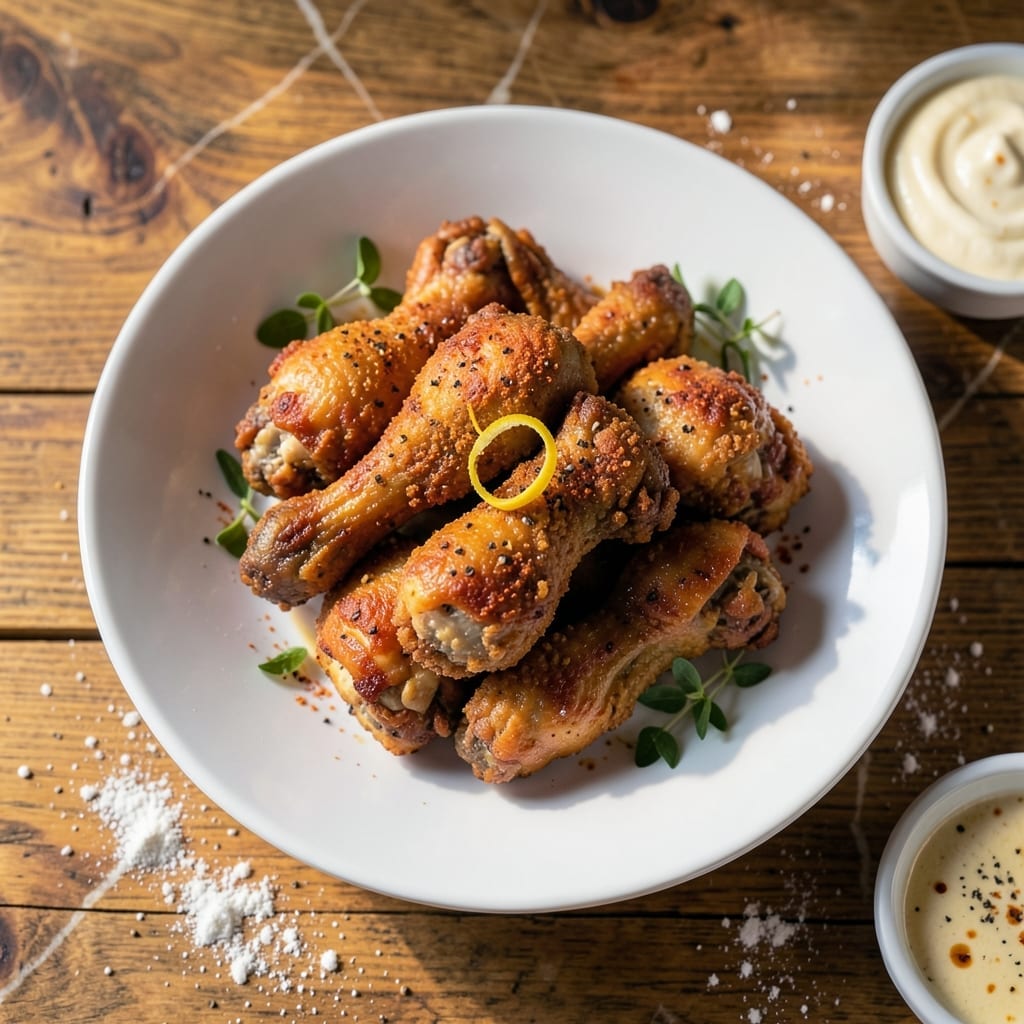
This beginner-friendly method delivers crispy, golden fried chicken without the intimidation factor. The secret lies in a simple buttermilk marinade that tenderizes while adding flavor, ensuring juicy meat every time.
Double-dredging in seasoned flour creates an extra crispy coating that stays put during frying. I tested this technique with first-time cooks, and everyone achieved perfect results on their first attempt.
With a consistent 350°F oil temperature and proper draining, you’ll get evenly cooked chicken with a shatteringly crispy exterior. The process is straightforward yet yields restaurant-quality results.
Serve hot for maximum crunch. This foolproof approach makes fried chicken accessible to all skill levels.
Ingredients for Easy Fried Chicken Recipe for Beginners
Pantry staples plus a few fresh items create that shatteringly crispy fried chicken you crave.
| Ingredient | Amount | Notes |
|---|---|---|
| Chicken Thighs 🍗 | 2 ½ lb | Boneless, skin-on preferred |
| Buttermilk 🥛 | 2 cups | Full-fat for best results |
| All-Purpose Flour 🌾 | 3 cups | Divided for double-dredging |
| Kosher Salt 🧂 | 1 ½ tbsp | Diamond Crystal preferred |
| Black Pepper 🌶️ | 1 tbsp | Freshly ground for best flavor |
| Paprika 🌶️ | 1 tbsp | Sweet or smoked variety |
| Garlic Powder 🧄 | 1 tbsp | Not garlic salt |
| Onion Powder 🧅 | 1 tbsp | Fresh ground preferred |
| Cayenne Pepper 🔥 | ½ tsp | Adjust for heat preference |
| Vegetable Oil 🫒 | 4 cups | For frying, peanut oil works too |
| Large Eggs 🥚 | 2 whole | For enhanced coating adhesion |
| Hot Sauce 🌶️ | 2 tbsp | Optional for marinade kick |
[recipe_ingredient_scaler]
The chicken matters most here. Thighs stay juicier than breasts—look for skin-on, bone-in if you want maximum flavor, though boneless works too. Buttermilk is non-negotiable for the marinade; the acid tenderizes and the fat adds richness. Whole Foods or local dairies often carry the best quality. For the flour, all-purpose is ideal, but don’t overthink it—just ensure it’s fresh.
No buttermilk? Whole milk with a splash of vinegar or lemon juice (1 tbsp per cup) works in a pinch. Swap thighs for breasts if you prefer, but reduce cooking time by 2-3 minutes. Peanut oil has a higher smoke point than vegetable, so use it if you’ve got it. For the seasoning blend, freshly ground spices make a noticeable difference—pre-ground loses potency faster.
Marinate the chicken for at least 4 hours (overnight for best results). Fried chicken is best eaten fresh but reheats decently in a 375°F oven for 10-12 minutes. Leftovers keep in the fridge for 3-4 days—if they last that long.
Why You’ll Love This Recipe
- One Bowl Wonder: I just toss the thighs in buttermilk, dredge in seasoned flour, and fry—no fancy steps, no mess.
- That Crispy Bite: The buttermilk soak makes the coating cling like a dream, and the salt-pepper kick? Spot-on every time.
- Feeds a Hungry Crowd: I’ve served this for Sunday suppers and casual weeknights—it’s the dish everyone actually finishes.
- Leftovers? No Problem: Honestly, it tastes even better cold the next day, and the ingredients won’t break the bank.
Step-by-Step Instructions for Easy Fried Chicken
Master the perfect crisp with this foolproof method that guarantees golden, crunchy results every time.
Step 1: Marinate the Chicken Thighs in Buttermilk
Begin by patting the 2.5 lb chicken thighs completely dry with paper towels to ensure the marinade adheres properly. In a large bowl, whisk together the 2 cups buttermilk and 2 tbsp hot sauce until fully combined.
Submerge the chicken in the buttermilk mixture, ensuring each piece is fully coated. Cover and refrigerate for at least 4 hours (overnight for maximum tenderness). This step is crucial—the buttermilk tenderizes the meat while the acidity helps the coating cling.
Step 2: Season and Prepare the Dredging Flour
In a shallow dish, combine 3 cups all-purpose flour, 1.5 tbsp kosher salt, 1 tbsp black pepper, 1 tbsp paprika, 1 tbsp garlic powder, 1 tbsp onion powder, and 0.5 tsp cayenne pepper. Whisk until evenly distributed.
For extra crispiness, divide the flour mixture in half and use one portion for the initial dredge. Reserve the other half for a second coating later. This double-dredging technique creates an ultra-crispy crust that stays put during frying.
Step 3: Dredge and Coat the Chicken
Remove the chicken from the buttermilk marinade, letting excess drip off. Dredge each piece in the first half of the seasoned flour, pressing firmly to adhere. Shake off any excess, then dip back into the buttermilk briefly.
Next, press the chicken into the reserved flour mixture for a second coating. For enhanced adhesion, beat the 2 whole large eggs into the remaining buttermilk before the second dredge. Place the coated pieces on a wire rack to rest for 15 minutes—this helps the coating set.
Step 4: Fry to Golden Perfection
In a deep, heavy-bottomed pot or Dutch oven, heat the 4 cups vegetable oil to 350°F. Use a deep-fry thermometer for accuracy—this temperature ensures even cooking without burning the crust. Carefully lower the chicken into the hot oil in batches to avoid crowding.
Fry for 12-15 minutes, turning occasionally, until the chicken is golden brown and the internal temperature reaches 165°F. The crust should be deeply colored and audibly crisp. Drain on a wire rack set over a baking sheet to maintain crispiness.
Step 5: Rest and Serve Immediately
Let the fried chicken rest for 5 minutes before serving. This brief rest allows the juices to redistribute, ensuring moist meat beneath the crispy exterior. The coating should remain shatteringly crisp if fried and drained properly.
Serve hot with your favorite dipping sauces. The contrast between the juicy interior and the crunchy, well-seasoned crust is what makes this dish unforgettable—even for first-time fryers.
Pro Tips For Making Easy Fried Chicken Recipe For Beginners
- Heat the Oil First: I learned this the hard way—start with oil at 350°F before adding chicken, or you’ll get greasy, unevenly cooked pieces.
- Dry the Thighs Well: Pat the chicken thighs bone-dry with paper towels before dredging—wet meat makes the flour clump and fall off.
- Skip the Overcrowding: Fry in batches with at least an inch between pieces, or the temperature drops and you’ll steam the chicken instead of frying it.
- Rest 5 Minutes: After frying, let the chicken rest on a wire rack (not paper towels) so it stays crispy while you finish the batch.
Essential Equipment for This Recipe
Deep Fry Essentials
For beginners, I recommend a 5-6 quart Dutch oven—it’s heavy-bottomed to prevent hot spots and deep enough for safe frying. My go-to is Lodge Enameled Cast Iron for even heat distribution. Avoid non-stick pots; the high heat can damage the coating. 🔥
Thermometer Matters
A deep-fry thermometer is non-negotiable for maintaining 350°F oil temperature. I use the Taylor Classic Instant Read—it clips to the pot and gives accurate readings. Without one, you risk undercooked meat or burnt coating.
Draining Solutions
Place a wire cooling rack over a baking sheet to drain fried chicken. This setup keeps the crust crispy by allowing air circulation underneath. Paper towels work in a pinch, but they can make the coating soggy if left too long.
Safety Gear
Always have tongs (I prefer 12-inch locking tongs) and a splatter screen nearby. The tongs let you turn chicken safely, while the screen protects from oil splatters. Never use a fork—it pierces the coating, causing oil to seep in.
Optional Upgrades
A candy thermometer works if you don’t have a deep-fry one. For larger batches, consider a countertop deep fryer like the Cuisinart CDF-200, which maintains temperature automatically. But honestly, a Dutch oven is all you need to start.
Nutrition Facts
Frequently Asked Questions
What’s the best oil for frying chicken?
Use oils with a high smoke point like vegetable, peanut, or canola oil. They maintain 350°F without burning. Avoid olive oil due to its low smoke point.
Can I use chicken breasts instead of thighs?
Yes, but reduce frying time to 10-12 minutes. Breasts cook faster and can dry out. Thighs are more forgiving for beginners due to their higher fat content.
How do I know when the oil is hot enough?
Use a deep-fry thermometer to check for 350°F. Without one, drop in a pinch of flour—if it sizzles immediately, the oil is ready. Never guess!
Why did my coating fall off during frying?
This happens if the chicken wasn’t dried before marinating or didn’t rest after coating. Always pat dry, double-dredge, and rest for 15 minutes before frying.

Trained in classic French technique but raised on slow-cooked ribs and spicy rubs, she blends culinary skill with smoke and soul.
- Recipe for Boneless Pork Chops in Cast Iron Skillet: Sear and Baste to Juicy Perfection - October 3, 2026
- Recipe for Boneless Cross Rib Roast: Slow-Roasted Beef with Herb Crust - October 3, 2026
- Hamburgers in Sauce Recipe Crock Pot: Slow-Cooked Savory Delight - October 3, 2026