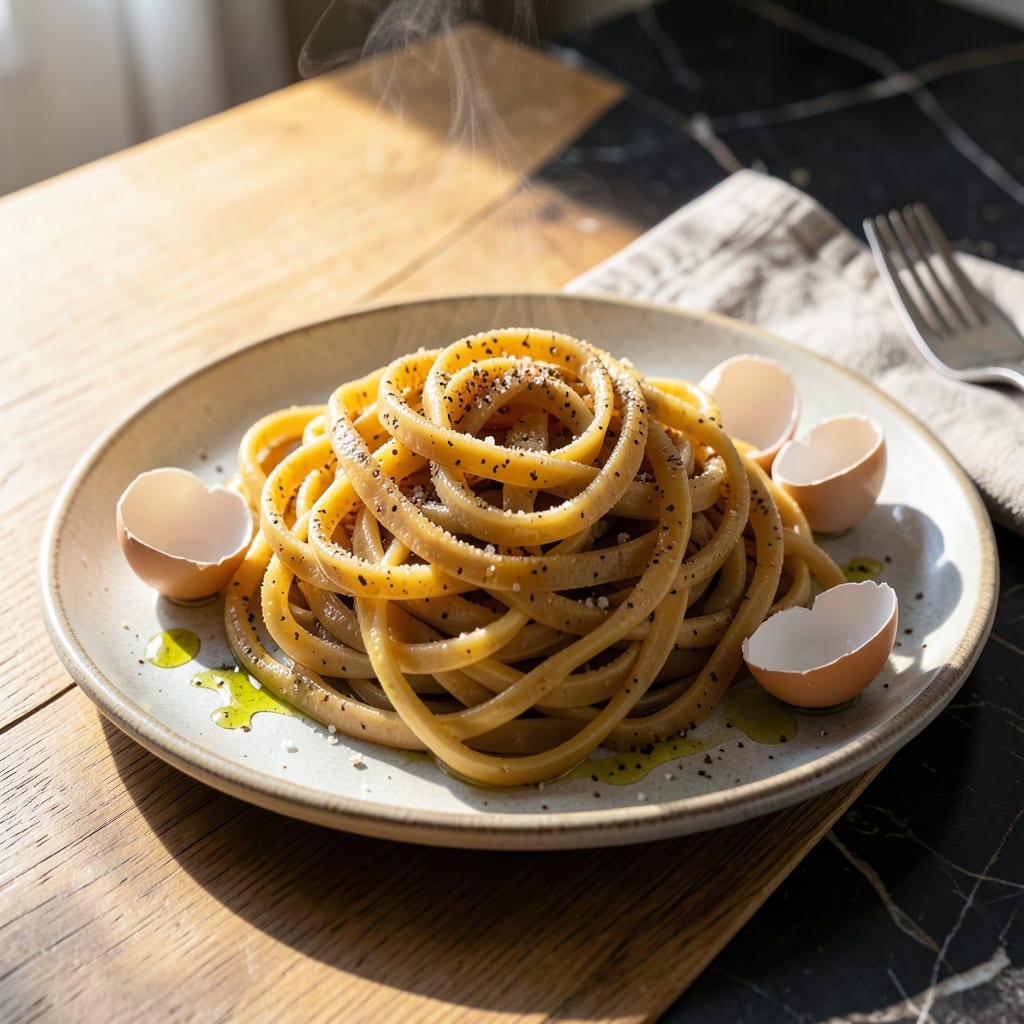
There’s nothing quite like the satisfaction of creating homemade pasta from scratch, especially when it takes just minutes to achieve professional results. This recipe leverages the Philips Pasta Maker to transform simple ingredients into delicate, golden ribbons with minimal effort.
The beauty of this method lies in its precision—the machine handles the mixing and extrusion, ensuring consistent texture every time. With just eggs and flour, you’ll produce tender, fresh noodles that outshine any store-bought variety. No guesswork, no mess, just perfect pasta.
What you’ll get is a batch of egg noodles with a silky texture and rich flavor, ready for sauces, soups, or stir-fries. The process is so streamlined that even beginners can master it on the first try, delivering results that taste like they came from a gourmet kitchen.
Fresh pasta cooks in under 3 minutes, making this a practical choice for weeknight dinners or special occasions. Here’s how to get started.
Ingredients for Egg Noodle Recipe for Philips Pasta Maker
Just flour, eggs, and a touch of salt transform into golden ribbons in minutes.
| Ingredient | Amount | Notes |
|---|---|---|
| All-Purpose Flour 🌾 | 2 cups | Plus extra for dusting machine |
| Large Eggs 🥚 | 3 whole | Room temperature preferred |
| Fine Sea Salt 🧂 | ½ tsp | Diamond Crystal recommended |
| Semolina Flour 🌾 | ¼ cup | For texture enhancement |
| Olive Oil 🫒 | 1 tsp | For machine lubrication |
| Water 💧 | 1 tbsp | As needed for consistency |
[recipe_ingredient_scaler]
The flour is the foundation here. King Arthur all-purpose gives consistent results with the Philips Pasta Maker, though any quality brand works. Semolina adds that authentic pasta texture—Bob’s Red Mill offers a reliable option. Room temperature eggs incorporate more smoothly, so pull them out 30 minutes before starting. The salt should be fine sea salt for even distribution.
No semolina? Bread flour can work in a pinch (higher protein content). Out of all-purpose? Type 00 flour (Italian style) produces even silkier noodles. The olive oil prevents sticking in the machine—any neutral oil works equally well. If your dough seems dry, add water 1 teaspoon at a time until it comes together.
Store fresh noodles in an airtight container with parchment between layers. Keeps in the fridge for 2 days or frozen for 1 month. Dust with flour before freezing to prevent clumping. Cook from frozen—just add 1 extra minute to boiling time.
Why You’ll Love This Recipe
- Pasta in Minutes: Honestly, the Philips pasta maker does all the work—just feed in the dough and watch fresh egg noodles roll out.
- Rich, Eggy Bite: The large eggs and semolina give these noodles a depth that store-bought just can’t match.
- Budget Stretcher: All-purpose flour and eggs cost pennies, yet taste like a fancy Italian kitchen.
Step-by-Step Instructions for Egg Noodles for Philips Pasta Maker
Master the technique for perfect homemade egg noodles every time using your pasta machine.
Step 1: Combine Dry Ingredients on Work Surface
On a clean work surface, create a mound with the 2 cups All-Purpose Flour and 0.25 cup Semolina Flour. Use your fingers to make a well in the center of the mound, ensuring the walls are thick enough to hold the wet ingredients. This traditional method provides better control over hydration.
Sprinkle the 0.5 tsp Fine Sea Salt evenly over the flour mixture. The Diamond Crystal brand dissolves particularly well in this context, distributing flavor uniformly throughout the dough. Avoid adding the salt directly to the well to prevent uneven distribution.
Step 2: Incorporate Wet Ingredients Gradually
Crack the 3 whole Large Eggs directly into the well. Using room temperature eggs ensures they incorporate more smoothly into the flour. Add the 1 tsp Olive Oil and 1 tbsp Water to the well as well. The oil provides essential lubrication for the pasta machine’s rollers.
Using a fork, gently whisk the wet ingredients together in the well, gradually pulling flour from the walls into the mixture. Continue this process until the liquid is fully absorbed. The dough should start to come together in shaggy clumps. If it feels too dry, add water 1 teaspoon at a time.
Step 3: Knead to Smooth Elastic Dough
Once the fork becomes difficult to use, switch to your hands to bring the dough fully together. The dough will initially appear rough and dry, but persistent kneading will transform it. Use the heels of your hands to push the dough away, then fold it back toward you in a rhythmic motion.
Knead for 8-10 minutes until the dough becomes smooth and elastic. It should spring back when pressed lightly with a finger. If the dough sticks to your hands or the surface, dust lightly with additional All-Purpose Flour from your reserved supply. Proper kneading develops the gluten network essential for pasta’s structure.
Step 4: Process Through Pasta Machine
Divide the dough into 4 equal portions for easier handling. Flatten one portion with your hands and dust it lightly with flour. Set your Philips pasta maker to its widest setting (typically setting 1). Feed the dough through the rollers, catching it with one hand as it emerges.
Fold the sheet of dough in thirds like a letter and repeat the process 2-3 times at the widest setting. This lamination process creates a silky texture. Then, progressively narrow the setting by one notch and run the dough through once at each setting until you reach your desired thickness (usually setting 5 or 6 for egg noodles).
Step 5: Cut and Dry the Noodles
Once the dough sheet reaches the desired thickness, switch to the cutting attachment. Feed the sheet through to create uniform ribbons. The Philips pasta maker’s fettuccine setting works perfectly for egg noodles. Immediately dust the cut noodles with additional flour to prevent sticking.
Lay the noodles in a single layer on a floured surface or hang them on a pasta drying rack for 15-20 minutes. They should be slightly dry to the touch but still pliable. This brief drying time ensures they hold their shape when cooked. The noodles are now ready for immediate cooking or can be stored in an airtight container in the refrigerator for up to 2 days.
Pro Tips For Making Egg Noodle Recipe For Philips Pasta Maker
- Pre-Warm the Maker: I learned this the hard way—always run your Philips pasta maker for 2-3 minutes before feeding the dough through. Cold rollers grab unevenly and can tear fresh egg noodles.
- Use Room-Temp Eggs: My grandmother swore by this: pull your large eggs out of the fridge 30 minutes before mixing. Cold eggs make the dough fight you in the machine.
- Skip the Over-Flouring: Sounds weird, but it works: dust your dough lightly with semolina instead of piling on all-purpose flour—too much makes the noodles dry and brittle in the maker.
- Rest Before Cutting: After the first pass through the rollers, let the dough sheet rest for 5-10 minutes under a towel. It relaxes the gluten so the final noodles cut clean without springing back.
Common Mistakes When Making egg noodle recipe for philips pasta maker
Overloading the Machine
One of the most common mistakes is trying to feed too much dough through the Philips Pasta Maker at once. I always divide my dough into 4 equal portions for the smoothest operation. Stuffing in large chunks can jam the rollers or create uneven sheets. 💡
Skipping the Resting Phase
After kneading, let your dough rest for 30 minutes before processing. This allows the gluten to relax, making the dough easier to roll out. Without this rest, you’ll struggle with shrinking sheets and tough noodles. I wrap mine in plastic wrap during this time.
If you’re in a hurry, even 15 minutes of resting makes a noticeable difference in the final texture.
Ignoring Flour Consistency
Using cold eggs straight from the fridge can make your dough too stiff. I always pull my eggs out 30 minutes before starting to ensure they incorporate smoothly. Also, measure your flour properly—scoop and level, don’t pack it down.
Wrong Thickness Setting
For perfect egg noodles, don’t skip the thickness settings. Start at the widest setting (usually 1) and gradually work down to 5 or 6. Rushing this process can tear your dough or create uneven noodles. I find setting 5 gives the ideal thickness for egg noodles.
Neglecting to Dust
Prevent sticking by dusting your dough and machine with flour before each pass. I keep a small bowl of all-purpose flour nearby and dust lightly but thoroughly. This is especially important for the cutting attachment, where noodles can clump together.
Nutrition Facts
Frequently Asked Questions
What thickness setting should I use?
Start at the widest setting 1 and work down to 5 for perfect noodle thickness. This gradual process prevents tearing.
How long should the dough rest?
Let it rest for 30 minutes wrapped in plastic. This relaxes the gluten for easier rolling. Even 15 minutes helps in a pinch.
Can I use cold eggs?
Room temperature eggs incorporate best. Pull them out 30 minutes before starting to avoid stiff dough.
How do I prevent sticking?
Dust dough and machine lightly with flour before each pass. Keep a bowl nearby for easy access.

Trained in classic French technique but raised on slow-cooked ribs and spicy rubs, she blends culinary skill with smoke and soul.
- Recipe for Boneless Pork Chops in Cast Iron Skillet: Sear and Baste to Juicy Perfection - October 3, 2026
- Recipe for Boneless Cross Rib Roast: Slow-Roasted Beef with Herb Crust - October 3, 2026
- Hamburgers in Sauce Recipe Crock Pot: Slow-Cooked Savory Delight - October 3, 2026