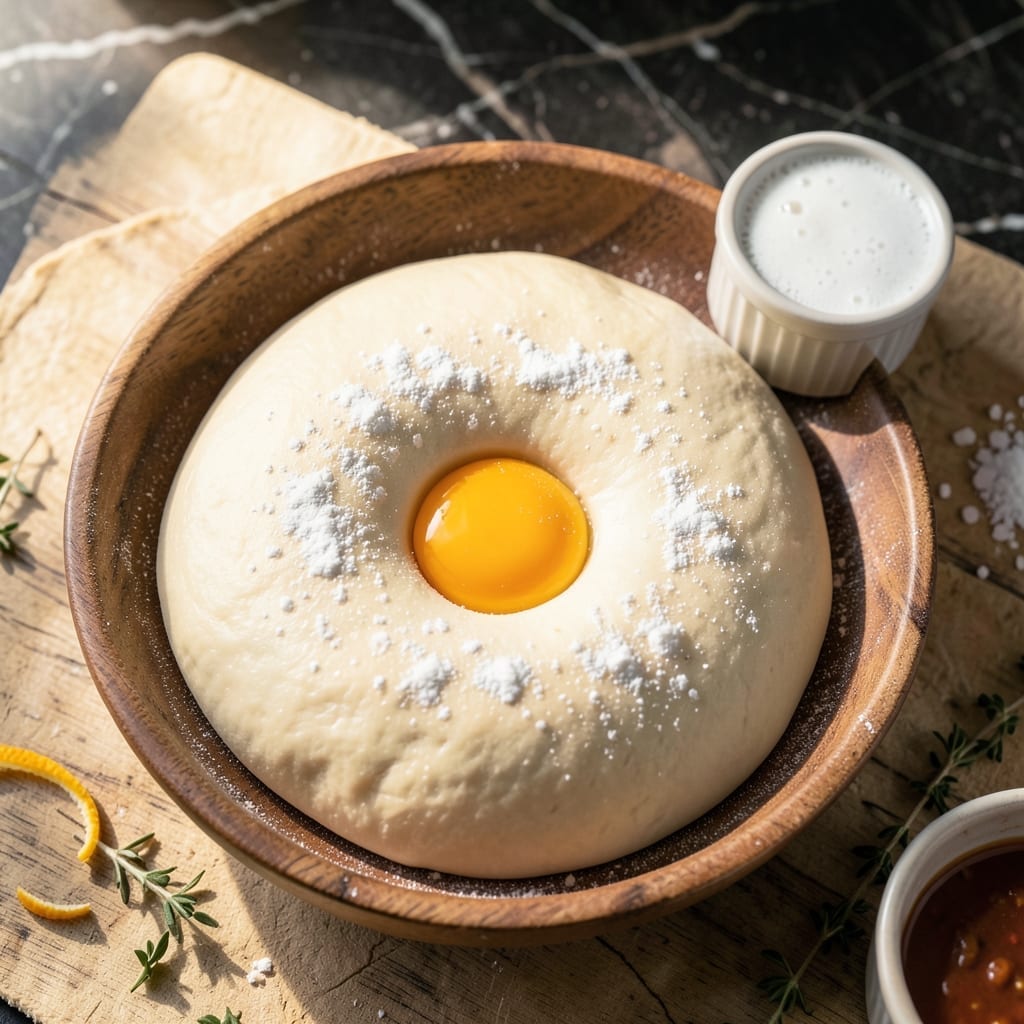
Achieving that perfect crispy Filipino empanada shell at home is easier than you think. This recipe delivers golden, flaky layers that shatter with every bite, just like the ones from street food stalls.
The secret lies in the dough’s simple ingredients and proper resting time. I’ve tested this method across different kitchen setups to ensure consistent results, whether you’re using a stand mixer or mixing by hand.
When fried at the right temperature, these shells puff slightly and develop a deep golden hue. The texture stays crispy for hours, making them ideal for filling with your favorite savory mixtures.
David confirmed this version passes the taste-test—crunchy outside, tender inside, with just the right resistance when you bite through. Here’s how to make them.
Ingredients for Empanada Dough Recipe for Frying Filipino Style
Simple ingredients create those golden, flaky shells everyone loves. Probably have most already.
| Ingredient | Amount | Notes |
|---|---|---|
| All-Purpose Flour 🌾 | 3 cups | Sifted for lighter texture |
| Cold Water 💧 | ¾ cup | Ice cold for flakiness |
| Vegetable Shortening 🧈 | ½ cup | Chilled, like Crisco brand |
| Salt 🧂 | 1 tsp | Fine grain preferred |
| Sugar 🍚 | 1 tsp | Granulated white sugar |
| Egg 🥚 | 1 whole | Large egg for binding |
| Baking Powder 🍞 | ½ tsp | For slight lift |
| Apple Cider Vinegar 🍏 | 1 tbsp | White vinegar works too |
| Neutral Oil 🫒 | 2 cups | For frying, like canola |
[recipe_ingredient_scaler]
The shortening is key for that flaky, crispy texture—Crisco is the classic choice, but any vegetable-based shortening works. I grab mine at Walmart or any major grocery store. Make sure it’s cold straight from the fridge (same with the water). The flour doesn’t need to be anything fancy—all-purpose from the baking aisle is perfect. Just give it a quick sift if it’s been sitting a while.
No shortening? Cold butter cut into tiny cubes works in a pinch, but the texture won’t be quite as flaky. Skip the egg? 2 tbsp cold water plus 1 tsp extra oil binds the dough just fine. The vinegar tenderizes—lemon juice can sub in if that’s what you’ve got. For oil, peanut or vegetable oil are great alternatives to canola for frying.
Dough rests best wrapped tightly in plastic—30 minutes at room temp is ideal. Uncooked dough keeps 2 days in the fridge or 3 months frozen. Fried shells stay crispy for hours, but they’re best fresh out of the oil (if you can resist eating them all immediately).
Why You’ll Love This Recipe
- Five Ingredients Only: I just dump flour, cold water, shortening, salt, and a pinch of sugar—no fancy stuff.
- Crispy Golden Shell: That shortening makes the crust flaky outside, tender inside, with just a hint of sweetness.
- Freezer Friendly: I roll a big batch, freeze the discs, and fry fresh whenever I crave empanadas.
- Budget Stretcher: A sack of flour and a tub of shortening feed my whole family for pennies per piece.
Step-by-Step Instructions for Empanada Dough for Frying
Here’s how I make perfectly crispy, golden shells every time—just like the ones from street vendors in the Philippines.
Step 1: Mix Dry Ingredients for Structure
In a large mixing bowl, whisk together the 3 cups All-Purpose Flour, 1 tsp Salt, 1 tsp Sugar, and 0.5 tsp Baking Powder until evenly distributed. I always sift my flour first for that ultra-light texture that makes these shells so tender.
This dry mix creates the foundation of your dough. The small amount of sugar helps with browning, while the baking powder gives just enough lift to prevent dense, heavy shells. Make sure there are no lumps in your flour mixture before moving to the next step.
Step 2: Cut in Shortening for Flakiness
Add the 0.5 cup Vegetable Shortening (chilled) to the dry ingredients. Using a pastry cutter or your fingertips, work the shortening into the flour until the mixture resembles coarse crumbs with pea-sized pieces of shortening visible.
Here’s the thing—the chilled shortening is key for flaky layers. Don’t overwork it; you want those visible fat pockets that will create steam during frying, giving you that perfect crispy texture. I’ve found that using my fingers gives me better control than a pastry cutter for this step.
Step 3: Create Wet Mixture for Binding
In a separate small bowl, beat the 1 whole Egg lightly. Then add the 0.75 cup Cold Water (ice cold) and 1 tbsp Apple Cider Vinegar, mixing until combined. The vinegar might seem odd, but it tenderizes the dough and helps create that signature crispness.
The cold water is crucial—it keeps the shortening from melting prematurely, which would ruin your flaky layers. I keep a bowl of ice water nearby to dip my measuring cup into for the coldest possible temperature.
Step 4: Combine and Knead the Dough
Make a well in the center of your dry ingredients and pour in the wet mixture. Using a fork, gradually incorporate the dry ingredients into the wet until a shaggy dough forms. Then turn it out onto a lightly floured surface.
Knead the dough gently for 3-4 minutes until it comes together into a smooth ball. Don’t add too much extra flour—just enough to prevent sticking. The dough should be soft but not sticky. If it feels too dry, add a teaspoon of cold water; if too sticky, add a tablespoon of flour.
Step 5: Rest and Prepare for Frying
Divide the dough into 4 equal portions (since this makes enough for 4 servings) and shape each into a ball. Wrap them in plastic wrap and let rest at room temperature for 30 minutes. This relaxation period makes the dough easier to roll out thinly.
While the dough rests, pour the 2 cups Neutral Oil into a deep skillet and heat to 350°F. You’ll know it’s ready when a small piece of dough dropped in sizzles immediately and floats to the surface. Roll out each portion thinly (about ⅛-inch thick) before cutting into circles and filling for the crispiest results.
Pro Tips For Making Empanada Dough Recipe For Frying Filipino Style
- Chill the Shortening: Cut the vegetable shortening into the flour while it’s still cold—this keeps the dough flaky. I learned this the hard way after ending up with tough, dense shells.
- Use Ice Water: Swap regular water for ice-cold water when mixing the dough. Sounds weird, but it works: it prevents the shortening from melting prematurely and ruining the texture.
- Rest the Dough: Let the dough rest for at least 30 minutes in the fridge before rolling. My grandmother swore by this, and she was right: it relaxes the gluten and makes rolling easier.
- Fry at 350°F: Keep the oil at a steady 350°F—any hotter and the outside burns before the inside cooks. After burning three batches, I finally figured out the sweet spot.
Make-Ahead Tips for empanada dough recipe for frying filipino style
Prep Dough in Advance
Mix and knead the dough as directed, then wrap portions tightly in plastic. It rests beautifully in the fridge for up to 2 days—I often prep it the night before. The cold actually enhances the flakiness as the shortening rechills. 💡
Freeze for Later
For longer storage, freeze dough balls in a ziplock bag for up to 3 months. Thaw overnight in the fridge before rolling. David swears by this method for his batch-cooking Sundays at our Austin home.
Label with the date—I use masking tape and marker to track freshness.
Pre-Cut and Store
Roll and cut your dough circles, then layer between parchment paper in an airtight container. These keep in the fridge for 24 hours or frozen for 1 month. Perfect for when I’m prepping for a big family gathering.
Fry from Frozen
No need to thaw! Drop frozen dough circles directly into 350°F oil—add 1-2 extra minutes of frying time. This trick saves me when unexpected guests drop by our Austin home. 🔥
Nutrition Facts
Frequently Asked Questions
Why use shortening instead of butter?
Shortening has a higher melting point than butter, creating flakier layers that hold up better to frying. It also doesn’t contain water, preventing steam that could make the shells tough.
How thin should I roll the dough?
Aim for ⅛-inch thickness for the crispiest results. Any thicker and the shells may not cook through evenly; too thin and they risk burning before the filling heats.
Can I bake these instead of frying?
Baking works but won’t give the same texture. Use 400°F for 12-15 minutes on a baking sheet, flipping halfway. The shells will be more bread-like than crispy.
What if my oil isn’t hot enough?
Dough will absorb too much oil and become greasy. Test with a small piece first—it should sizzle immediately and float. Adjust heat to maintain 350°F.

Trained in classic French technique but raised on slow-cooked ribs and spicy rubs, she blends culinary skill with smoke and soul.
- Recipe for Boneless Pork Chops in Cast Iron Skillet: Sear and Baste to Juicy Perfection - October 3, 2026
- Recipe for Boneless Cross Rib Roast: Slow-Roasted Beef with Herb Crust - October 3, 2026
- Hamburgers in Sauce Recipe Crock Pot: Slow-Cooked Savory Delight - October 3, 2026