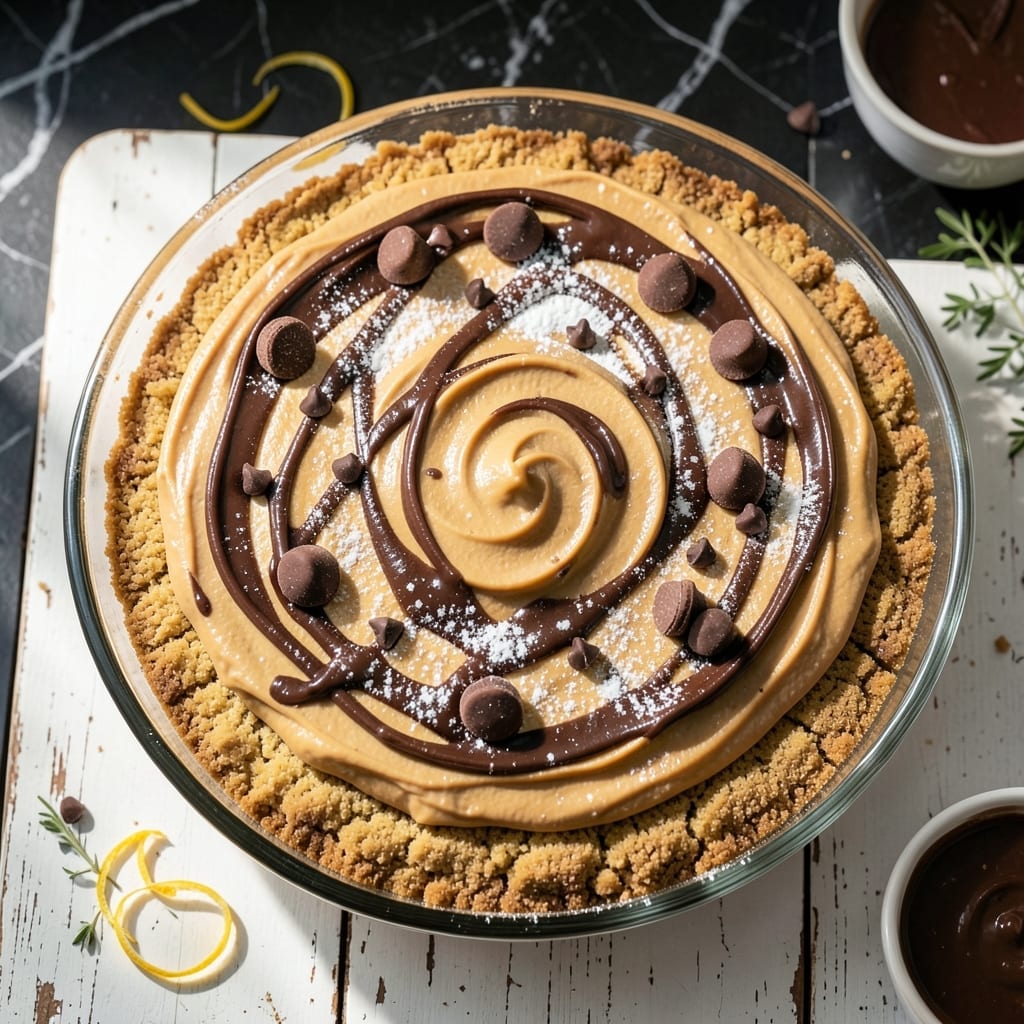
This layered dessert combines rich chocolate and creamy peanut butter for an irresistible treat.
Each bite delivers smooth textures and bold flavors that satisfy any sweet tooth. The contrast between the two layers creates a perfect balance of decadence.
Ingredients for Fat Man’s Delight
Rich, creamy layers with bold chocolate and peanut butter flavors ready to impress.
| Ingredient | Amount | Notes |
|---|---|---|
| Creamy Peanut Butter 🥜 | 1 ½ cups | Smooth, not natural style |
| Semi-Sweet Chocolate Chips 🍫 | 2 cups | High-quality for melting |
| Unsalted Butter 🧈 | ½ cup | Melted for chocolate layer |
| Powdered Sugar 🍚 | 1 ½ cups | Sifted for smooth texture |
| Graham Cracker Crumbs 🍪 | 2 cups | For crust base layer |
| Heavy Whipping Cream 🥛 | 1 cup | Cold, for whipped topping |
| Vanilla Extract 🌿 | 2 tsp | Pure for best flavor |
| Salt 🧂 | ¼ tsp | Balances sweetness |
| Granulated Sugar 🍚 | ¼ cup | For sweetening chocolate |
| Cream Cheese 🧀 | 8 oz | Softened, full-fat |
| Milk 🥛 | 2 tbsp | As needed for consistency |
[recipe_ingredient_scaler]
The peanut butter is non-negotiable here—Jif or Skippy give that perfect creamy texture. For the chocolate, Ghirardelli or Guittard chips melt beautifully and have the right sweetness. Butter should be unsalted so you control the salt content. Most supermarkets carry all these, but Whole Foods has great bulk chocolate options if you want to go fancy.
No cream cheese? Greek yogurt at the same amount works in a pinch (drain it first). Out of graham crackers? Crushed vanilla wafers or digestive biscuits make a fine substitute. The heavy cream can be swapped with coconut cream for a dairy-free version, though the flavor will shift slightly. Always use full-fat dairy—low-fat versions won’t set right.
This keeps in the fridge for 5-7 days—actually tastes better after a day as flavors meld. Freeze for up to 3 months (slice first for easy portions). Bring to room temperature before serving for that perfect creamy texture.
Why You’ll Love This Recipe
- No-Bake Bliss: I just mix, chill, and serve—no oven, no fuss, just layers of peanut butter and chocolate.
- Crowd Pleaser: I bring this to potlucks and it’s the first thing gone—kids and adults alike can’t resist it.
- Budget Friendly: Five affordable ingredients, one unbeatable treat. Honestly, it costs less than a candy bar per serving.
Step-by-Step Instructions for Decadent Chocolate and Peanut Butter Layers
Master this layered treat with precise steps for perfect texture and flavor every time.
Step 1: Create the Graham Cracker Crust Base
Combine the 2 cups Graham Cracker Crumbs with the 0.5 cup Unsalted Butter melted in a bowl. Press this mixture firmly into the bottom of a 9×13-inch pan using the back of a spoon or measuring cup.
Chill in the refrigerator for 15 minutes to set. The crust should hold together when pressed and not crumble. This creates a sturdy foundation for the rich layers to come.
Step 2: Prepare the Creamy Peanut Butter Layer
In a mixing bowl, beat the 8 oz Cream Cheese until smooth. Add the 1.5 cups Creamy Peanut Butter, 1.5 cups Powdered Sugar, and 2 tsp Vanilla Extract. Mix until fully combined and creamy.
If the mixture seems too thick, add 1 tablespoon of the 2 tbsp Milk to reach a spreadable consistency. Spread this evenly over the chilled graham cracker crust. The layer should be smooth with no lumps of cream cheese visible.
Step 3: Make the Chocolate Layer
In a microwave-safe bowl, melt the 2 cups Semi-Sweet Chocolate Chips with the 0.25 cup Granulated Sugar and remaining 0.5 cup Unsalted Butter in 30-second intervals, stirring between each until smooth.
Stir in the 0.25 tsp Salt to balance the sweetness. Pour this mixture over the peanut butter layer and spread evenly. The chocolate should be glossy and completely cover the previous layer without mixing into it.
Step 4: Add the Whipped Cream Topping
Whip the 1 cup Heavy Whipping Cream with a hand mixer until stiff peaks form. Carefully spread this over the chocolate layer, creating a light, airy finish.
The whipped cream should hold its shape when spread. This final layer adds a delicate contrast to the dense, rich layers beneath it.
Step 5: Chill and Serve
Refrigerate the dessert for at least 4 hours or overnight to allow all layers to set completely. When ready to serve, cut into squares using a sharp knife dipped in hot water for clean slices.
Each serving should reveal distinct layers: the firm crust, creamy peanut butter middle, rich chocolate, and light whipped topping. Serve chilled for the best texture and flavor.
Pro Tips For Making Fat Man’S Delight
- Melt Butter Slowly: Use low heat when melting the butter and peanut butter together—I learned this the hard way after scorching a batch. It blends smoother and prevents that bitter, burnt taste.
- Chill Before Cutting: Pop the mixture in the fridge for at least 30 minutes before slicing, or it’ll crumble apart. Sounds obvious, but I’ve ruined more than one batch by rushing this step.
- Use Fresh Graham Crumbs: Skip the pre-crushed store-bought stuff and pulse whole graham crackers yourself—the texture is coarser and actually changes the outcome, giving it that perfect crunch.
- Warm the Peanut Butter: Microwave the peanut butter for 15-20 seconds before mixing—it incorporates into the butter so much easier and skips the clumpy mess I used to fight with every time.
Common Mistakes When Making fat mans delight
Overmixing the Peanut Butter Layer
Beating the cream cheese and peanut butter too long can make the layer grainy. Mix just until smooth—about 1-2 minutes on medium speed. I learned this the hard way when my first batch had an unappetizing texture.
Skipping the Chill Time
Rushing the 15-minute crust chill or 4-hour final set results in a runny mess. The graham base needs that time to solidify, and the layers won’t cleanly slice without full chilling. 💡
Uneven Layer Spreading
Always spread each layer evenly to the edges. Gaps or thin spots let the chocolate seep into the peanut butter, blurring the distinct layers. Use an offset spatula for precision.
Melting Chocolate Too Fast
Microwaving the chocolate chips in one go burns them. Stick to 30-second intervals, stirring between each, until just smooth. Burnt chocolate tastes bitter and ruins the balance.
Whipped Cream Collapse
Over-whipping the heavy cream turns it buttery. Stop at stiff peaks—when the whisk leaves trails that hold their shape. Also, use a chilled bowl for best results.
Ignoring Knife Prep
Cutting without a hot knife creates jagged edges. Dip your knife in hot water and wipe dry between each slice for clean, professional-looking squares. This small step makes all the difference. ✨
Nutrition Facts
Frequently Asked Questions
Can I use natural peanut butter instead?
It’s not recommended. Natural peanut butter separates and can make the layer oily. Stick with creamy store-bought for the smoothest texture and best results.
How do I know when the chocolate layer is set?
It should be firm to the touch but still slightly glossy. If it feels hard, you’ve over-chilled it. Aim for 2-3 hours in the fridge for perfect consistency.
Can I make this ahead of time?
It keeps well in the fridge for 5-7 days and actually tastes better after 24 hours as flavors meld. Just cover tightly with plastic wrap.
What size pan should I use?
A 9×13-inch pan works best for even layers. If using a smaller pan, the layers will be thicker and may need extra chilling time to set properly.

Trained in classic French technique but raised on slow-cooked ribs and spicy rubs, she blends culinary skill with smoke and soul.
- Recipe for Boneless Pork Chops in Cast Iron Skillet: Sear and Baste to Juicy Perfection - October 3, 2026
- Recipe for Boneless Cross Rib Roast: Slow-Roasted Beef with Herb Crust - October 3, 2026
- Hamburgers in Sauce Recipe Crock Pot: Slow-Cooked Savory Delight - October 3, 2026