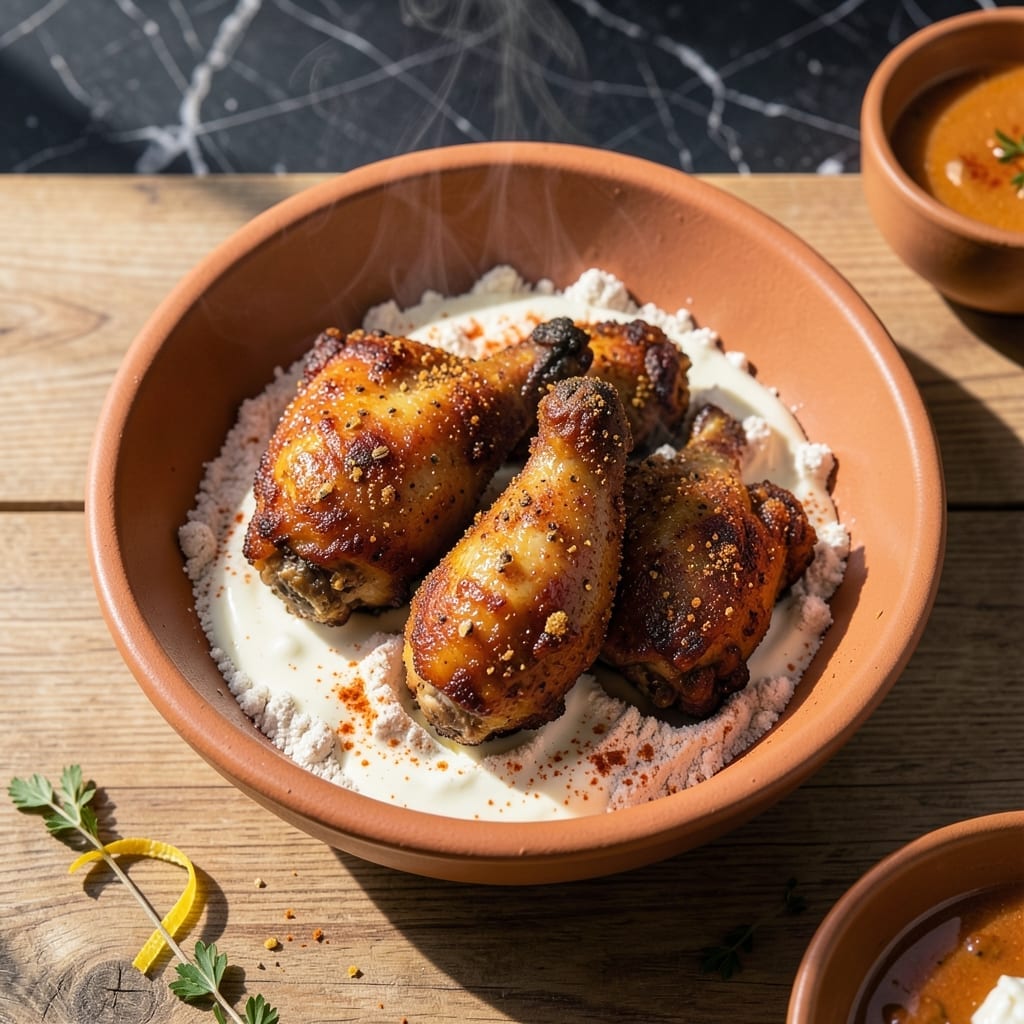
This yogurt-marinated fried chicken delivers a crispy coating with tender, tangy meat that stands out from traditional recipes.
I discovered this method while testing ways to make fried chicken juicier without losing that signature crunch. The yogurt marinade adds a subtle tang while keeping the meat incredibly moist.
The result is a perfectly balanced dish with a golden, shatteringly crisp exterior and flavorful, juicy chicken inside. It’s a foolproof way to elevate classic fried chicken.
Ready in 45 minutes, this recipe is ideal for weeknight dinners or weekend gatherings. The technique ensures consistent results every time.
Ingredients for Fried Chicken Recipe with Yogurt
Yogurt-marinated chicken plus a crisp coating creates this elevated classic dish.
| Ingredient | Amount | Notes |
|---|---|---|
| Chicken Thighs 🍗 | 2 lb | Boneless, skin-on preferred |
| Plain Yogurt 🥛 | 1 cup | Full-fat Greek for richness |
| All-Purpose Flour 🌾 | 2 cups | For dredging chicken |
| Cornstarch 🌾 | ½ cup | For extra crispiness |
| Large Eggs 🥚 | 2 whole | Beaten for binding |
| Garlic Powder 🧄 | 1 tbsp | Freshly ground preferred |
| Onion Powder 🧅 | 1 tbsp | For depth of flavor |
| Paprika 🌶️ | 1 tbsp | Sweet or smoked variety |
| Salt 🧂 | 1 ½ tsp | Diamond Crystal kosher salt |
| Black Pepper 🌶️ | 1 tsp | Freshly ground preferred |
| Cayenne Pepper 🔥 | ½ tsp | Adjust for heat preference |
| Vegetable Oil 🫒 | 4 cups | For deep frying |
| Buttermilk 🥛 | ½ cup | For thinning marinade |
| Hot Sauce 🌶️ | 1 tbsp | Optional for extra tang |
[recipe_ingredient_scaler]
The chicken is the foundation here. Boneless, skin-on thighs yield the juiciest results—skinless breasts can dry out. Source from Whole Foods or a trusted butcher for consistent quality. The yogurt marinade requires full-fat Greek yogurt (Fage or Chobani) for optimal texture and tang. Avoid low-fat versions as they lack the richness needed. For the oil, peanut or vegetable oil provides the best frying results.
No buttermilk? Thin yogurt with milk at a 1:1 ratio. For a gluten-free version, cornstarch and almond flour replace all-purpose flour. The cayenne can be omitted for milder heat, or increased to 1 tsp for extra spice. Hot sauce is optional but recommended—Crystal or Tabasco work well. If avoiding dairy entirely, coconut yogurt substitutes effectively for the marinade.
Marinated chicken keeps 24-48 hours in the fridge before cooking. The yogurt marinade tenderizes further over time. Store leftover oil for 1 month in a cool, dark place. Cooked chicken stays crisp for 2-3 days but is best served immediately after frying.
Why You’ll Love This Recipe
- I’ll be real: it reheats surprisingly well in the air fryer—still crispy, still delicious.
- One-Bowl Wonder: I just toss the yogurt, eggs, and spices together—no separate marinade step, no fuss.
- Tender and Crisp: The yogurt keeps the chicken thighs ridiculously juicy while the cornstarch gives that shatter-crust I crave.
- Feeds a Crowd: Honestly, it’s my go-to for Sunday suppers or when the kids bring friends over last-minute.
Step-by-Step Instructions for Fried Chicken With Yogurt
This method ensures crispy coating and tender, tangy meat with every bite.
Step 1: Marinate the Chicken Thighs in Yogurt Mixture
In a large bowl, combine the 1 cup Plain Yogurt, 0.5 cup Buttermilk, 1 tbsp Hot Sauce, 1 tbsp Garlic Powder, 1 tbsp Onion Powder, 1 tbsp Paprika, 1.5 tsp Salt, 1 tsp Black Pepper, and 0.5 tsp Cayenne Pepper. Whisk until smooth and fully combined.
Add the 2 lb Chicken Thighs to the yogurt mixture, ensuring each piece is fully coated. Cover the bowl and refrigerate for at least 4 hours, or ideally overnight. This marinating time allows the yogurt’s acidity to tenderize the meat while the spices infuse deep flavor.
Step 2: Prepare the Dredging Station
In a shallow dish, whisk together the 2 cups All-Purpose Flour and 0.5 cup Cornstarch until evenly combined. The cornstarch is crucial—it creates an ultra-crispy crust that stays crunchy even after frying.
In a separate bowl, beat the 2 whole Large Eggs until frothy. This egg wash will act as the glue between the marinade and the flour coating, ensuring maximum adhesion for that perfect crunch.
Step 3: Dredge and Rest the Chicken
Remove the chicken from the marinade, letting any excess drip off. Dip each piece into the beaten eggs, coating both sides completely. Then dredge in the flour mixture, pressing firmly to adhere. Shake off any excess flour—you want a thick, even coating, not a clumpy mess.
Place the dredged chicken on a wire rack set over a baking sheet. Let it rest for 15-20 minutes at room temperature. This rest period allows the coating to set, which prevents it from falling off during frying.
Step 4: Fry to Golden Perfection
In a deep, heavy-bottomed pot or Dutch oven, heat the 4 cups Vegetable Oil to 350°F. Use a deep-fry thermometer to monitor the temperature—this is non-negotiable for consistent results. The oil is ready when a pinch of flour sizzles and floats immediately when dropped in.
Carefully lower the chicken into the hot oil in batches, being careful not to overcrowd the pot. Fry for 12-15 minutes, turning occasionally, until the coating is deep golden brown and the internal temperature reaches 165°F. The cornstarch in the coating will create an audibly crispy crust as it fries.
Step 5: Drain and Rest Before Serving
Transfer the fried chicken to a wire rack or paper towel-lined plate to drain any excess oil. The rack allows air to circulate, preventing the coating from becoming soggy. Sprinkle with additional salt while still hot, if desired.
Let the chicken rest for 5-10 minutes before serving. This final rest allows the juices to redistribute, ensuring the meat stays moist and tender beneath that shatteringly crisp coating. Serve immediately while hot and at its peak crunch.
Pro Tips For Making Fried Chicken Recipe With Yogurt
- Marinate Overnight: Let the chicken soak in the yogurt for at least 4 hours, but 12 is ideal—I learned this the hard way when my first batch came out dry.
- Double Coat: Dip the marinated chicken in flour, then egg, then back in flour mixed with cornstarch for that extra-crispy crust.
- Skip Cold Oil: Make sure the oil is hot (350°F) before adding chicken, or you’ll get greasy, soggy results—my grandmother swore by this, and she was right.
- Rest Before Serving: Give the fried chicken 5-10 minutes on a wire rack after frying to keep it crispy, not steamy—sounds weird, but it works.
Make-Ahead Tips for This fried chicken recipe with yogurt
Marinade Prep Ahead
Mix the yogurt marinade up to 2 days in advance and store covered in the fridge. I often make mine the night before—I use Fage full-fat Greek yogurt from New Seasons. The flavors deepen as it sits, making the chicken even more tender. 💡
Chicken Marinating Time
Marinate the chicken for at least 4 hours, but overnight is ideal. I’ve found 12-24 hours gives the best flavor penetration. Just transfer the chicken and marinade to a zip-top bag for easy storage.
Dredging Station Setup
Prepare your dredging station up to 1 hour before cooking. Keep the flour mixture in an airtight container at room temperature. The eggs can be beaten and stored covered in the fridge until ready to use.
Frying in Batches
If serving a crowd, fry chicken in batches and keep finished pieces warm. Place them on a wire rack in a 200°F oven for up to 30 minutes. This keeps the coating crisp while you finish frying. 🔥
Post-Fry Resting
Always let fried chicken rest for 5-10 minutes before serving. This is non-negotiable for juicy meat. I set mine on a rack over a baking sheet to maintain airflow.
Leftover Storage
Store leftovers in a single layer in an airtight container in the fridge for up to 3 days. Reheat in a 375°F oven for 10-12 minutes to revive crispiness. Microwaving makes the coating soggy.
Nutrition Facts
Frequently Asked Questions
Why use yogurt in the marinade?
The yogurt’s acidity tenderizes the meat while adding a subtle tang. It also helps the coating adhere better during frying.
Can I bake this instead of frying?
Yes, bake at 400°F for 25-30 minutes on a wire rack. The texture won’t be as crispy, but it’s a healthier alternative.
How do I keep the coating crispy?
Use a wire rack instead of paper towels after frying. This allows air to circulate, preventing steam from making the coating soggy.
Can I use chicken breasts instead?
Yes, but reduce frying time to 8-10 minutes. Breasts dry out faster than thighs, so monitor the internal temperature closely.

Trained in classic French technique but raised on slow-cooked ribs and spicy rubs, she blends culinary skill with smoke and soul.
- Recipe for Boneless Pork Chops in Cast Iron Skillet: Sear and Baste to Juicy Perfection - October 3, 2026
- Recipe for Boneless Cross Rib Roast: Slow-Roasted Beef with Herb Crust - October 3, 2026
- Hamburgers in Sauce Recipe Crock Pot: Slow-Cooked Savory Delight - October 3, 2026