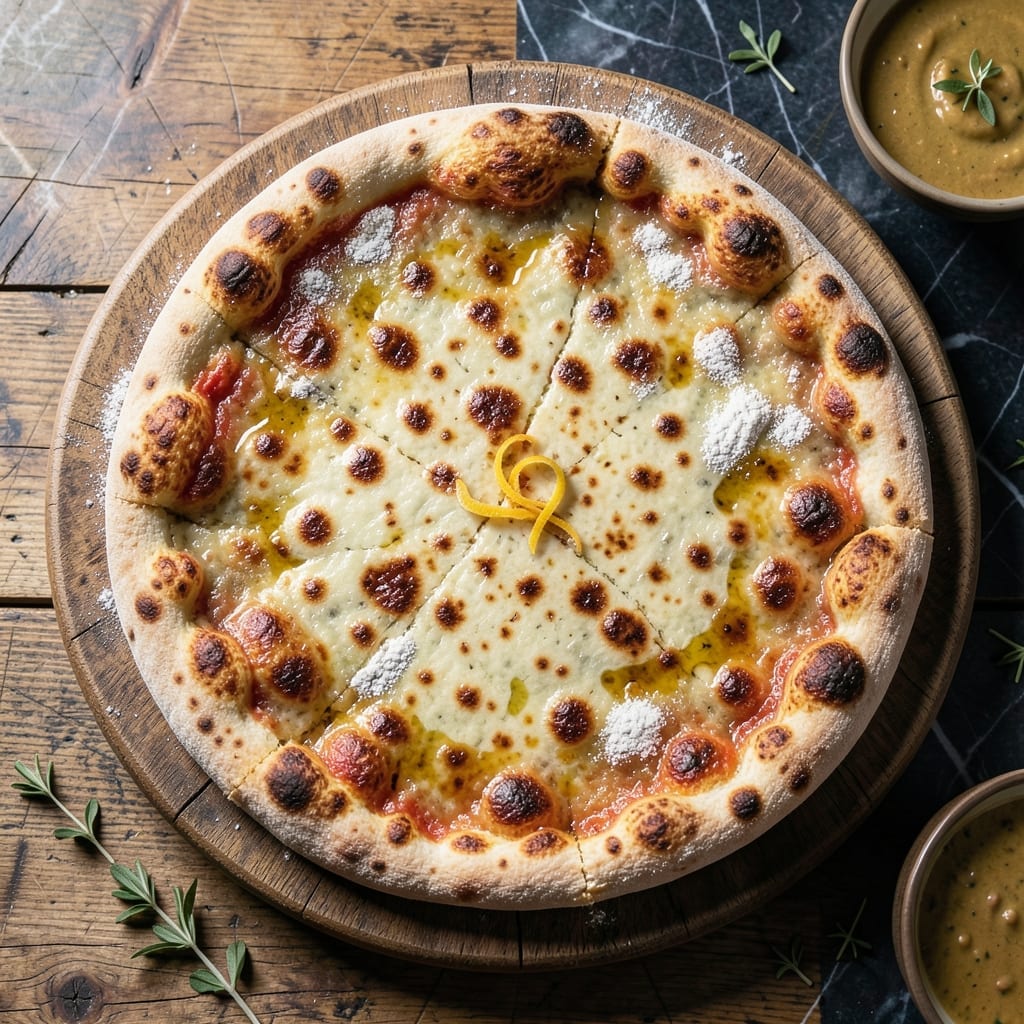
I developed this gluten-free pizza crust after years of disappointing store-bought alternatives. No yeast means no waiting, just a fluffy and chewy base ready in minutes.
The secret lies in a simple combination of gluten-free flour and baking powder, which creates lift without traditional leavening. I’ve tested countless ratios to perfect the texture—crisp at the edges, tender in the center.
This crust holds toppings beautifully, with enough structure to satisfy even the most devoted gluten lovers. It’s the solution I wish I’d had when first going gluten-free.
Ready to make pizza night inclusive again? This recipe delivers on both flavor and reliability.
Ingredients for Gf Pizza Crust Recipe No Yeast
No yeast, no waiting, just a handful of gluten-free staples for a perfect crust.
| Ingredient | Amount | Notes |
|---|---|---|
| Gluten-Free All-Purpose Flour 🌾 | 2 ½ cups | Plus extra for dusting |
| Baking Powder 🧂 | 2 tsp | Aluminum-free preferred |
| Sea Salt 🧂 | 1 tsp | Fine grain for even distribution |
| Xanthan Gum 🧪 | 1 tsp | Omit if flour blend contains it |
| Olive Oil 🫒 | ¼ cup | Extra-virgin for richness |
| Warm Water 💧 | ¾ cup | Approximately 110°F |
| Apple Cider Vinegar 🍏 | 1 tsp | Balances flavor and texture |
| Maple Syrup 🍁 | 1 tbsp | For subtle sweetness |
| Garlic Powder 🧄 | 1 tsp | Optional for savory depth |
| Dried Oregano 🌿 | 1 tsp | Optional for Italian flavor |
[recipe_ingredient_scaler]
The flour blend is everything here. Bob’s Red Mill 1-to-1 or King Arthur Measure for Measure work best—they’re formulated for baking and already include xanthan gum (so you can skip adding extra). If you’re using a different blend, check the label—some need xanthan gum added separately. I grab mine from Whole Foods or Thrive Market for the best selection.
No GF flour? Fine rice flour plus tapioca starch at a 2:1 ratio can work in a pinch (add ½ tsp xanthan gum per cup). Skip the vinegar if you don’t have it, but the maple syrup helps with browning—agave or date syrup work too. For a more savory crust, swap the sweetener for 1 tbsp nutritional yeast. The olive oil can be any neutral oil (avocado, grapeseed) if that’s what you’ve got.
The dough rests 10 minutes before shaping—don’t skip it. Baked crust stays fresh 2-3 days at room temp (wrapped tight) or freezes for 1 month. Pre-bake before topping for extra crispiness (trust me on this).
Why You’ll Love This Recipe
- No Yeast Needed: I love that this crust skips the waiting around for dough to rise—just mix, shape, and bake.
- Crispy & Flaky: The olive oil gives it this golden, buttery crunch that’s honestly hard to resist.
- Weeknight Hero: Between us, this comes together faster than delivery on a busy Tuesday night.
- Budget Friendly: Gluten-free flour and pantry staples make this a solid, low-cost option for pizza night.
Step-by-Step Instructions for GF Pizza Crust No Yeast
This method delivers a perfectly fluffy, chewy base without the wait for rising.
Step 1: Combine Dry Ingredients for Structure
In a large mixing bowl, whisk together the 2.5 cups Gluten-Free All-Purpose Flour, 2 tsp Baking Powder, 1 tsp Sea Salt, and 1 tsp Xanthan Gum until fully combined. The xanthan gum is crucial—it replaces the elasticity that gluten would normally provide, so don’t skip it.
I always sift my dry ingredients first to break up any lumps, especially in gluten-free flour which can be dense. This ensures an even distribution of leavening agents for a consistent rise. The mixture should look uniform and slightly aerated when you’re done.
Step 2: Mix Wet Ingredients for Moisture
In a separate bowl, combine the 0.25 cup Olive Oil, 0.75 cup Warm Water, 1 tsp Apple Cider Vinegar, and 1 tbsp Maple Syrup. Whisk until the oil and water emulsify slightly—the vinegar helps with texture while the maple syrup adds subtle sweetness to balance the savory notes.
The warm water should be around 110°F to activate the baking powder effectively. If it’s too hot, it can denature the starches in the flour; too cold, and your crust won’t rise properly. I use a thermometer to be precise, but it should feel warm to the touch, not scalding.
Step 3: Form and Shape the Dough
Pour the wet ingredients into the dry ingredients and stir with a wooden spoon until a soft, sticky dough forms. It will be thicker than traditional pizza dough but should still be pliable. If it feels too wet, add a dusting of the Gluten-Free All-Purpose Flour, but avoid overworking it.
Let the dough rest for 5 minutes to hydrate fully. This short rest makes it easier to handle. Then, place the dough on a piece of parchment paper dusted with extra flour and press it into a 12-inch circle about ¼-inch thick using your hands or a rolling pin. The edges should be slightly thicker to contain toppings.
Step 4: Pre-Bake for Stability
Preheat your oven to 400°F. While it heats, sprinkle the 1 tsp Garlic Powder and 1 tsp Dried Oregano evenly over the dough for added flavor. These are optional but give the crust a delicious, aromatic boost.
Bake the crust alone for 10-12 minutes until the edges begin to turn light golden brown and the surface looks set. This pre-bake prevents a soggy bottom once you add toppings. Watch closely—gluten-free dough can go from perfectly baked to overdone quickly.
Step 5: Add Toppings and Finish
Remove the crust from the oven and add your favorite toppings. Return it to the oven and bake for an additional 8-10 minutes or until the cheese is bubbly and the crust is golden brown around the edges.
Let the pizza cool for 2-3 minutes before slicing. This brief rest allows the structure to set, making it easier to cut and serving neat slices. The crust should be crisp at the edges, tender in the middle, and sturdy enough to hold all your toppings without falling apart.
Pro Tips For Making Gf Pizza Crust Recipe No Yeast
- Preheat the Pan: Heat your baking sheet or pizza stone in the oven for at least 10 minutes before adding the crust—I learned this the hard way after too many soggy bottoms.
- Chill the Dough: Let the dough rest in the fridge for 20-30 minutes before rolling it out; this makes it way easier to handle and prevents cracking.
- Don’t Skip Xanthan Gum: Even if your flour blend includes it, add the extra ½ teaspoon of xanthan gum—it’s the thing that actually holds the crust together.
- Brush with Oil: Lightly coat the crust with olive oil before baking to get that golden, crispy finish without overcooking the edges.
Health Benefits of This Dish
Digestive Comfort
This crust is a game-changer for anyone avoiding gluten. Made with gluten-free flour, it’s gentle on digestion while still delivering that satisfying chew. I’ve found it causes none of the bloating I used to get with traditional pizza crusts. 💪
Nutrient Boost
Many gluten-free flours are fortified with vitamins and minerals. Bob’s Red Mill 1-to-1 blend, for example, adds B vitamins and iron. Plus, the olive oil in the recipe provides heart-healthy monounsaturated fats.
Lower Glycemic Impact
Gluten-free flours often have a lower glycemic index than white wheat flour. The addition of apple cider vinegar and maple syrup helps balance blood sugar response, preventing those energy crashes after eating.
Allergen-Friendly
This recipe avoids not just gluten but also common allergens like dairy and nuts. It’s perfect for sharing at gatherings where dietary restrictions vary. I always keep the ingredients simple and recognizable for this reason.
Fiber Benefits
Many gluten-free flour blends include ingredients like rice flour and tapioca starch, which can contribute to your daily fiber intake. Fiber supports gut health and keeps you feeling full longer after your meal.
No Yeast Advantages
The absence of yeast makes this crust ideal for those with yeast sensitivities. It also means no bloating or digestive discomfort that yeast can sometimes cause. The baking powder provides lift without the fermentation process. 🌟
Nutrition Facts
Frequently Asked Questions
Can I make this crust ahead of time?
Yes! Shape and pre-bake the crust, then cool completely. Store at room temperature for 2-3 days or freeze for up to 1 month. Reheat before adding toppings.
Why is xanthan gum important here?
Xanthan gum replaces gluten’s elasticity, binding the dough and preventing crumbling. Skip it only if your flour blend already includes it.
Can I use a different leavening agent?
Baking powder is essential for quick rise. For a fluffier texture, ensure it’s fresh and aluminum-free. No direct substitutes work as well.
How do I prevent a soggy crust?
Pre-bake the crust for 10-12 minutes before adding toppings. Use less sauce and blot wet ingredients like fresh veggies.

Trained in classic French technique but raised on slow-cooked ribs and spicy rubs, she blends culinary skill with smoke and soul.
- Recipe for Boneless Pork Chops in Cast Iron Skillet: Sear and Baste to Juicy Perfection - October 3, 2026
- Recipe for Boneless Cross Rib Roast: Slow-Roasted Beef with Herb Crust - October 3, 2026
- Hamburgers in Sauce Recipe Crock Pot: Slow-Cooked Savory Delight - October 3, 2026