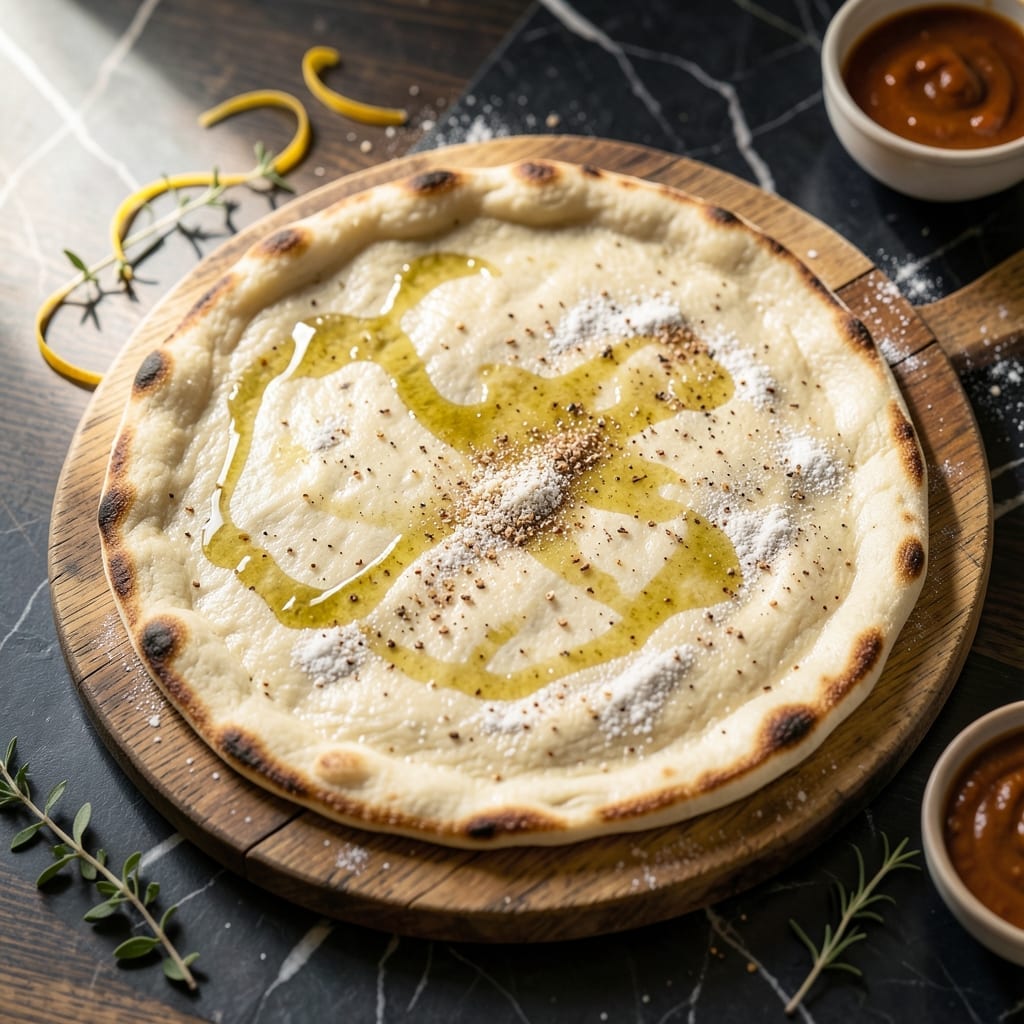
This rice flour pizza dough delivers a chewy texture and artisan rise that rivals traditional versions. The blend of flours creates a sturdy yet tender base perfect for your favorite toppings.
With a simple mixing method and proper resting time, you’ll achieve a gluten free crust that bakes up golden and holds its shape beautifully. The recipe uses accessible ingredients for reliable results every time.
Ingredients for Gluten Free Pizza Dough Recipe Rice Flour
Accessible gluten free flours blend into a dough that behaves like traditional pizza crust.
| Ingredient | Amount | Notes |
|---|---|---|
| White Rice Flour 🌾 | 2 cups | Fine grind for best texture |
| Tapioca Starch 🌾 | ¾ cup | Also called tapioca flour |
| Almond Flour 🌰 | ½ cup | Blanched preferred for smoothness |
| Psyllium Husk Powder 🌿 | 2 tbsp | Essential for structure and rise |
| Instant Yeast 🍞 | 2 ¼ tsp | One packet equivalent |
| Granulated Sugar 🍚 | 1 tsp | Feeds the yeast for activation |
| Sea Salt 🧂 | 1 tsp | Fine grain for even distribution |
| Extra-Virgin Olive Oil 🫒 | 2 tbsp | For elasticity in dough |
| Apple Cider Vinegar 🍎 | 1 tbsp | Enhances yeast activity |
| Warm Water 💧 | 1 ¼ cups | 110°F for yeast activation |
| Xanthan Gum 🧪 | ½ tsp | Improves dough elasticity |
[recipe_ingredient_scaler]
The rice flour is the backbone here. Bob’s Red Mill offers consistent results, but any fine-milled white rice flour works. Psyllium husk powder is non-negotiable—it provides the chew and structure that gluten-free blends often lack. Almond flour adds richness and helps with browning. For best results, weigh your flours if you have a scale (1 cup rice flour = ~120g).
No psyllium husk? Ground flaxseed at twice the amount can work, but texture will differ. Arrowroot starch can replace tapioca starch in a 1:1 ratio. For yeast, check the expiration date—old yeast won’t rise. The apple cider vinegar can be swapped with white vinegar or lemon juice. If you can’t find almond flour, sunflower seed flour is a nut-free alternative.
Store dry ingredients in airtight containers for up to 6 months. The dough itself is best used immediately, but you can refrigerate it for 24 hours before shaping. Once baked, the crust keeps for 2-3 days at room temperature in a sealed container.
Why You’ll Love This Recipe
- One Bowl Wonder: I mix the white rice flour, tapioca starch, and almond flour in a single bowl—no fancy equipment, just my hands and 5 minutes of effort.
- Crispy Chewy Bliss: The psyllium husk powder gives it that perfect chew while the almond flour adds a nutty depth I didn’t know gluten-free could deliver.
- Freezer Friendly: I double the batch, bake half for tonight’s dinner, and stash the rest in the freezer for those last-minute pizza cravings.
- Budget Stretcher: White rice flour and tapioca starch are pantry staples that cost pennies compared to store-bought gluten-free dough. Here’s what sold me—it tastes better too.
Step-by-Step Instructions for Gluten Free Pizza Dough
This method ensures a chewy, artisan-quality crust with proper rise and structure.
Step 1: Activate the Yeast Mixture
In a small bowl, combine the 2.25 tsp Instant Yeast, 1 tsp Granulated Sugar, and 1.25 cups Warm Water. The water should be 110°F—hotter will kill the yeast, cooler won’t activate it properly.
Let this mixture sit for 5-7 minutes until it becomes frothy and cloudy. This visual confirmation means your yeast is active and ready to work. Without this step, your dough won’t rise properly.
Step 2: Combine Dry Ingredients for Structure
In a large mixing bowl, whisk together the 2 cups White Rice Flour, 0.75 cup Tapioca Starch, 0.5 cup Almond Flour, 2 tbsp Psyllium Husk Powder, 1 tsp Sea Salt, and 0.5 tsp Xanthan Gum. I whisk vigorously for 30 seconds to ensure even distribution of the leavening agents.
The psyllium husk is crucial here—it absorbs moisture and creates the elastic structure that gluten would normally provide. The almond flour adds richness and helps with browning.
Step 3: Create the Dough and Develop Elasticity
Pour the activated yeast mixture into the dry ingredients. Add the 2 tbsp Extra-Virgin Olive Oil and 1 tbsp Apple Cider Vinegar. The vinegar enhances the yeast activity and helps with the dough’s extensibility.
Mix with a wooden spoon until a shaggy dough forms, then use your hands to knead it in the bowl for 2-3 minutes. The dough should feel slightly tacky but not sticky. If it’s too wet, add 1 tbsp more rice flour; if too dry, add 1 tsp warm water.
Step 4: Proof the Dough for Maximum Rise
Shape the dough into a ball and place it in a lightly oiled bowl. Cover with a damp towel and let it rise in a warm place for 1 to 1.5 hours, or until it has doubled in volume. I like to preheat my oven to 200°F, turn it off, and place the dough inside with the light on.
The psyllium husk will cause the dough to thicken as it proofs. This is normal and indicates proper structure development. Don’t be alarmed if the texture seems different from traditional wheat dough.
Step 5: Shape and Prepare for Baking
Once doubled, turn the dough out onto a piece of parchment paper. Press it gently into a 12-inch circle, working from the center outward. For a thicker crust, make it slightly smaller; for thinner, stretch it larger.
Let the shaped dough rest for 10 minutes before adding toppings. This final rest allows the dough to relax, preventing it from shrinking during baking. The edges should hold their shape when pressed lightly with your finger.
Pro Tips For Making Gluten Free Pizza Dough Recipe Rice Flour
- Hydrate Psyllium First: Mix the psyllium husk powder with warm water and let it gel for 5 minutes before adding to dry ingredients—this prevents gritty texture and helps bind the dough properly.
- Use Room-Temp Ingredients: Take your almond flour and yeast out of the fridge 30 minutes before starting; cold ingredients can slow fermentation and make the dough dense.
- Don’t Overwork the Dough: Rice flour dough is delicate—mix just until combined, or it’ll turn gummy. I learned this the hard way after kneading it like regular pizza dough.
- Pre-Bake the Crust: Par-bake the rolled-out dough for 8-10 minutes at 400°F before adding toppings to prevent a soggy bottom. Sounds weird, but it works.
Regional Styles of These Flavors
Italian Classic
In Northern Italy, rice flour has been used for centuries in gluten free baking. The Veneto region creates a thin, crisp crust by pressing the dough paper-thin and baking at 475°F for 8-10 minutes. I love how it gets almost cracker-like at the edges. 🗺️
Neapolitan Adaptation
For a Neapolitan-style pie, use 1.5 cups rice flour and add ¼ cup cornmeal to your blend. This gives that characteristic chewy center with a slightly crisp bottom. Bake at 500°F on a preheated stone for 6-8 minutes.
New York Style
To mimic New York’s foldable slices, increase the proofing time to 2 hours and add 1 extra tbsp olive oil to the dough. Roll it to ¼-inch thickness and bake at 450°F for 12-15 minutes. The extra oil gives it that characteristic flexibility.
Chicago Deep Dish
For a gluten free deep dish, press the dough into a well-oiled 9-inch pan. Build up the edges to create a thick rim. Bake the crust alone for 8 minutes at 375°F before adding toppings to prevent sogginess.
Sicilian Thick Crust
Sicilian-style uses a higher hydration dough. Add ¼ cup extra warm water to your recipe. Press into a well-oiled rectangular pan and dimple the surface with your fingers. Bake at 425°F for 18-20 minutes. ✨
California Thin
For a California-style thin crust, reduce the proofing time to 45 minutes and roll the dough to ⅛-inch thickness. Bake at 500°F for 6-7 minutes until golden. The quick bake keeps it extra crisp.
Nutrition Facts
Frequently Asked Questions
Can I substitute the almond flour?
Yes, use sunflower seed flour for a nut-free version. It provides similar richness and binding properties.
Why is psyllium husk powder essential?
It mimics gluten’s elasticity, creating chewiness and structure. Without it, the crust may crumble. Never skip this ingredient.
How thin should I roll the dough?
For a classic crust, aim for ¼-inch thickness. Thinner (⅛-inch) makes a crisp base, while thicker (½-inch) yields a softer bite.
Can I make this ahead?
Shape the dough, cover tightly, and refrigerate for up to 24 hours. Let it warm slightly before baking for best rise.

Trained in classic French technique but raised on slow-cooked ribs and spicy rubs, she blends culinary skill with smoke and soul.
- Recipe for Boneless Pork Chops in Cast Iron Skillet: Sear and Baste to Juicy Perfection - October 3, 2026
- Recipe for Boneless Cross Rib Roast: Slow-Roasted Beef with Herb Crust - October 3, 2026
- Hamburgers in Sauce Recipe Crock Pot: Slow-Cooked Savory Delight - October 3, 2026