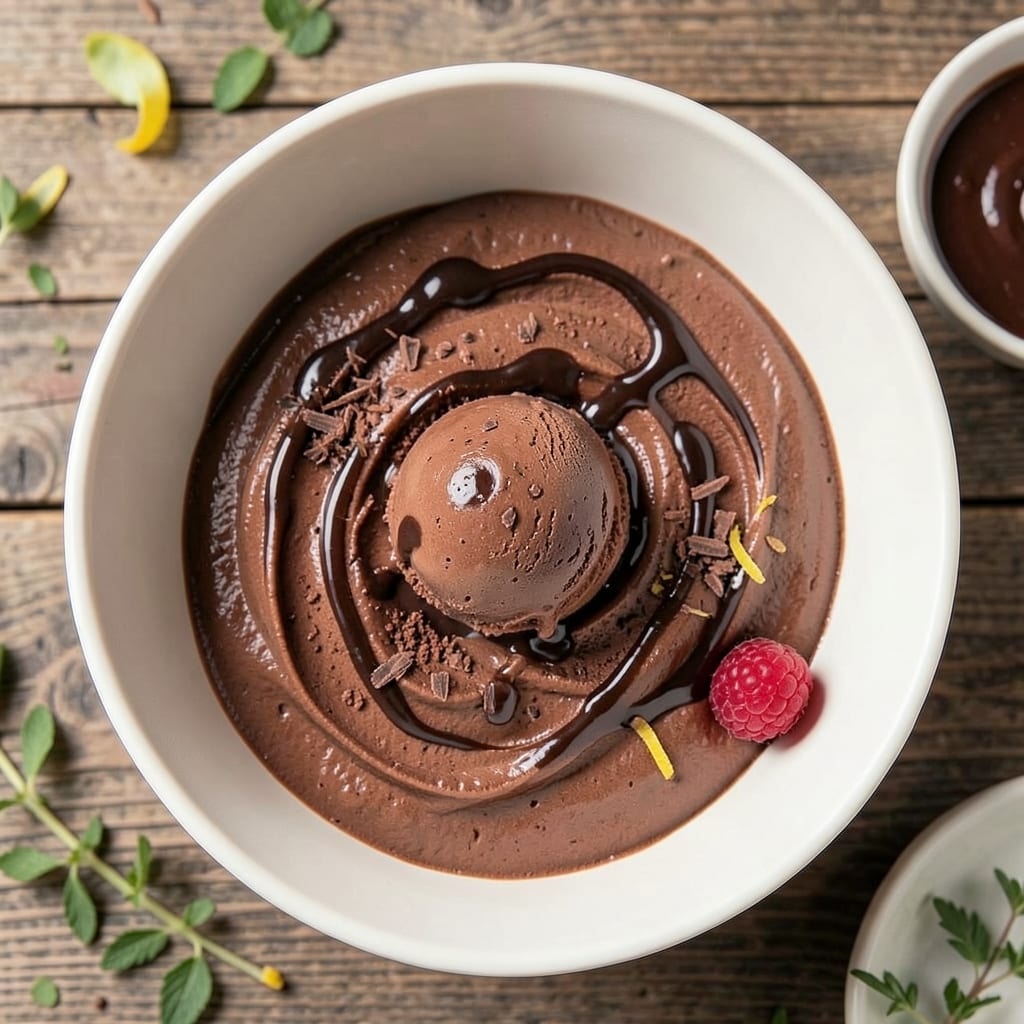
This chocolate ice cream recipe delivers the rich, velvety texture you expect from a premium dessert. I’ve refined this method over years of testing to ensure it turns out perfectly every time in your ice cream maker.
The secret lies in using high-quality cocoa powder and a touch of vanilla to deepen the flavor. The custard base is cooked just enough to thicken without scrambling, creating a smooth, creamy foundation.
Once churned, the result is a luxurious ice cream with intense chocolate flavor and a scoopable consistency. It’s the kind of homemade treat that rivals any artisanal shop.
Serve it fresh or freeze for later—either way, it’s a dessert worth savoring.
Ingredients for Homemade Chocolate Ice Cream Recipe for Ice Cream Maker
Rich cocoa, creamy custard, and just enough sweetness for the perfect scoop.
| Ingredient | Amount | Notes |
|---|---|---|
| Heavy Cream 🥛 | 2 cups | Full-fat for richness |
| Whole Milk 🥛 | 1 cup | Cold, preferably whole |
| Granulated Sugar 🍚 | ¾ cup | Fine white sugar |
| Unsweetened Cocoa Powder 🍫 | ¾ cup | High-quality, Dutch-process preferred |
| Large Egg Yolks 🥚 | 4 whole | Pasture-raised for best flavor |
| Vanilla Extract 🌿 | 2 tsp | Pure vanilla, not imitation |
| Salt 🧂 | ¼ tsp | Fine sea salt |
| Dark Chocolate Chunks 🍫 | ½ cup | 70% cocoa or higher |
| Vanilla Bean 🌿 | 1 whole | Split and scraped |
| Espresso Powder ☕ | 1 tsp | Enhances chocolate flavor |
[recipe_ingredient_scaler]
The cocoa powder makes this extraordinary. Hershey’s Special Dark or Ghirardelli are my go-tos for depth of flavor—avoid the cheap stuff. The eggs need to be fresh; farmers market yolks give that vibrant color. For the cream and milk, organic full-fat delivers the smoothest texture. If you’re splurging, Guittard or Valrhona cocoa takes it to artisanal levels.
No vanilla bean? Double the extract works fine. Swap dark chocolate for semi-sweet if you prefer a milder bite. Out of espresso powder? Instant coffee at half the amount does the trick. The salt is non-negotiable—balances the sweetness perfectly. If you’re watching sugar, reduce it slightly but don’t skip it entirely; the texture suffers.
The custard base keeps in the fridge for 24 hours before churning—great for prepping ahead. Once churned, store in an airtight container for up to 1 week. For best results, let it sit at room temperature for 5-10 minutes before scooping (worth the wait).
Why You’ll Love This Recipe
- One-Bowl Wonder: I just dump the cream, milk, sugar, cocoa, and yolks in one bowl, whisk, and let the machine do the rest.
- Deep Chocolate Fix: The cocoa powder gives it that rich, bittersweet punch I crave—no artificial aftertaste.
- Crowd-Pleasing Treat: Honestly, it’s my go-to for birthday parties, Sunday suppers, or just because it’s Tuesday.
- Makes Extras Easy: Leftovers? They keep beautifully in the freezer, so I always have a pint ready for late-night cravings.
Step-by-Step Instructions for Homemade Chocolate Ice Cream
This tested method delivers rich, creamy results with your ice cream maker every time.
Step 1: Infuse the Cream with Vanilla
In a medium saucepan, combine the 2 cups Heavy Cream and the scraped seeds from the 1 whole Vanilla Bean (save the pod for another use). Heat over medium heat until the mixture just begins to simmer around the edges—you’ll see tiny bubbles forming.
Remove from heat immediately, cover, and let steep for 15 minutes. This infuses the cream with deep vanilla flavor. I always use a real vanilla bean here; the speckles in the final ice cream are a beautiful signature of quality.
Step 2: Temper the Egg Yolks with Sugar and Cocoa
In a separate bowl, whisk together the 0.75 cup Granulated Sugar, 0.75 cup Unsweetened Cocoa Powder, 1 tsp Espresso Powder, and 0.25 tsp Salt. Add the 4 whole Large Egg Yolks and whisk until the mixture is smooth and slightly thickened.
Slowly pour about 1 cup of the warm cream mixture into the egg mixture while whisking constantly. This tempering step prevents the eggs from scrambling when they meet the hot cream. The mixture should become warm and silky.
Step 3: Cook the Custard Base
Return the tempered egg mixture to the saucepan with the remaining cream. Stir in the 1 cup Whole Milk and 2 tsp Vanilla Extract. Cook over medium-low heat, stirring constantly with a wooden spoon, until the mixture thickens enough to coat the back of the spoon.
This should take 8-10 minutes. You’ll know it’s ready when you can run your finger through the custard on the spoon and it leaves a clean path. Don’t let it boil—if you see steam rising, reduce the heat immediately.
Step 4: Chill and Add Chocolate
Pour the custard through a fine-mesh strainer into a clean bowl to remove any cooked bits. Stir in the 0.5 cup Dark Chocolate Chunks until fully melted and smooth. Cover the bowl with plastic wrap, pressing it directly onto the surface of the custard to prevent a skin from forming.
Refrigerate for at least 4 hours or preferably overnight. The custard must be completely cold before churning. I like to make this the night before so the flavors can deepen while it chills.
Step 5: Churn and Freeze
Pour the chilled custard into your ice cream maker and churn according to the manufacturer’s instructions—typically 20-25 minutes. The ice cream is ready when it reaches the consistency of soft-serve.
Transfer to a freezer-safe container and freeze for at least 4 hours until firm. For best texture, let it sit at room temperature for 5-10 minutes before scooping. The result should be rich, velvety, and intensely chocolatey.
Pro Tips For Making Homemade Chocolate Ice Cream Recipe For Ice Cream Maker
- Temper the Yolks: Slowly whisk about a cup of the hot cream mixture into the egg yolks before combining everything—I learned this the hard way after scrambling yolks straight into the pot.
- Bloom the Cocoa: Whisk the cocoa powder with a few tablespoons of hot milk first to dissolve completely, or you’ll end up with grainy chocolate flecks no matter how much you churn.
- Chill Thoroughly: Give the custard a full 6-8 hours in the fridge before churning; I was skeptical until I tried it, but the texture is noticeably creamier.
- Use Full-Fat: Skip the low-fat milk or cream substitutes—this isn’t the place to cut corners, or the ice cream will taste icy instead of rich.
Common Mistakes When Making homemade chocolate ice cream recipe for ice cream maker
Overheating the Base
Cooking the custard too hot causes scrambled eggs in your ice cream. Keep the heat at medium-low and stir constantly. If you see steam or hear sizzling, remove it immediately. I use a heavy-bottomed All-Clad saucepan for even heat distribution. 🌡️
Skipping the Chill
Pouring warm custard into your machine creates a soupy mess. The base must chill completely—4 hours minimum, overnight is better. I learned this the hard way when my first batch never thickened properly.
Using Low-Fat Dairy
Whole milk and heavy cream aren’t optional—they’re essential for that luxurious texture. Skim milk or half-and-half makes for icy, disappointing results. Trust me, this isn’t the place to cut corners.
Adding Chocolate Too Early
Stir in the dark chocolate chunks after straining the custard, not before. Adding them during cooking can cause separation. The residual heat will melt them perfectly into the base.
Overfilling the Maker
Most machines have a max fill line—usually 1.5 quarts. Overfilling prevents proper churning and leads to uneven freezing. I measure my custard before adding to avoid this mistake.
Impatient Freezing
After churning, the ice cream needs 4 hours in the freezer to firm up. Scooping too soon gives you soft serve, not that perfect scoopable texture we all want. Patience pays off here. ✨
Nutrition Facts
Frequently Asked Questions
Can I use milk chocolate instead of dark?
Yes, but reduce the sugar by 2-3 tablespoons since milk chocolate is sweeter. The flavor will be milder and creamier. 70% cocoa dark chocolate gives the richest result though.
Why does my ice cream turn icy?
This usually happens from not churning long enough or using low-fat dairy. Ensure your custard base is fully chilled before churning and use full-fat heavy cream and whole milk.
How long can I store homemade ice cream?
It keeps well in an airtight container for up to 2 weeks. For best texture, press plastic wrap directly on the surface to prevent ice crystals from forming.
Do I need to pre-chill the ice cream maker bowl?
Most machines require the bowl to freeze for 12-24 hours beforehand. Check your manufacturer’s instructions, but this step is almost always essential for proper churning.

Trained in classic French technique but raised on slow-cooked ribs and spicy rubs, she blends culinary skill with smoke and soul.
- Recipe for Boneless Pork Chops in Cast Iron Skillet: Sear and Baste to Juicy Perfection - October 3, 2026
- Recipe for Boneless Cross Rib Roast: Slow-Roasted Beef with Herb Crust - October 3, 2026
- Hamburgers in Sauce Recipe Crock Pot: Slow-Cooked Savory Delight - October 3, 2026