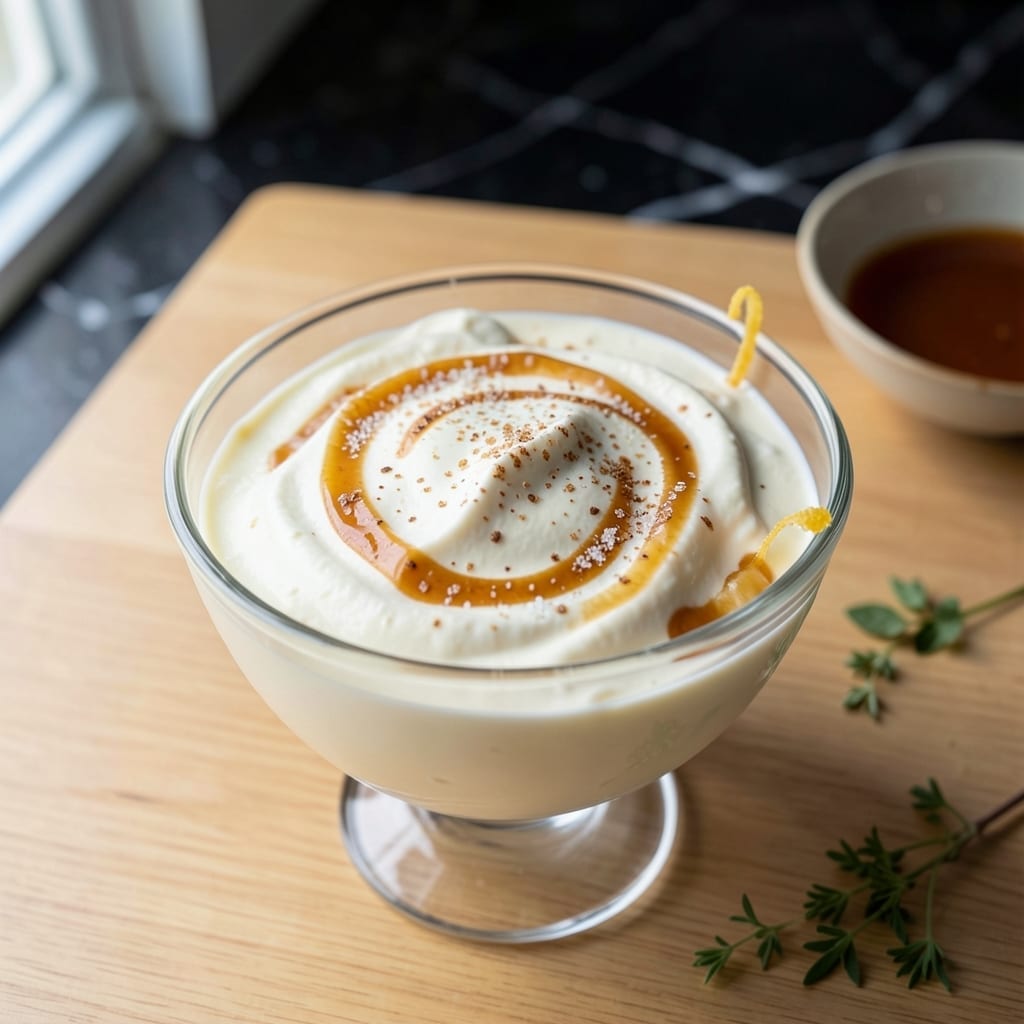
This no-churn vanilla ice cream delivers homemade quality with a fraction of the effort. I developed this recipe for those who want creamy, dreamy ice cream without the hassle of an ice cream maker or constant stirring.
The secret lies in using Cool Whip as the base, which provides a light, airy texture that’s both smooth and satisfying. Combine it with sweetened condensed milk and pure vanilla extract for a rich, velvety dessert that’s ready in just a few hours.
What you get is a smooth and light ice cream with the classic vanilla flavor you love. It’s the kind of treat that feels indulgent but is surprisingly simple to make.
Perfect for summer gatherings or a quiet night in. Here’s how to make it.
Ingredients for Homemade Vanilla Ice Cream Recipe with Cool Whip
Just a few ingredients make this creamy, dreamy no-churn vanilla ice cream a reality.
| Ingredient | Amount | Notes |
|---|---|---|
| Cool Whip 🍦 | 4 cups | Thawed, do not substitute |
| Sweetened Condensed Milk 🥛 | 1 can | 14 oz can, full-fat |
| Pure Vanilla Extract 🌿 | 1 tbsp | Not imitation vanilla |
| Heavy Whipping Cream 🥛 | ½ cup | Optional for extra richness |
| Granulated Sugar 🧂 | ¼ cup | Adjust to taste preference |
| Vanilla Bean 🌱 | 1 whole | Seeds scraped, optional |
| Salt 🧂 | ¼ tsp | Enhances vanilla flavor |
| Rainbow Sprinkles 🎉 | ¼ cup | Optional mix-in for fun |
| Crushed Oreos 🍪 | ½ cup | Optional mix-in for texture |
| Chopped Nuts 🌰 | ½ cup | Pecans or walnuts work well |
[recipe_ingredient_scaler]
The Cool Whip is non-negotiable here—it’s what gives that signature light, airy texture. Grab the full-fat version from any major grocery store. Sweetened condensed milk is the other key player, and Eagle Brand is the most reliable. Don’t even think about low-fat versions—they’ll give you icy, sad ice cream instead of that velvety finish we’re after.
No vanilla bean? Pure vanilla extract works perfectly. If you’re out of condensed milk, you can make a DIY version with powdered sugar and milk (but it won’t be as smooth). The heavy cream is optional but adds a nice richness—organic from Whole Foods is my go-to. For mix-ins, anything from crushed cookies to fresh berries works (just fold them in gently).
This keeps beautifully in an airtight container for up to 2 weeks—if it lasts that long. Freeze it flat so it’s easier to scoop. For best texture, let it sit on the counter for 5-10 minutes before serving.
Why You’ll Love This Recipe
- No Churn Magic: I just fold Cool Whip with sweetened condensed milk and vanilla, then freeze—no machine, no fuss.
- Velvety Sweetness: The heavy cream and sugar blend into this ridiculously smooth texture that melts perfectly on the tongue.
- Crowd Pleaser: I’ve served it at BBQs, birthdays, and random Tuesdays—everyone from kids to grandparents asks for the recipe.
- Leftovers? Unlikely: Honestly, it’s so good it disappears fast, but if some lasts, it keeps beautifully for up to two weeks.
Step-by-Step Instructions for Homemade Vanilla Ice Cream With Cool Whip
Here’s the no-churn method that delivers creamy, dreamy results without an ice cream maker.
Step 1: Whip the Heavy Cream and Sugar
In a large bowl, combine the 0.5 cup Heavy Whipping Cream and 0.25 cup Granulated Sugar. Using a hand mixer or stand mixer, whip on medium-high speed for 2-3 minutes until soft peaks form.
Watch for the mixture to thicken and hold its shape when the beaters are lifted. If using, split the 1 whole Vanilla Bean lengthwise, scrape the seeds into the cream, and add the pod for extra flavor. This step builds the base for your ice cream’s light texture.
Step 2: Fold in Cool Whip and Sweetened Condensed Milk
Gently fold the 4 cups Cool Whip into the whipped cream mixture using a spatula. I like to do this in two additions to keep the texture smooth and airy. Be careful not to deflate the mixture—use a light hand.
Next, pour in the 1 can Sweetened Condensed Milk and fold until fully combined. The condensed milk sweetens and thickens the mixture, creating that signature creamy consistency. Add the 1 tbsp Pure Vanilla Extract and 0.25 tsp Salt to enhance the vanilla flavor.
Step 3: Add Your Favorite Mix-Ins
Here’s where you customize. Gently fold in your chosen mix-ins. For a fun, colorful treat, add the 0.25 cup Rainbow Sprinkles. If you prefer a cookies-and-cream vibe, stir in the 0.5 cup Crushed Oreos.
For added crunch, fold in the 0.5 cup Chopped Nuts. I love using pecans or walnuts for their buttery flavor. Make sure everything is evenly distributed, but don’t overmix—you want those chunks to stay intact.
Step 4: Freeze Until Firm
Transfer the mixture to a 9×5-inch loaf pan or any freezer-safe container. Smooth the top with a spatula and cover with plastic wrap, pressing it directly onto the surface to prevent ice crystals from forming.
Freeze for at least 6 hours or overnight until firm. This no-churn method means you can skip the ice cream maker entirely. The texture will be creamy and scoopable, ready to serve straight from the freezer.
Pro Tips For Making Homemade Vanilla Ice Cream Recipe With Cool Whip
- Chill Everything First: Freeze your mixing bowl and beaters for 15 minutes before combining the Cool Whip and condensed milk—I learned this the hard way after my first batch turned soupy instead of creamy.
- Use Real Vanilla: Skip the imitation stuff; a full tablespoon of pure vanilla extract makes a real difference in flavor when mixed into the sweetened condensed milk.
- Fold Gently: When combining the Cool Whip with the other ingredients, use a spatula and light strokes to keep the air in—overmixing turns it dense and flat.
- Freeze in Batches: Divide the mixture into shallow containers so it freezes faster and more evenly, about 4-6 hours—your future self will thank you when it’s ready sooner.
Creative Variations of homemade vanilla ice cream recipe with cool whip
Cookies and Cream
For a classic twist, fold in ½ cup crushed Oreos before freezing. The chocolate cookies soften slightly but retain their crunch, creating a perfect texture contrast. I prefer using the original flavor, but mint or golden Oreos work too. 🍪
Birthday Cake
Add ¼ cup rainbow sprinkles to the base mixture for a festive look. The sprinkles add a fun pop of color and subtle crunch. For extra celebration, top with additional sprinkles before serving.
Nutty Delight
Stir in ½ cup chopped pecans or walnuts for a sophisticated, buttery crunch. Toast the nuts in a dry pan over medium heat for 3-4 minutes first to deepen their flavor. This pairs wonderfully with a caramel drizzle.
Vanilla Bean Upgrade
Split 1 vanilla bean, scrape the seeds into the mixture, and add the pod while folding. Remove the pod before freezing. This elevates the vanilla flavor beautifully, giving it a gourmet touch.
Chocolate Swirl
After transferring to the pan, drizzle ¼ cup chocolate syrup over the top and swirl with a knife. This creates a marbled effect throughout the ice cream. Use Hershey’s for a classic taste.
Freeze as usual for a dessert that looks as good as it tastes.
Nutrition Facts
Frequently Asked Questions
Can I use regular whipped cream instead of Cool Whip?
No, Cool Whip is essential for that signature light, airy texture. Regular whipped cream lacks the stabilizers needed for this no-churn method and may separate.
How long does this ice cream keep in the freezer?
It stays fresh in an airtight container for up to 2 weeks. For best texture, let it sit at room temperature for 5-10 minutes before scooping.
What’s the best way to add mix-ins?
Fold them in gently after combining all wet ingredients. Avoid overmixing to keep chunks like Oreos or sprinkles intact.
Why does my ice cream have ice crystals?
This happens if not covered properly. Press plastic wrap directly onto the surface before freezing to prevent air exposure.

Trained in classic French technique but raised on slow-cooked ribs and spicy rubs, she blends culinary skill with smoke and soul.
- Recipe for Boneless Pork Chops in Cast Iron Skillet: Sear and Baste to Juicy Perfection - October 3, 2026
- Recipe for Boneless Cross Rib Roast: Slow-Roasted Beef with Herb Crust - October 3, 2026
- Hamburgers in Sauce Recipe Crock Pot: Slow-Cooked Savory Delight - October 3, 2026