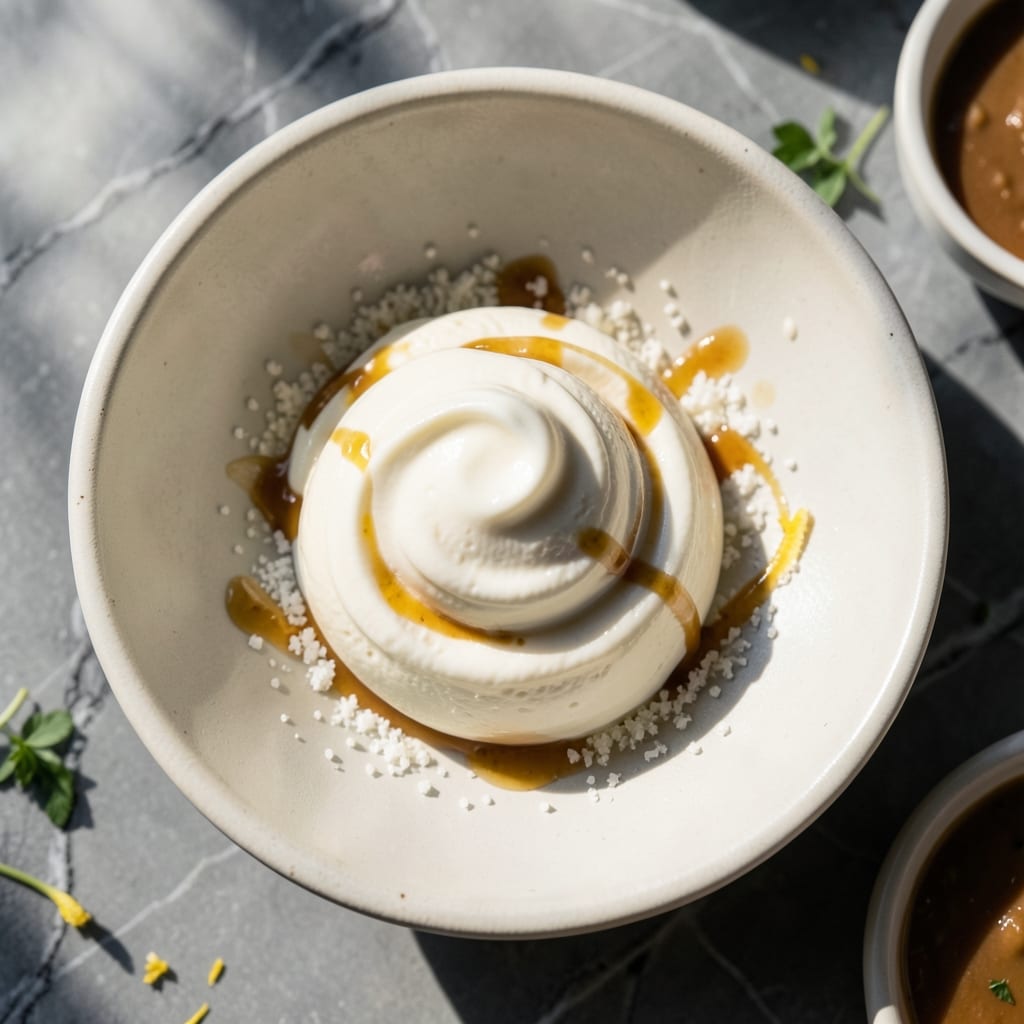
There’s a reason evaporated milk transforms homemade ice cream into something extraordinary. This method yields a texture so ultra creamy and velvety, it rivals any premium brand.
I’ve tested countless variations, and the evaporated milk base consistently delivers superior richness without heavy cream. The process is straightforward, requiring only basic equipment and 5 ingredients.
The result is a homemade treat with perfect body—smooth, scoopable, and never icy. Unlike custard-based recipes, this version skips eggs entirely.
Churned to perfection in under 30 minutes, it’s ready to enjoy immediately or freeze for later. The flavor stays fresh for days.
Ingredients for Ice Cream Recipe with Evaporated Milk
Five simple ingredients create this ultra creamy homemade ice cream with velvety texture.
| Ingredient | Amount | Notes |
|---|---|---|
| Evaporated Milk 🥛 | 2 cups | Full-fat, undiluted, well-chilled |
| Granulated Sugar 🍚 | 1 cup | Fine white sugar preferred |
| Heavy Whipping Cream 🥛 | 1 cup | Cold, for smooth texture |
| Pure Vanilla Extract 🌿 | 2 tsp | Not imitation vanilla |
| Table Salt 🧂 | ¼ tsp | Fine grain for even distribution |
[recipe_ingredient_scaler]
The evaporated milk is the foundation here. Carnation brand is widely available and reliable, but any full-fat variety works—just avoid the low-fat versions, as they won’t deliver the same richness. Ensure it’s well-chilled (overnight in the fridge is ideal) before churning. The sugar should be fine granulated—organic cane sugar adds a subtle depth if preferred.
No heavy cream? Half-and-half at double the volume can substitute, though the texture will be slightly less dense. Vanilla bean paste can replace the extract for a more pronounced vanilla flavor with specks throughout. If reducing sugar, use super-fine baker’s sugar to prevent graininess. The salt enhances all flavors—don’t skip it even in small amounts.
This ice cream keeps beautifully in an airtight container for up to 2 weeks. For best texture, press plastic wrap directly against the surface to prevent ice crystals. Allow it to soften at room temperature for 10-15 minutes before scooping for that perfect creamy consistency.
Why You’ll Love This Recipe
- No Fuss Mixing: I just dump the evaporated milk, sugar, cream, and vanilla in a bowl—no cooking, no tempering eggs, no stress.
- Velvety Vanilla: The evaporated milk gives it this ultra-smooth, almost custard-like richness that beats store-bought.
- Crowd Pleaser: I’ve served this at birthday parties and weeknight desserts, and kids and adults alike scrape the bowl clean.
- Pennywise Luxury: Heavy cream and evaporated milk sound fancy, but they’re cheaper than premium ice cream pints—and I control the sweetness.
Step-by-Step Instructions for Ice Cream With Evaporated Milk
Master the technique for ultra-smooth, velvety homemade ice cream with minimal effort.
Step 1: Combine and Dissolve the Base Ingredients
In a large mixing bowl, whisk together the 2 cups Evaporated Milk and 1 cup Granulated Sugar until the sugar is completely dissolved. This step is crucial for preventing icy crystals in your finished ice cream.
I find that using a wire whisk works best to break up any lumps of sugar. The evaporated milk should be well-chilled as specified in the ingredients, which helps create a smoother texture. Continue whisking until the mixture becomes uniform and you can no longer feel any sugar granules when you rub the liquid between your fingers.
Step 2: Incorporate the Cream and Flavorings
Slowly pour in the 1 cup Heavy Whipping Cream while continuing to whisk. The cold cream will begin to thicken the mixture slightly as it combines with the evaporated milk base.
Next, add the 2 tsp Pure Vanilla Extract and 0.25 tsp Table Salt. The vanilla should be pure extract, not imitation, as it provides a more complex flavor profile. Whisk for an additional 30 seconds to ensure all ingredients are fully integrated and the mixture appears slightly thickened but still pourable.
Step 3: Chill the Mixture Thoroughly
Cover the bowl with plastic wrap, pressing it directly against the surface of the mixture to prevent a skin from forming. Refrigerate for at least 4 hours, but overnight is ideal. This chilling step is essential for achieving the creamiest texture.
The cold temperature allows the flavors to meld and the mixture to reach the optimal starting temperature for churning. You’ll know it’s ready when the mixture is very cold throughout—colder than a typical refrigerator temperature if possible. If you’re in a hurry, you can place the bowl in the freezer for 1-2 hours, stirring every 20 minutes to prevent freezing at the edges.
Step 4: Churn to Perfection
Pour the chilled mixture into your ice cream maker and churn according to the manufacturer’s instructions. This typically takes 20-25 minutes for most home machines. As it churns, the mixture will transform from a liquid to a soft, creamy consistency.
You’ll know it’s ready when the ice cream holds its shape like soft-serve and has a smooth, velvety appearance. The color will lighten slightly as air is incorporated. Avoid over-churning, as this can lead to a grainy texture. The ice cream will be soft at this stage but will firm up during the final freezing step.
Step 5: Freeze to Set the Final Texture
Transfer the churned ice cream to a freezer-safe container with a tight-fitting lid. Press plastic wrap directly against the surface to minimize ice crystals, then cover with the lid. Freeze for at least 4 hours or until firm.
The final texture should be scoopable but hold its shape when served. For the creamiest results, let the ice cream sit at room temperature for 5-10 minutes before serving. This brief tempering makes it easier to scoop and enhances the smooth mouthfeel that makes this homemade version so special.
Pro Tips For Making Ice Cream Recipe With Evaporated Milk
- Chill the Base: I learned this the hard way—let your evaporated milk and cream mixture chill in the fridge for at least 4 hours, or overnight. It whips up thicker and freezes faster, so you’re not waiting forever for it to set.
- Use Full-Fat Evaporated Milk: Skip the low-fat version; full-fat evaporated milk makes a real difference in creaminess. The extra richness means your ice cream won’t turn icy or grainy.
- Don’t Skimp on Sugar: Granulated sugar isn’t just for sweetness—it lowers the freezing point, keeping the texture smooth. Measure it exactly, or your ice cream might end up rock-hard.
- Add Vanilla Last: Stir in the vanilla extract after the mixture has cooled slightly. High heat can dull its flavor, and you want that pure vanilla taste to shine.
Creative Variations of This Dish
Chocolate Lover’s Dream
Add ½ cup cocoa powder and 2 oz melted dark chocolate to the base mixture before churning. This creates an intensely rich chocolate version. I recommend Ghirardelli cocoa for its deep, complex flavor. The evaporated milk enhances the chocolate’s creaminess. 🌟
Strawberry Swirl Delight
Fold in 1 cup fresh strawberry puree during the last 5 minutes of churning. For extra texture, add ½ cup diced strawberries after churning. Use ripe, sweet strawberries for the best results. The evaporated milk base keeps the fruit from making the ice cream icy.
Coffee Buzz Variation
Dissolve 2 tbsp instant espresso powder in 1 tbsp hot water, then mix into the base before churning. This adds a robust coffee flavor without watering down the mixture. The evaporated milk’s richness balances the coffee’s bitterness perfectly.
Cookies and Cream
Crush 10 Oreo cookies into small chunks and fold into the ice cream after churning. For extra indulgence, add ½ cup mini chocolate chips as well. The evaporated milk base helps the cookies stay slightly soft rather than rock hard. 💫
Tropical Coconut Twist
Replace ½ cup of the cream with coconut cream and add ½ cup toasted coconut flakes after churning. This creates a tropical-inspired treat. The evaporated milk maintains the creamy texture while adding coconut flavor.
Peanut Butter Cup
Stir in ½ cup peanut butter during the last 2 minutes of churning, then fold in 8 chopped Reese’s cups after churning. The evaporated milk base ensures the peanut butter distributes evenly without making the ice cream too dense.
Nutrition Facts
Frequently Asked Questions
Why use evaporated milk instead of regular milk?
Evaporated milk has 60% less water, creating a richer, creamier texture without heavy cream. It also prevents icy crystals from forming.
Can I make this without an ice cream maker?
Yes! Freeze in a shallow dish, stirring with a fork every 30 minutes for 3-4 hours to break up ice crystals. The texture will be slightly denser.
How long does this keep in the freezer?
It stays fresh for up to 2 weeks in an airtight container. Press plastic wrap against the surface to prevent freezer burn.
What’s the best way to soften it for serving?
Let it sit at room temperature for 10-15 minutes before scooping. This makes it easier to serve while maintaining a smooth consistency.

Trained in classic French technique but raised on slow-cooked ribs and spicy rubs, she blends culinary skill with smoke and soul.
- Recipe for Fried Prawns Batter: Ultra-Crispy Golden Shell - October 3, 2026
- Indian Lamb Curry Recipe Pressure Cooker: Fragrant Spices in a Fraction of the Time - October 3, 2026
- Recipe for Oven Roasted: Golden Crisp Perfection Without the Fryer - October 3, 2026