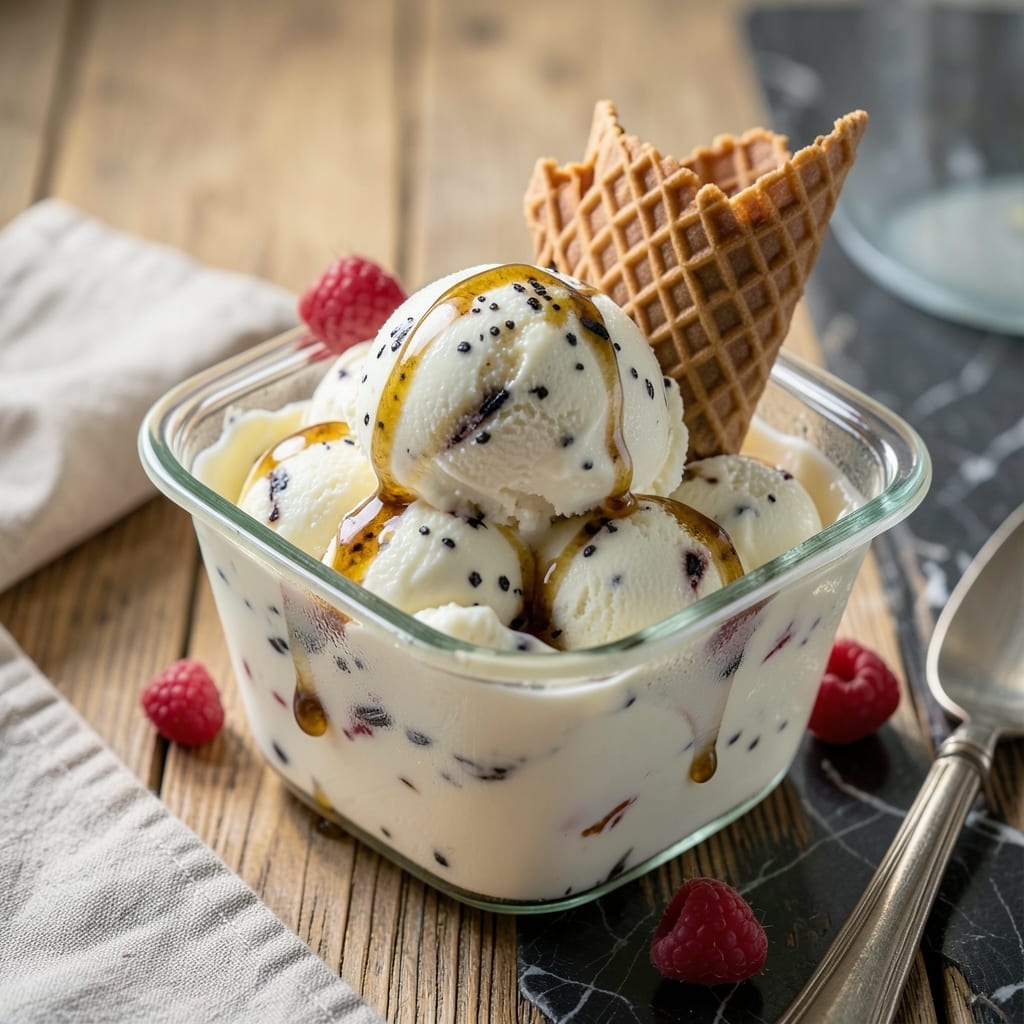
Crafting velvety ice cream without excess fat is simpler than you think. This method uses an ice cream maker to achieve that perfect creamy texture while keeping the recipe light and satisfying.
The secret lies in a base of low-fat dairy and natural sweeteners, carefully balanced for flavor. The machine’s churning action incorporates air, creating the signature smooth consistency we all love.
You’ll end up with a treat that’s rich in taste but light in guilt. The process is straightforward, with precise mixing and churning times to ensure the best results every time.
Perfect for those who want to indulge without compromising on health. Here’s how to make it.
Ingredients for Low Fat Ice Cream Recipe for Ice Cream Maker
Light yet creamy ingredients that churn into velvety perfection every time.
| Ingredient | Amount | Notes |
|---|---|---|
| Low-Fat Milk 🥛 | 2 cups | 2% or skim for best results |
| Heavy Whipping Cream 🥛 | ½ cup | Light cream works too |
| Granulated Sugar 🍚 | ¾ cup | Or substitute with honey |
| Egg Yolks 🥚 | 3 whole | Large eggs preferred |
| Vanilla Extract 🌿 | 1 tsp | Pure vanilla for best flavor |
| Salt 🧂 | ¼ tsp | Fine grain for even distribution |
| Corn Syrup 🍯 | 2 tbsp | Light or dark variety |
| Fresh Lemon Juice 🍋 | 1 tsp | Balances sweetness |
| Non-Fat Greek Yogurt 🥛 | ½ cup | Plain, unsweetened |
| Vanilla Bean 🌿 | ½ whole | Scraped seeds only |
[recipe_ingredient_scaler]
The dairy base is key here. Low-fat milk from any grocery store works, but I like Organic Valley for its rich taste despite being lower in fat. The heavy cream can be swapped for light cream if you’re watching calories closely. Whole Foods has great organic options for both. For the yogurt, Fage or Chobani non-fat Greek yogurt adds creaminess without the fat.
No corn syrup? Agave nectar or maple syrup at the same amount works in a pinch. Out of vanilla bean? Double the extract—just use the good stuff, not imitation. The egg yolks are non-negotiable for texture, but if you’re avoiding eggs entirely, 2 tbsp cornstarch mixed with 2 tbsp milk can work as a binder. The lemon juice brightens everything up—don’t skip it.
This base keeps in the fridge for 2 days before churning. Once made, the ice cream stays fresh for about 1 week in an airtight container. Freeze for up to 2 months if you can resist eating it all immediately (good luck with that).
Why You’ll Love This Recipe
- Set and Forget: I toss everything in the ice cream maker and let it do the work—no stirring, no fuss.
- Rich Vanilla Swirl: The egg yolks and vanilla extract give it that deep, creamy flavor you’d expect from full-fat.
- Crowd Pleaser: Between us, even my picky nephew asks for seconds when I serve this at summer BBQs.
- Budget Scaler: A quart of low-fat milk and a few yolks stretch further than store-bought pints ever could.
Step-by-Step Instructions for Low Fat Ice Cream
This method delivers creamy, dreamy results with every churn—no guilt, all flavor.
Step 1: Infuse and Heat the Dairy Base
In a medium saucepan, combine the 2 cups Low-Fat Milk, 0.5 cup Heavy Whipping Cream, and the scraped seeds from the 0.5 whole Vanilla Bean. Heat over medium heat until small bubbles form around the edges—this should take about 5-7 minutes.
I stir occasionally to prevent scorching. You’ll see tiny steam wisps and the mixture will just begin to shimmer. Don’t let it boil; we’re aiming for a gentle warm-up, not a rolling simmer. This slow heating ensures the vanilla seeds release their full aromatic potential.
Step 2: Whisk Egg Yolks with Sweeteners
While the dairy warms, whisk together the 3 whole Egg Yolks and 0.75 cup Granulated Sugar in a separate bowl until the mixture turns pale yellow and slightly thickens. This takes about 2-3 minutes of vigorous whisking by hand.
Add the 2 tbsp Corn Syrup, 0.25 tsp Salt, and 1 tsp Fresh Lemon Juice to the egg mixture. The salt and lemon juice might seem subtle, but they balance the sweetness beautifully. Whisk again until everything is fully incorporated and smooth.
Step 3: Temper and Thicken the Custard
Slowly pour about 1 cup of the warm dairy mixture into the egg yolk mixture while whisking constantly. This tempers the eggs, preventing them from scrambling when added to the hot liquid. Once combined, pour the tempered egg mixture back into the saucepan with the remaining dairy.
Return the saucepan to medium-low heat and cook, stirring constantly with a wooden spoon, for 5-7 minutes until the mixture thickens enough to coat the back of the spoon. You’ll know it’s ready when you can run a finger through the custard on the spoon and it leaves a clear path.
Step 4: Chill Thoroughly Before Churning
Strain the custard through a fine-mesh sieve into a clean bowl to remove any cooked bits or vanilla pod remnants. Stir in the 1 tsp Vanilla Extract and 0.5 cup Non-Fat Greek Yogurt until fully combined. The yogurt adds that signature tang and creaminess without extra fat.
Cover the bowl with plastic wrap, pressing it directly onto the surface of the custard to prevent a skin from forming. Refrigerate for at least 4 hours, or preferably overnight. Chilling is non-negotiable—it ensures a smooth, creamy texture when churned.
When ready, pour the chilled mixture into your ice cream maker and churn according to the manufacturer’s instructions, typically 20-25 minutes. The ice cream should look like soft-serve when it’s done.
Step 5: Freeze to Perfection
Transfer the churned ice cream to a lidded container and freeze for at least 4 hours to firm up completely. This final freeze sets the texture, turning it from soft and scoopable to rich and velvety.
For the best experience, let it sit at room temperature for 5-10 minutes before serving. The wait is worth it—you’ll get perfect scoops every time, with a smooth, luscious texture that’s hard to believe is low fat.
Pro Tips For Making Low Fat Ice Cream Recipe For Ice Cream Maker
- Chill the Base: Always refrigerate your custard base for at least 4 hours—overnight is better. I learned this the hard way when my first batch came out soupy instead of creamy.
- Whisk the Yolks: Temper your egg yolks slowly by drizzling in hot milk while whisking constantly. After burning a batch, I finally figured out that dumping it all in at once makes scrambled eggs, not ice cream.
- Skip the Overchurn: Resist the urge to over-churn in the ice cream maker—20-25 minutes is plenty. My early attempts turned into icy bricks because I left them spinning too long.
- Boost with Vanilla: Use real vanilla extract, not imitation, and add it at the end of churning. Sounds small, but it actually changes the outcome—cheap vanilla leaves a harsh aftertaste in low-fat recipes.
Storing and Reheating Leftovers
Freezer Storage
Transfer your churned creation to an airtight container, leaving ½ inch of headspace at the top. Press plastic wrap directly onto the surface to prevent ice crystals. It’ll keep beautifully for up to 2 months at a constant 0°F. 💡
Fridge Pre-Churn
The custard base must chill for at least 4 hours before churning. I always make mine the night before for maximum flavor development. Store covered in the coldest part of your fridge, not the door.
Short-Term Storage
Once churned but not yet frozen solid, your treat will keep in the freezer for about 1 week at peak texture. After that, it’s still safe to eat but may develop slight iciness. I recommend eating within 3-4 days for best results.
Softening for Serving
Remove from the freezer and let sit at room temperature for 5-10 minutes before scooping. This brief rest makes all the difference for smooth, creamy portions. Avoid microwaving, which can create hot spots.
Portioning Tip
For easy serving, I portion into ½ cup balls on a parchment-lined tray before freezing. Once solid, transfer to a zip-top bag. This way, you can grab just what you need without defrosting the whole batch. 🍦
Avoiding Freezer Burn
Double-wrap your container with plastic wrap then foil for maximum protection. If using a bag, squeeze out all air before sealing. This extra step prevents those dreaded ice crystals from forming on your carefully crafted dessert.
Nutrition Facts
Frequently Asked Questions
Can I use almond milk instead of low-fat dairy?
Yes, but the texture will be less creamy. Use unsweetened almond milk and add 1 extra tablespoon of cornstarch to help thicken the base. The flavor will be lighter, but still delicious.
Why does the custard need to chill overnight?
Chilling develops flavors and ensures a smooth texture. 4 hours minimum is required, but overnight allows the mixture to fully hydrate and thicken for the best results when churned.
Can I skip the egg yolks for a lighter version?
You can, but texture will suffer. Replace with 2 tablespoons cornstarch mixed with 2 tablespoons cold milk for binding. The result won’t be as rich, but it will still be tasty and lower in fat.
How do I prevent ice crystals from forming?
Press plastic wrap directly on the surface before freezing, and use an airtight container. Adding 1 tablespoon of vodka to the base can also help lower the freezing point for a smoother texture.

Trained in classic French technique but raised on slow-cooked ribs and spicy rubs, she blends culinary skill with smoke and soul.
- Recipe for Boneless Pork Chops in Cast Iron Skillet: Sear and Baste to Juicy Perfection - October 3, 2026
- Recipe for Boneless Cross Rib Roast: Slow-Roasted Beef with Herb Crust - October 3, 2026
- Hamburgers in Sauce Recipe Crock Pot: Slow-Cooked Savory Delight - October 3, 2026