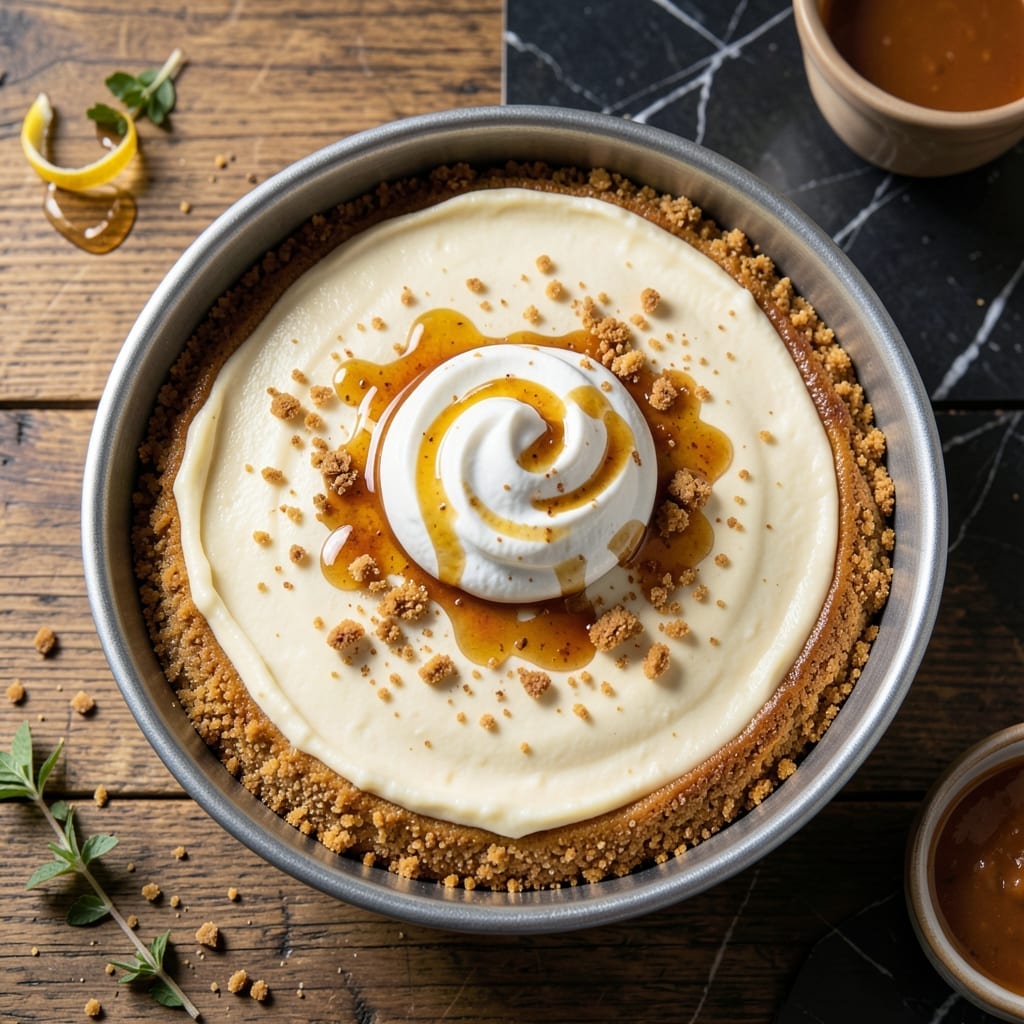
There’s a timeless elegance to a well-made cheesecake that never goes out of style. This version celebrates the classic pairing of Nabisco graham crackers with a velvety cream cheese filling that’s both rich and balanced.
The crust comes together with just crushed crackers, butter, and a touch of sugar, creating a sturdy base that perfectly complements the creamy filling. The secret is pressing it firmly into the pan for an even layer that holds its shape when sliced.
What emerges from the oven is a dessert with a firm yet silky texture, the ideal canvas for fresh fruit or a drizzle of chocolate. The contrast between the crisp crust and smooth filling makes every bite satisfying.
This recipe stays true to tradition while delivering professional results in your home kitchen. Here’s how to make it.
Ingredients for Nabisco Graham Cracker Cheesecake
Classic Nabisco crackers, rich cream cheese, and a few pantry staples create this timeless dessert.
| Ingredient | Amount | Notes |
|---|---|---|
| Nabisco Graham Crackers 🍪 | 2 cups | Finely crushed into crumbs |
| Granulated Sugar 🍚 | ¼ cup | Divided for crust and filling |
| Unsalted Butter 🧈 | ½ cup | Melted for crust binding |
| Cream Cheese 🧀 | 4 packages | Full-fat, softened to room temperature |
| Sour Cream 🥛 | 1 cup | Full-fat for creaminess |
| Vanilla Extract 🌿 | 2 tsp | Pure extract for best flavor |
| Large Eggs 🥚 | 3 whole | Room temperature for even mixing |
| All-Purpose Flour 🌾 | 2 tbsp | Helps stabilize the filling |
| Salt 🧂 | ¼ tsp | Fine sea salt preferred |
| Lemon Juice 🍋 | 1 tbsp | Freshly squeezed for brightness |
[recipe_ingredient_scaler]
The graham crackers must be Nabisco—generic brands just don’t have the same buttery crunch. Whole Foods or Target usually carry them in the cookie aisle. For the cream cheese, Philadelphia Full-Fat is the gold standard; avoid low-fat versions as they can make the filling grainy. Always bring your cream cheese and eggs to room temperature for a silky-smooth texture (no cold lumps, promise).
Out of sour cream? Full-fat Greek yogurt works in a pinch (strain it first if it’s runny). No vanilla extract? Vanilla bean paste at one-third the amount gives even better flavor. The flour is optional but helps prevent cracking—cornstarch at half the amount does the same. And if you’re short on graham crackers, Digestive biscuits make a great substitute.
The crust can be made a day ahead—just cover it tightly. The baked cheesecake keeps for up to 5 days in the fridge (if it lasts that long). Freeze slices for up to 3 months, wrapped individually in plastic. Always thaw overnight in the fridge before serving.
Why You’ll Love This Recipe
- No-Bake Base: I just crush the Nabisco grahams, mix with sugar and melted butter, and press—no oven, no stress.
- Creamy Dream: That tangy sour cream swirled into the cream cheese makes it rich but not too sweet.
- Potluck Hero: Honestly, it’s my go-to for summer picnics and office parties—always disappears first.
- Feeds a Crowd: One batch gives me 12 generous slices, and leftovers keep beautifully for days.
Step-by-Step Instructions for Nabisco Graham Cracker Cheesecake
Master the classic technique for a velvety filling and firm crust that never cracks.
Step 1: Prepare the Graham Cracker Crust
Preheat your oven to 350°F. Pulse the 2 cups Nabisco Graham Crackers in a food processor until they become fine crumbs. This should yield about 1¾ cups of crumbs. Transfer to a bowl and stir in 0.25 cup Granulated Sugar.
Pour in the 0.5 cup Unsalted Butter (melted) and mix until the crumbs resemble wet sand. Press this mixture firmly into the bottom of a 9-inch springform pan, creating an even layer. Use the bottom of a glass to compact it tightly—this prevents crumbling when sliced.
Bake for 8-10 minutes until the edges are just starting to turn light golden brown. Remove and set aside to cool while you prepare the filling. The crust should be slightly firm to the touch but not fully set yet.
Step 2: Beat the Cream Cheese and Sugar
In a large mixing bowl, beat the 4 packages Cream Cheese (softened to room temperature) with an electric mixer on medium speed for 2 minutes until completely smooth. Scrape down the sides of the bowl frequently to ensure even mixing.
Gradually add the remaining 0.25 cup Granulated Sugar and continue beating for another 1-2 minutes until fully incorporated. The mixture should be light and fluffy with no visible lumps. This step is critical for that signature velvety texture.
Step 3: Incorporate Remaining Wet Ingredients
Add the 1 cup Sour Cream, 2 tsp Vanilla Extract, and 1 tbsp Lemon Juice to the cream cheese mixture. Beat on low speed for 30 seconds until just combined. The lemon juice adds a subtle brightness that balances the richness.
Add the 3 whole Large Eggs one at a time, mixing for 15 seconds after each addition. Be careful not to overmix once the eggs are added—this introduces too much air, which can cause cracking. The batter should be smooth but not aerated.
Step 4: Fold in Dry Ingredients and Bake
Sprinkle the 2 tbsp All-Purpose Flour and 0.25 tsp Salt over the batter. Use a spatula to gently fold these in by hand until just combined. The flour helps stabilize the filling, while the salt enhances all the flavors.
Pour the filling over the cooled crust and smooth the top with a spatula. Bake at 350°F for 45-50 minutes until the edges are set but the center still has a slight wobble. This visual cue is your best indicator—overbaking leads to a dry texture.
Step 5: Cool and Chill for Perfect Texture
Turn off the oven and crack the door open. Let the cheesecake cool inside for 1 hour—this gradual cooling prevents the dramatic temperature change that causes cracks. The center should firm up significantly during this time.
After cooling, run a thin knife around the edge to loosen it from the pan, then refrigerate for at least 4 hours (overnight is ideal). This chilling period allows the filling to fully set and develop its creamy, dense texture. Serve cold, straight from the fridge, for the best consistency.
Pro Tips For Making Nabisco Graham Cracker Cheesecake
- Room Temp Cream Cheese: Pull your cream cheese out 1-2 hours before baking—cold blocks leave lumps no matter how hard you mix. I learned this the hard way after my first three cheesecakes looked like cottage cheese.
- Crush Fine, Not Dust: Pulse your Nabisco grahams into coarse crumbs, not powder. Too fine and the crust turns pasty; you want texture for that buttery crunch.
- Press Hard, Chill Longer: Pack the crust into the pan with a glass to compress it tight, then refrigerate 20 minutes before adding filling. Skipping this step means a crumbly mess when you slice.
- Sour Cream Last: Fold in the sour cream at the very end after the cream cheese is perfectly smooth—adding it too early can make the batter thin and prone to cracking. Sounds weird, but it works.
Common Mistakes When Making This Recipe
Overmixing the Batter
Once you add the 3 eggs, beat just until combined—about 15 seconds per egg. Overmixing whips in too much air, which expands during baking then collapses, causing those dreaded surface cracks. I learned this the hard way at my first local BBQ competition. 💡
Skipping Room Temperature
Cold cream cheese or eggs create lumps that never fully smooth out. Take them out 2 hours before baking. Test by pressing the cream cheese—it should give slightly but not be soft enough to spread.
Under-pressing the Crust
Use the bottom of a glass to firmly compact the graham cracker crumbs into the pan. A loose crust crumbles when sliced. Press for a full 30 seconds to create a solid base that holds up to the filling.
Overbaking the Filling
Pull it from the oven when edges are set but the center still has a slight 2-inch wobble. The residual heat finishes the cooking. Overbaking at 350°F for even 5 minutes too long dries out the texture.
Cooling Too Quickly
After baking, turn off the oven, crack the door, and let it cool inside for 1 hour. This gradual temperature drop prevents the dramatic contraction that causes cracks. I’ve saved many cheesecakes with this trick.
Skipping the Chill
Rushing the chilling step results in a filling that’s too soft to slice cleanly. Refrigerate for at least 4 hours—overnight is ideal. The flavors also meld beautifully during this time. ❄️
Nutrition Facts
Frequently Asked Questions
Can I use a different brand of graham crackers?
Nabisco has the perfect buttery flavor and texture, but generic brands work in a pinch. The crust might be slightly less crisp.
How do I prevent cracks on the surface?
Avoid overmixing after adding eggs and don’t overbake. Cool it gradually in the oven with the door cracked for 1 hour.
Can I make this cheesecake ahead of time?
Yes! It keeps for up to 5 days in the fridge. For best results, make it the day before serving.
What’s the best way to store leftovers?
Cover tightly with plastic wrap or store in an airtight container. Freeze slices for up to 3 months.

Trained in classic French technique but raised on slow-cooked ribs and spicy rubs, she blends culinary skill with smoke and soul.
- Recipe for Boneless Pork Chops in Cast Iron Skillet: Sear and Baste to Juicy Perfection - October 3, 2026
- Recipe for Boneless Cross Rib Roast: Slow-Roasted Beef with Herb Crust - October 3, 2026
- Hamburgers in Sauce Recipe Crock Pot: Slow-Cooked Savory Delight - October 3, 2026