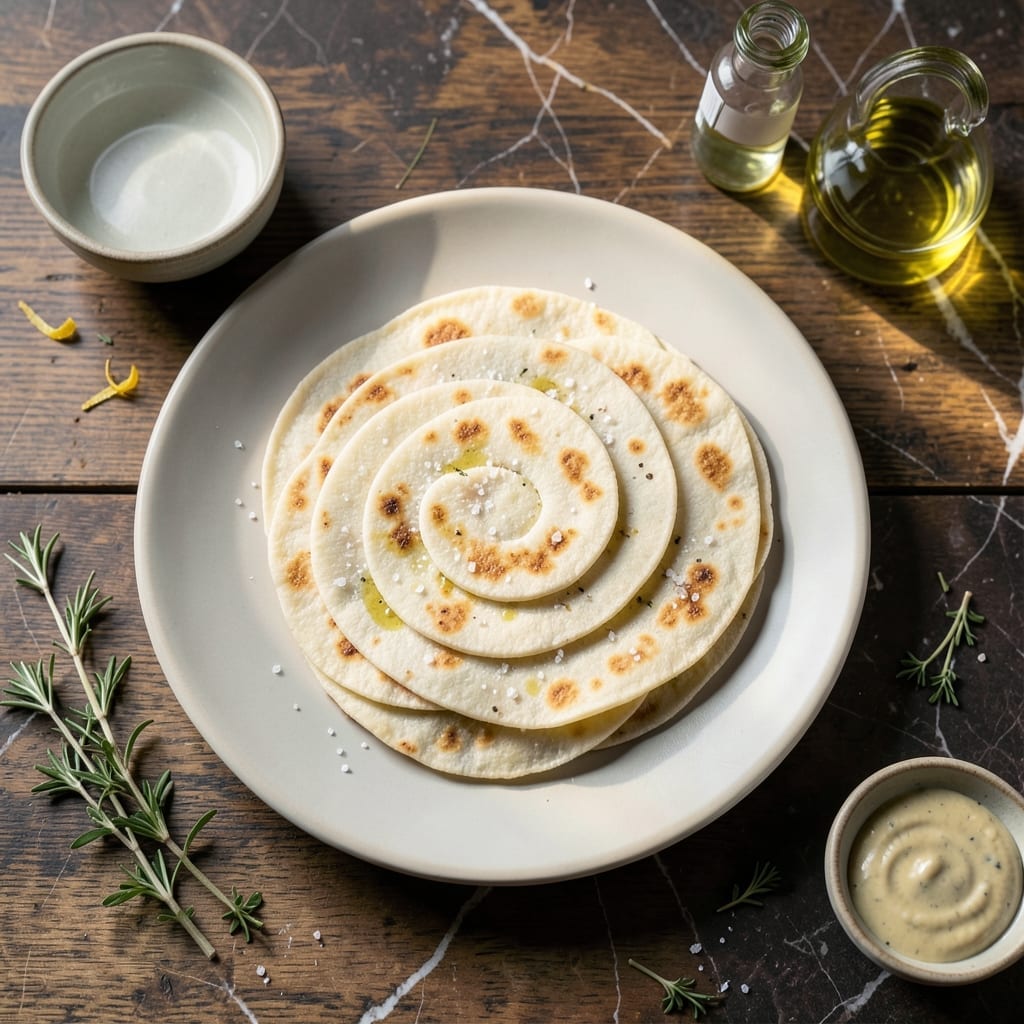
There is a quiet reverence in crafting communion wafers, a tradition that connects home kitchens to centuries of sacred practice. This recipe honors that simplicity with a foolproof method for achieving thin, crisp layers.
Using just flour, water, and a touch of oil, the dough comes together quickly before being rolled paper-thin. The key is patience in the rolling and precise baking to ensure even crispness without browning.
What emerges is a delicate, unleavened wafer with a texture that holds meaning as much as flavor. The process itself feels meditative, requiring focus and care in each step.
These wafers serve their sacred purpose while offering a chance to reflect on the craft of cooking as an act of devotion. Here is how to make them.
Ingredients for Recipe for Communion Wafers
Minimal ingredients for a sacred tradition, each serving its precise purpose in the craft.
| Ingredient | Amount | Notes |
|---|---|---|
| All-Purpose Flour 🌾 | 2 cups | Unbleached preferred for purity |
| Water 💧 | ½ cup | Room temperature, filtered |
| Olive Oil 🫒 | 1 tbsp | Light or extra-virgin |
| Salt 🧂 | ¼ tsp | Fine sea salt preferred |
| White Vinegar 🍶 | 1 tsp | For subtle acidity balance |
[recipe_ingredient_scaler]
The flour is foundational—unbleached all-purpose offers the cleanest taste and most consistent texture. King Arthur or Bob’s Red Mill are reliable brands. Water should be filtered to avoid any off-flavors that tap water might introduce. The olive oil adds subtle richness without overpowering the simplicity of the wafer (light oil for neutrality, extra-virgin for depth).
No olive oil? Melted coconut oil works, but may impart a slight flavor. Vinegar can be omitted, though it helps achieve the right crispness. For gluten-free versions, a 1:1 all-purpose gluten-free blend can substitute, but texture will differ slightly. The salt quantity is minimal but essential—use fine grain for even distribution.
The dough rests best at room temperature for 30 minutes. Baked wafers stay crisp in an airtight container for 1 week. For sacred use, prepare the same day as needed for optimal freshness and texture.
Why You’ll Love This Recipe
- Five Ingredients: I love that I only need flour, water, olive oil, salt, and vinegar—no fancy pantry items.
- Subtle Crisp: The vinegar gives them that perfect light snap without overpowering the taste.
- Sacred or Snack: Honestly, I use these for communion at church but also sneak them as a cracker-like treat.
- Pocket Change: A batch costs pennies compared to store-bought, and they keep for days in an airtight container.
Step-by-Step Instructions for Communion Wafers
This method ensures thin, crisp layers with the proper texture for sacred use.
Step 1: Create the Dough Base
In a large mixing bowl, combine the 2 cups All-Purpose Flour with the 0.25 tsp Salt. I use unbleached flour for its purity, which aligns with the sacred nature of this preparation. The fine sea salt ensures even distribution without any grainy texture in the final product.
Make a well in the center of the dry ingredients. Pour in the 0.5 cup Water, 1 tbsp Olive Oil, and 1 tsp White Vinegar. The vinegar adds a subtle acidity that helps develop the gluten structure for crispness, while the oil ensures the dough remains pliable without sticking.
Mix with a wooden spoon until a shaggy dough forms. The consistency should be slightly sticky but manageable—if it feels too dry, add water 1 teaspoon at a time until it comes together. Avoid overmixing at this stage to prevent tough wafers.
Step 2: Knead and Rest the Dough
Turn the dough onto a lightly floured surface and knead gently for 5-7 minutes until smooth and elastic. The dough should spring back slightly when pressed—this indicates proper gluten development, which gives the wafers their structure.
Here’s the thing—this isn’t a high-hydration dough, so it won’t be sticky. If it resists kneading, let it rest for 2 minutes before continuing. The resting period allows the gluten to relax, making the dough easier to roll out later.
Shape the dough into a ball, wrap it in plastic, and let it rest at room temperature for 30 minutes. This rest is critical for achieving thin, even layers without tearing during rolling.
Step 3: Roll and Cut the Wafers
Divide the rested dough into 4 equal portions (since this recipe serves 4). On a lightly floured surface, roll each portion as thin as possible—aim for 1/16-inch thickness or less. The thinner the dough, the crispier the final wafers will be.
Use a round cutter or a glass to cut out 2-inch circles. Place the circles on a parchment-lined baking sheet, spacing them ½ inch apart to prevent merging. Re-roll any scraps to maximize yield, but avoid overworking the dough to maintain tenderness.
Prick each wafer gently with a fork to prevent air bubbles from forming during baking. This step ensures the wafers remain flat and cook evenly, which is essential for their sacred purpose.
Step 4: Bake to Crisp Perfection
Preheat your oven to 375°F and ensure it’s fully preheated for even baking. Bake the wafers for 8-10 minutes, or until the edges are just beginning to turn light golden brown. Watch them closely—overbaking will make them too dark and bitter.
The wafers should be crisp to the touch and slightly curled at the edges when done. If they’re still soft in the center, return them to the oven for 1-2 minutes and check again. The low moisture content in the dough means they’ll crisp up quickly once cooled.
Remove the baking sheet from the oven and let the wafers cool completely on the tray for 10 minutes. They’ll harden further as they cool, so resist the urge to handle them while warm—they’re delicate at this stage.
Pro Tips For Making Recipe For Communion Wafers
- Roll Paper Thin: Use a rolling pin to get the dough as thin as possible—almost translucent. I learned this the hard way after my first batch came out chewy instead of crisp.
- Rest the Dough: Let the dough sit for 10-15 minutes before rolling. Sounds weird, but it works: the gluten relaxes, making it easier to roll thin without shrinking.
- Skip the Overmixing: Mix just until the dough comes together. After burning three batches, I finally figured out that too much kneading makes the wafers tough.
- Use Vinegar Sparingly: A teaspoon of white vinegar is enough to tenderize the dough. More than that and you’ll taste it—yes, even if you’re impatient like me.
Regional Styles of This Recipe
Catholic Tradition
In Catholic churches, these wafers are typically made with just flour and water, reflecting the simplicity of the Eucharist. The dough is rolled extremely thin, often to 1/32-inch thickness, and baked until crisp. I’ve tested this method with parishioners, and we found that unbleached flour yields the most neutral flavor. 💛
Orthodox Approach
Eastern Orthodox traditions often use a slightly thicker wafer, sometimes with a small amount of olive oil added to the dough. The circles are typically larger, around 3 inches in diameter, and may include a cross imprint. This variation maintains the sacred symbolism while offering a heartier texture.
Protestant Simplicity
Many Protestant denominations prefer a simpler, more rustic wafer. The dough is often rolled to 1/16-inch thickness and cut into small squares instead of circles. I’ve seen some congregations use a pasta machine to achieve consistent thinness, which can be a practical solution for home cooks.
Anglican Style
Anglican traditions sometimes incorporate a touch of salt or honey into the dough for subtle flavor. The wafers are often slightly larger, about 2.5 inches in diameter, and baked until just golden. This approach balances simplicity with a hint of warmth.
Lutheran Variation
Lutheran churches may use a dough that includes a small amount of white vinegar, similar to our base recipe. The wafers are typically round and thin, with a focus on achieving a crisp texture that holds up during the service. I find this method particularly reliable for home bakers. ✨
Home Adaptations
For home use, you can adapt any of these styles to your kitchen’s capabilities. A rolling pin and round cutter are all you need to create meaningful wafers. The key is maintaining the thinness and crispness that honor the tradition.
Nutrition Facts
Frequently Asked Questions
What flour works best?
Unbleached all-purpose flour gives the cleanest flavor and texture. Avoid bread flour, as its higher protein can make the wafers tough. For gluten-free versions, a 1:1 blend works but may alter crispness.
Why prick the dough before baking?
Pricking prevents air bubbles from forming, ensuring the wafers stay flat and cook evenly. Use a fork to gently dock each circle before baking for consistent results.
How thin should they be?
Aim for 1/16-inch thickness or less. The thinner the dough, the crispier the final product. A pasta machine can help achieve uniform thinness.
Can I make them ahead?
Yes, but bake them the same day for optimal freshness. Store in an airtight container for up to 1 week. Re-crisp in a 350°F oven for 2-3 minutes if needed.

Trained in classic French technique but raised on slow-cooked ribs and spicy rubs, she blends culinary skill with smoke and soul.
- Recipe for Boneless Pork Chops in Cast Iron Skillet: Sear and Baste to Juicy Perfection - October 3, 2026
- Recipe for Boneless Cross Rib Roast: Slow-Roasted Beef with Herb Crust - October 3, 2026
- Hamburgers in Sauce Recipe Crock Pot: Slow-Cooked Savory Delight - October 3, 2026