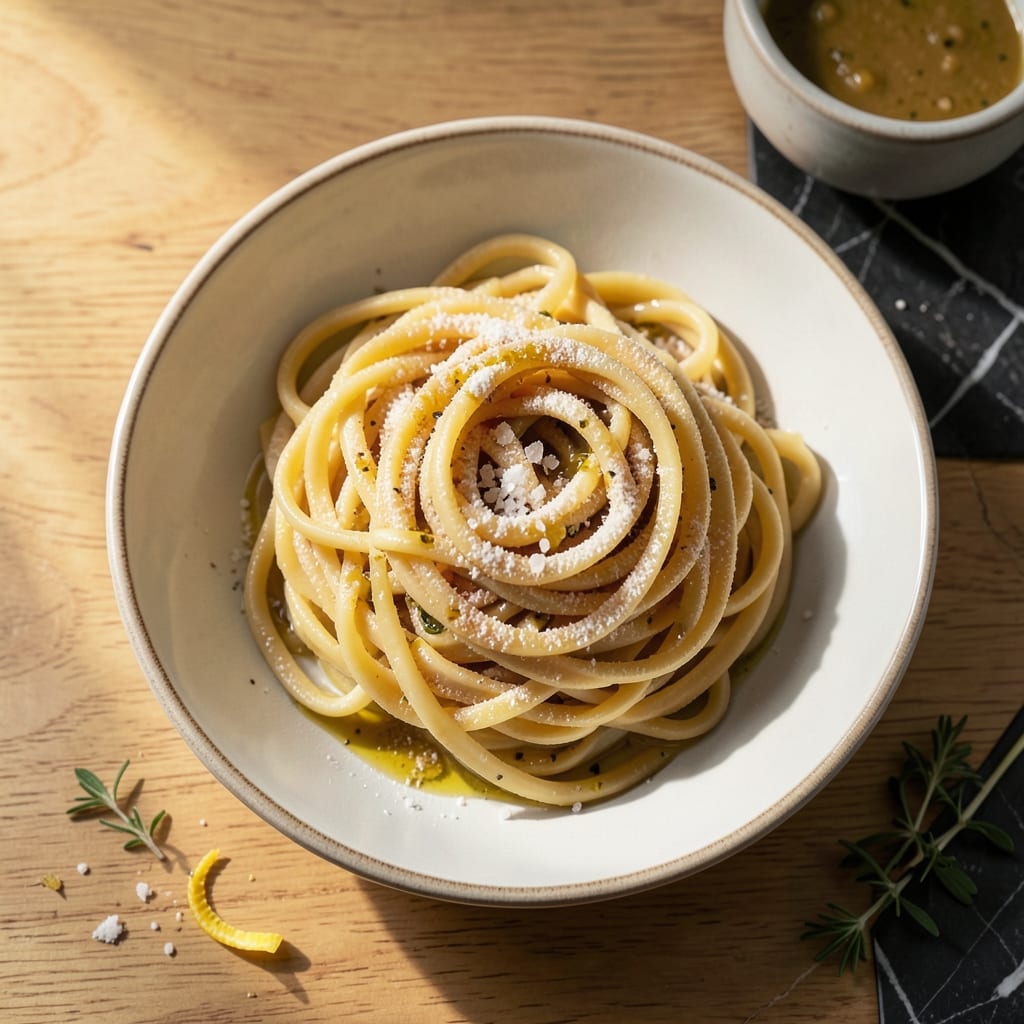
Fresh egg pasta made in your KitchenAid stand mixer delivers silky-smooth ribbons with minimal effort. The dough comes together in minutes using the flat beater attachment, then rests briefly before rolling.
I’ve perfected this method to ensure consistent texture every time. The machine handles the kneading while you prepare the rolling sheets, making it far easier than hand-mixing.
Once rolled thin through the pasta roller attachment, the sheets are ready for cutting into fettuccine, tagliatelle, or any shape you prefer. The result is tender, egg-rich pasta that cooks in just 2-3 minutes.
This technique puts restaurant-quality pasta within reach for any home cook. The stand mixer does the heavy lifting, so you get perfect results without the arm workout.
Ingredients for Egg Pasta Recipe Kitchenaid
Five simple ingredients transform into silky-smooth pasta with your stand mixer.
| Ingredient | Amount | Notes |
|---|---|---|
| All-Purpose Flour 🌾 | 2 ½ cups | Plus extra for dusting |
| Large Eggs 🥚 | 4 whole | Room temperature preferred |
| Olive Oil 🫒 | 1 tbsp | Extra-virgin for richness |
| Salt 🧂 | ½ tsp | Fine sea salt preferred |
| Water 💧 | 1 tbsp | Room temperature |
[recipe_ingredient_scaler]
The flour is doing most of the work here—King Arthur or Gold Medal for consistent results. Eggs at room temp blend better into the dough (just set them out 30 minutes before starting). Don’t skimp on the olive oil; extra-virgin adds depth you’ll notice. I grab my flour in bulk at Costco, but any grocery store brand works fine for this.
No all-purpose flour? 00 flour gives a silkier texture but isn’t essential. Out of eggs? You can’t really swap them here—they’re critical for binding and richness. Short on olive oil? Any neutral oil works, but you’ll lose some flavor. The salt can be adjusted to taste—just don’t skip it entirely (the dough will taste bland).
Dough rests best covered at room temp for 30 minutes. Wrap tightly in plastic for fridge storage—good for 24 hours. Freeze unrolled sheets for up to 1 month, but fresh is always best for texture.
Why You’ll Love This Recipe
- Kitchenaid Does the Work: Honestly, I just dump the flour, crack the eggs, and let the mixer handle the kneading—no sore arms, no mess.
- Rich Eggy Bite: The yolks give it that deep golden color and a richness that store-bought just can’t match. I’ll be real: I’ve eaten it plain with butter.
- Freezer-Friendly Staple: I make a double batch, freeze half, and pull it out for quick dinners. Between us, it reheats like fresh.
- Pennies per Serving: All-purpose flour and a few eggs feed my family for less than takeout. Not the prettiest, but the taste makes up for it.
Step-by-Step Instructions for Egg Pasta With KitchenAid
Here’s how to turn simple ingredients into perfect pasta dough using your stand mixer.
Step 1: Combine Dry and Wet Ingredients
Fit your KitchenAid with the dough hook attachment. Add the 2.5 cups All-Purpose Flour and 0.5 tsp Salt to the mixing bowl. Pulse on low speed for about 10 seconds to combine the dry ingredients evenly.
In a separate bowl, whisk together the 4 whole Large Eggs, 1 tbsp Olive Oil, and 1 tbsp Water until the mixture is uniform and slightly frothy. This ensures the wet ingredients are fully incorporated before they meet the flour.
Step 2: Mix Until Dough Forms
With the mixer running on low speed, slowly pour the wet mixture into the bowl with the flour. Let the mixer run for 1-2 minutes until the dough begins to come together in shaggy clumps.
Increase the speed to medium and knead for another 6-8 minutes. You’ll know it’s ready when the dough pulls away from the sides of the bowl and forms a smooth, elastic ball. If it feels too sticky, resist adding more flour—trust the process and the dough will come together.
Step 3: Knead and Rest the Dough
Turn the dough out onto a lightly floured surface (use some of that extra All-Purpose Flour from your pantry). Knead by hand for 1-2 minutes to ensure everything is evenly distributed. The dough should feel smooth and slightly tacky but not stick to your hands.
Shape the dough into a ball, wrap it in plastic wrap, and let it rest at room temperature for 30 minutes. This resting period relaxes the gluten, making the dough easier to roll out and preventing it from shrinking back when you stretch it.
Step 4: Roll and Cut the Pasta
After resting, divide the dough into 4 equal portions. Flatten one portion with your hands and set your KitchenAid pasta roller to the widest setting. Feed the dough through the roller, then fold it in half and repeat 2-3 times to create a smooth sheet.
Reduce the roller setting by one notch and pass the dough through again without folding. Continue this process, reducing the thickness each time, until you reach your desired thickness (usually setting 4 or 5 for fettuccine or tagliatelle).
Switch to your pasta cutter attachment and feed the sheet through to create even ribbons. Dust the cut pasta lightly with flour to prevent sticking, and repeat with the remaining dough portions.
Step 5: Cook and Serve Fresh Pasta
Bring a large pot of salted water to a rolling boil. Add the fresh pasta and cook for 2-3 minutes—fresh pasta cooks much faster than dried. You’ll know it’s done when the noodles float to the surface and are tender but still have a slight bite.
Drain immediately and toss with your favorite sauce. Fresh pasta absorbs sauces beautifully, so serve it right away while it’s hot. The texture should be silky and delicate, with a perfect balance of chew and tenderness.
Pro Tips For Making Egg Pasta Recipe Kitchenaid
- Knead Just Enough: Stop the mixer as soon as the dough comes together—overworking it in the KitchenAid makes the pasta tough, not tender.
- Use Room-Temp Eggs: I learned this the hard way—cold eggs straight from the fridge can cause the olive oil to clump, making the dough uneven.
- Skip Extra Flour: Resist the urge to dust the counter heavily before rolling; too much extra flour dries out the pasta and dulls the flavor.
- Rest the Dough: After mixing, let the dough sit wrapped in plastic for at least 30 minutes—this relaxes the gluten so it rolls out smooth without springing back.
Troubleshooting Perfect Results
Dough Too Sticky
If your dough sticks to the bowl or your hands, resist adding more All-Purpose Flour. Instead, let the mixer knead for an extra 2-3 minutes—the gluten will develop and pull everything together naturally. 💡
Dough Too Dry
When the mixture looks crumbly, add 1 tsp Water at a time until it forms a shaggy ball. I’ve found that eggs vary in size, so sometimes an extra splash of water saves the batch.
Uneven Rolling
If your sheets tear during rolling, fold the dough in half and pass it through the widest setting again. Dust with a bit of All-Purpose Flour to prevent sticking, and roll slowly to maintain even thickness.
Pasta Sticks Together
After cutting, toss the ribbons with a handful of All-Purpose Flour to prevent clumping. Spread them on a baking sheet in a single layer until ready to cook. This keeps them from fusing into a solid mass.
Dough Shrinks Back
If the dough retreats when rolling, it needs more rest. Let it sit covered for another 15-20 minutes to relax the gluten fully. Patience here ensures smooth, elastic sheets.
Cooking Too Fast
Fresh pasta cooks in 2-3 minutes, but test a strand early. It’s done when it floats and has a tender bite. Overcooking turns it mushy, so stay nearby and taste often.
Nutrition Facts
Frequently Asked Questions
Can I use the paddle attachment instead of the dough hook?
Yes, but the dough hook works better for kneading. The paddle can work in a pinch, but you may need to knead by hand for 1-2 minutes afterward to fully develop the gluten.
How thin should I roll the pasta sheets?
For most shapes like fettuccine, aim for setting 4 or 5 on your KitchenAid roller. This creates sheets about 1-2mm thick, perfect for tender yet sturdy pasta.
Can I make this dough ahead of time?
Wrap the dough tightly in plastic and refrigerate for up to 24 hours. Let it sit at room temperature for 30 minutes before rolling to soften.
Why is my pasta tough after cooking?
Over-kneading or insufficient resting can cause this. Stick to 6-8 minutes of kneading and always rest the dough for 30 minutes before rolling.

Trained in classic French technique but raised on slow-cooked ribs and spicy rubs, she blends culinary skill with smoke and soul.
- Stewed Beef Brisket Recipe: Deep-Rich Flavor After 8 Hours of Slow Simmering - October 15, 2026
- Beef Brisket Rolls Recipe: Flaky Layers and Smoky Sweet Filling - October 15, 2026
- Masterbuilt Smoker Beef Brisket Recipe: Bark-To-Meat Ratio Hack for Unmatched Flavor - October 15, 2026