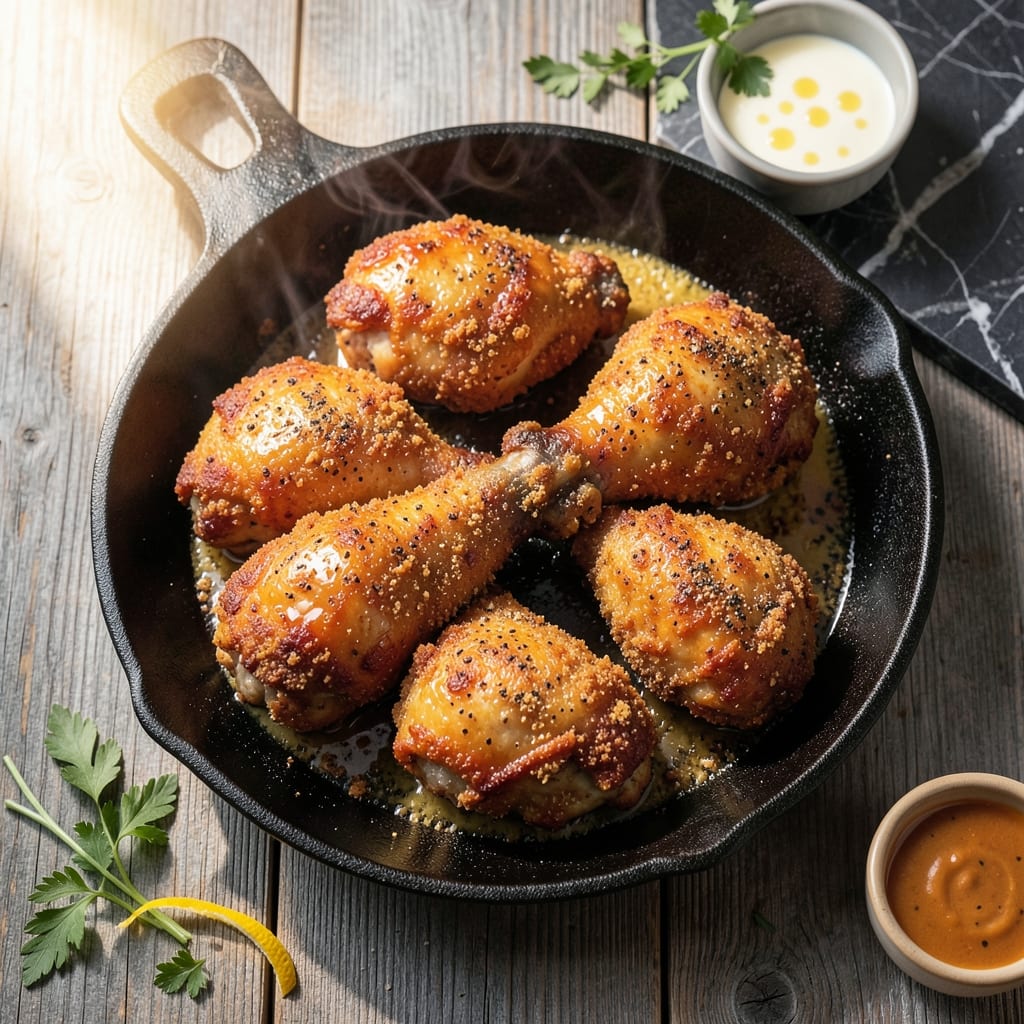
There’s a reason Grandma’s fried chicken remains the gold standard—it delivers that perfect crunchy exterior and juicy interior every time. This method relies on Crisco for frying, a classic choice that ensures even heat and a golden finish without the smoke of other oils.
The secret lies in the double-dipping technique: first in flour, then in a seasoned buttermilk wash, and back into the flour for extra crispiness. The Crisco maintains a steady 350°F, so the coating cooks through without burning, locking in moisture and flavor.
What you get is fried chicken with a shatteringly crispy crust and meat so tender it falls off the bone. The Crisco imparts a subtle richness that complements the savory seasoning, making each bite irresistibly satisfying.
Safety comes first—use a deep fryer or heavy pot and never overcrowd the pan. This recipe brings nostalgia and perfection to your kitchen.
Ingredients for Fried Chicken Recipe with Crisco
Classic ingredients deliver that shatteringly crispy, juicy Grandma-style fried chicken every time.
| Ingredient | Amount | Notes |
|---|---|---|
| Chicken Thighs and Drumsticks 🍗 | 3 lb | Bone-in, skin-on for crispiness |
| Crisco All-Vegetable Shortening 💧 | 48 oz | For deep frying, maintains 350°F |
| All-Purpose Flour 🌾 | 3 cups | For dredging, divided |
| Buttermilk 🥛 | 2 cups | Full-fat for best texture |
| Large Egg 🥚 | 1 whole | For binding buttermilk wash |
| Garlic Powder 🧄 | 1 tbsp | Freshly opened for potency |
| Onion Powder 🧅 | 1 tbsp | Balances seasoning blend |
| Paprika 🌶️ | 1 tbsp | Sweet for color and mild heat |
| Dried Thyme 🌿 | 1 tsp | Crushed for even distribution |
| Salt 🧂 | 2 tsp | Diamond Crystal kosher preferred |
| Black Pepper 🌶️ | 1 ½ tsp | Freshly ground for best flavor |
| Cayenne Pepper 🔥 | ½ tsp | Adjust to heat preference |
| Baking Powder 🧂 | ½ tsp | For extra crispiness in coating |
[recipe_ingredient_scaler]
The chicken must be bone-in, skin-on for authentic texture. Thighs and drumsticks are ideal—breasts dry out too easily. For the shortening, Crisco is non-negotiable; its high smoke point and consistent heat distribution are what make this method foolproof. Look for all-vegetable shortening to avoid any animal products if that’s a concern. Most major supermarkets stock it in the baking aisle.
No buttermilk? Whole milk plus 1 tbsp lemon juice or vinegar per cup, let sit 5 minutes. For a gluten-free version, cornstarch or rice flour can replace all-purpose flour at a 1:1 ratio. The seasoning blend is flexible—swap smoked paprika for regular if you want more depth. If you’re out of thyme, poultry seasoning works in a pinch (use same amount).
Fry in batches and keep finished pieces warm in a 200°F oven while you work. Leftover chicken stays crispy when reheated in a 375°F oven for 10-12 minutes. The raw chicken can marinate in the buttermilk wash for up to 24 hours for extra tenderness, but don’t exceed that for food safety.
Why You’ll Love This Recipe
- One Pan Magic: I just need a skillet, some Crisco, and 10 minutes of active prep—no deep fryer, no mess.
- That Crispy Crunch: The Crisco gives it this golden, shatteringly crisp shell while the buttermilk brine keeps the meat absurdly juicy.
- Feeds My Crew: I can fry up a big batch of thighs and drumsticks for Sunday supper and still have leftovers for sandwiches.
- Pocketbook Friendly: Between the affordable cuts and the long shelf life of Crisco, this is my go-to when I need to stretch a grocery budget.
Step-by-Step Instructions for Fried Chicken With Crisco
This method ensures a perfectly crisp exterior and juicy interior every time.
Step 1: Prepare the Buttermilk Wash
In a large bowl, whisk together the 2 cups buttermilk and 1 whole large egg until fully combined. This creates a rich, tangy base that tenderizes the chicken and helps the coating adhere. I always use full-fat buttermilk for the best texture and flavor.
Add the 3 lb chicken thighs and drumsticks to the buttermilk mixture, ensuring each piece is fully coated. Cover the bowl and refrigerate for at least 4 hours, or preferably overnight. This extended marinating time allows the buttermilk to work its magic, breaking down proteins for maximum tenderness.
Step 2: Create the Seasoned Flour Coating
In a shallow dish, combine 3 cups all-purpose flour with 1 tbsp garlic powder, 1 tbsp onion powder, 1 tbsp paprika, 1 tsp dried thyme, 2 tsp salt, 1.5 tsp black pepper, 0.5 tsp cayenne pepper, and 0.5 tsp baking powder. The baking powder is the secret to an extra-crispy crust.
Whisk until all the spices are evenly distributed throughout the flour. I crush the dried thyme between my fingers as I add it to release more flavor. This blend creates a perfectly balanced seasoning that will give your chicken that classic, well-rounded taste.
Step 3: Coat and Rest the Chicken
Remove the chicken from the buttermilk mixture, letting any excess drip off. Dredge each piece thoroughly in the seasoned flour, pressing firmly to ensure a thick, even coating. For extra crunch, I like to dip each piece back in the buttermilk and then into the flour a second time.
Place the coated chicken on a wire rack set over a baking sheet. Let it rest at room temperature for 15-20 minutes. This resting period allows the coating to set, which helps it adhere better during frying and prevents it from falling off in the oil.
Step 4: Fry to Golden Perfection
In a large, heavy-bottomed pot or Dutch oven, heat the 48 oz Crisco All-Vegetable Shortening over medium-high heat to 350°F. Use a deep-fry thermometer to monitor the temperature accurately. Crisco maintains a consistent temperature better than other fats, which is crucial for even cooking.
Working in batches to avoid crowding the pot, carefully lower the chicken into the hot oil. Fry for 12-15 minutes, turning occasionally, until the coating is deep golden brown and the internal temperature reaches 165°F. The chicken should float and make a steady sizzling sound while cooking.
Drain the fried chicken on a wire rack or paper towels to maintain crispiness. The coating should be uniformly golden and audibly crisp when tapped. Serve immediately for the best texture.
Pro Tips For Making Fried Chicken Recipe With Crisco
- Heat the Crisco First: I learned this the hard way—melting the shortening in the pan before adding chicken prevents that greasy, uneven coating. Aim for 350°F and use a thermometer; guessing leads to soggy or burnt spots.
- Soak Overnight: Give your chicken a full 12-hour buttermilk bath. I was skeptical until I tried it, but the difference in tenderness and flavor is undeniable, especially with thighs and drumsticks.
- Skip the Crowding: Resist the urge to fill the pan. Overcrowding drops the oil temp fast, and you’ll end up with chicken that steams instead of fries. Two or three pieces at a time max in a standard skillet.
- Double-Dip for Crunch: After the buttermilk soak, dip in flour, then back in buttermilk, then flour again. Sounds tedious, but it creates that shatteringly crisp crust Crisco-fried chicken is known for.
Common Mistakes When Making This Recipe
Oil Temperature Issues
If your Crisco isn’t hot enough (below 325°F), the chicken will absorb oil and turn greasy instead of crispy. I always use a deep-fry thermometer—ThermoWorks makes reliable ones. Oil that’s too hot (above 375°F) burns the coating before the meat cooks through. 🌡️
Overcrowding the Pot
Adding too many pieces at once drops the oil temperature dramatically. Fry in batches with at least 1 inch of space between pieces. This ensures even cooking and that perfect golden-brown finish. I learned this the hard way with soggy first batches.
Skipping the Rest
Letting coated chicken rest for 15-20 minutes before frying prevents the coating from sliding off. The flour needs time to adhere properly. Skip this step and you’ll end up with bare spots on your chicken.
Inconsistent Coating
Press firmly when dredging to create an even layer. For extra crunch, use the double-dip method: flour → buttermilk → flour. I find using one hand for wet ingredients and one for dry keeps things cleaner and more efficient. 💡
Improper Draining
Draining on paper towels or a wire rack is crucial. Placing hot chicken directly on a plate creates steam that makes the coating soggy. I prefer a wire rack over a baking sheet for maximum airflow.
Neglecting Safety
Hot Crisco can splatter. Use a heavy pot with high sides and never leave it unattended. Keep a lid nearby to smother any potential flare-ups. Safety first with deep frying.
Nutrition Facts
Frequently Asked Questions
Why use shortening instead of oil?
Shortening like Crisco has a higher smoke point (420°F) than most oils, maintaining steady 350°F without burning. It also creates a crispier crust due to its solid fat structure.
Can I reuse the shortening after frying?
Yes, strain through a fine mesh sieve and store in an airtight container. Reuse up to 3-4 times if kept clean and at consistent temps. Discard if it darkens or smokes excessively.
How do I keep the chicken crispy after frying?
Drain on a wire rack, not paper towels, to prevent steam buildup. Keep finished pieces warm in a 200°F oven while frying remaining batches. Serve immediately for best texture.
What if my chicken isn’t cooking through?
Check oil temp with a thermometer—it must stay at 350°F. If too low, increase heat slightly. For thick pieces, fry 1-2 minutes longer, ensuring internal temp reaches 165°F.

Trained in classic French technique but raised on slow-cooked ribs and spicy rubs, she blends culinary skill with smoke and soul.
- Recipe for Boneless Pork Chops in Cast Iron Skillet: Sear and Baste to Juicy Perfection - October 3, 2026
- Recipe for Boneless Cross Rib Roast: Slow-Roasted Beef with Herb Crust - October 3, 2026
- Hamburgers in Sauce Recipe Crock Pot: Slow-Cooked Savory Delight - October 3, 2026