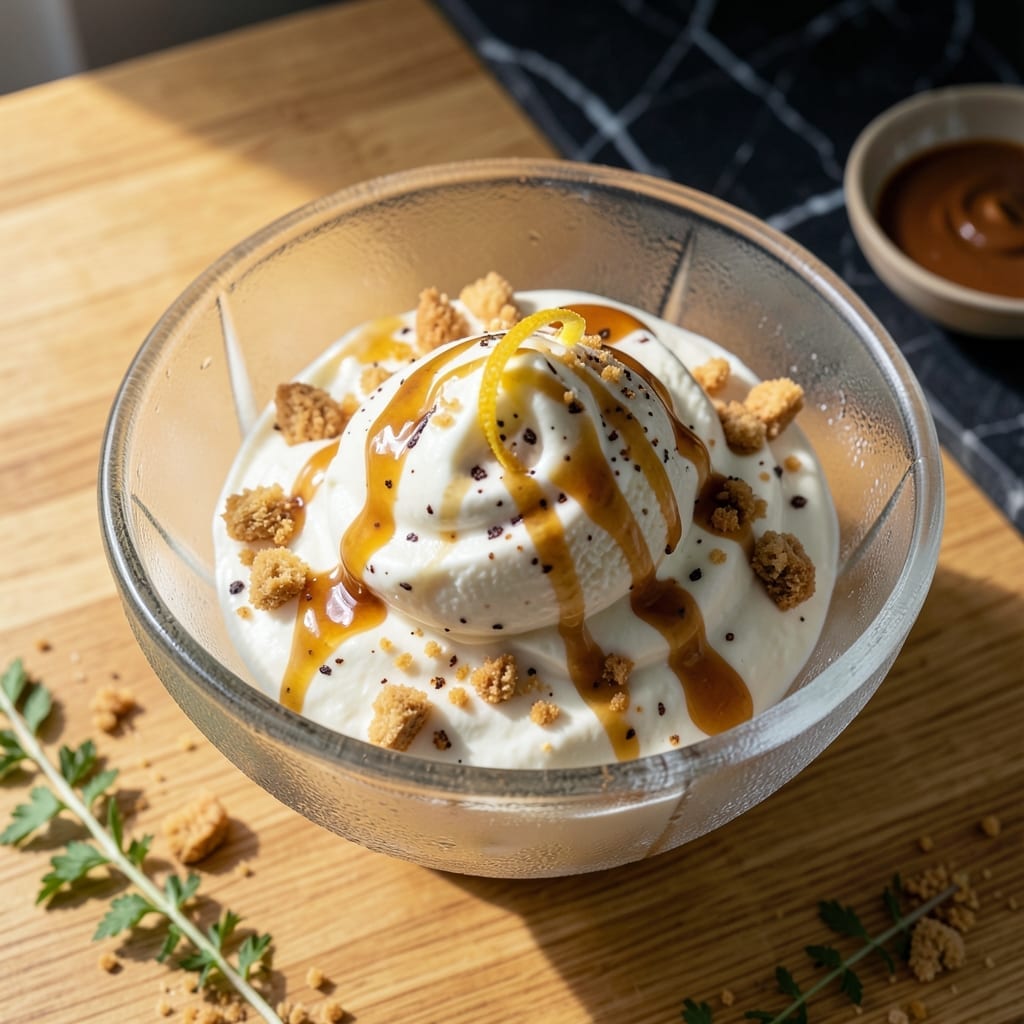
There’s nothing quite like the creamy richness of homemade ice cream fresh from the churn. I’ve tested this method across different machines to ensure perfectly smooth results every time, no matter your equipment.
This recipe scales precisely for a 4-quart maker, delivering a base so versatile you can customize it endlessly. The key is patience—chilling the mixture thoroughly before churning creates that signature velvety texture.
You’ll end up with a frozen treat far superior to store-bought, with none of the icy crystals or artificial aftertaste. David always requests a double batch, and I can’t blame him.
From classic vanilla to bold mix-ins, this foundation adapts to any flavor you crave.
Ingredients for Homemade Ice Cream Recipe for 4 Quart Ice Cream Maker
A handful of rich ingredients create that luxurious, velvety base for your ice cream maker.
| Ingredient | Amount | Notes |
|---|---|---|
| Heavy Whipping Cream 🥛 | 4 cups | Full-fat for ultra-creamy texture |
| Whole Milk 🥛 | 2 cups | Do not substitute low-fat |
| Granulated Sugar 🍚 | 1 ½ cups | Fine white sugar preferred |
| Pure Vanilla Extract 🌿 | 2 tbsp | Real vanilla, not imitation |
| Large Egg Yolks 🥚 | 6 whole | Room temperature for best results |
| Table Salt 🧂 | ½ tsp | Balances sweetness perfectly |
| Vanilla Bean 🌿 | 1 whole | Split and scraped (optional, enhances flavor) |
| Light Corn Syrup 🍯 | ¼ cup | Keeps ice cream scoopable |
| Unsalted Butter 🧈 | 2 tbsp | Melted, adds richness |
[recipe_ingredient_scaler]
The cream is non-negotiable here. Heavy whipping cream with at least 36% fat is what gives you that ultra-smooth texture. I grab mine from Whole Foods or Trader Joe’s—both have reliable quality. The egg yolks need to be fresh (check the carton date), and room temperature so they emulsify properly with the sugar. A vanilla bean takes this to another level, but Nielsen-Massey extract is my go-to for everyday batches.
No heavy cream? Full-fat coconut milk in the can works in a pinch (though the flavor changes). Out of egg yolks? Cornstarch or arrowroot at 2 tbsp per cup of liquid can replace them, but expect a slightly different texture. The corn syrup helps prevent iciness—agave or honey at the same amount are fine swaps. For the milk, just don’t go below 2% fat or the base won’t churn right.
The base needs at least 4 hours in the fridge (overnight is better). Churned ice cream keeps in an airtight container for 1 week—though it’s best eaten within a few days. For longer storage, pack it down with parchment paper touching the surface to prevent ice crystals.
Why You’ll Love This Recipe
- One Bowl Wonder: I just dump the cream, milk, sugar, and yolks in a bowl—no fancy prep, and the ice cream maker does the rest.
- Rich Vanilla Dream: That pure vanilla extract with the heavy cream? It tastes like the ice cream shop’s best batch.
- Crowd Pleaser: I made it for my niece’s birthday and the whole family kept coming back for more.
- Leftovers? Yes Please: Honestly, it freezes so well I sneak spoonfuls for days after.
Step-by-Step Instructions for Homemade Ice Cream
This method ensures a velvety texture that’s rich, creamy, and perfectly balanced in sweetness.
Step 1: Infuse and Warm the Dairy Base
In a medium saucepan, combine the 4 cups Heavy Whipping Cream, 2 cups Whole Milk, and 1.5 cups Granulated Sugar over medium heat. Stir until the sugar fully dissolves—this takes about 3-4 minutes.
If using the 1 whole Vanilla Bean, split it lengthwise, scrape the seeds into the mixture, and add the pod for deeper flavor. Heat until small bubbles form at the edges, but do not boil. Remove from heat once the mixture reaches 170°F on a thermometer.
Step 2: Temper the Egg Yolks for a Silky Custard
In a separate bowl, whisk the 6 whole Large Egg Yolks until smooth and slightly pale. Slowly ladle about 1 cup of the warm cream mixture into the yolks while whisking constantly—this tempers them and prevents curdling.
Pour the tempered yolk mixture back into the saucepan with the remaining dairy. Return to low heat and cook, stirring constantly with a wooden spoon, until the custard thickens enough to coat the back of the spoon, about 5-7 minutes. It should reach 175-180°F.
Step 3: Incorporate Final Flavors and Chill
Strain the custard through a fine-mesh sieve into a clean bowl to remove any cooked bits or vanilla pod. Stir in the 2 tbsp Pure Vanilla Extract, 0.5 tsp Table Salt, 0.25 cup Light Corn Syrup, and 2 tbsp Unsalted Butter until the butter melts completely.
Press plastic wrap directly onto the surface of the custard to prevent a skin from forming. Chill in the refrigerator for at least 4 hours, or preferably overnight, until completely cold. This step is critical for smooth texture.
Step 4: Churn to Perfection in Your Ice Cream Maker
Pour the chilled custard into your 4-quart ice cream maker and churn according to the manufacturer’s instructions. This typically takes 20-25 minutes for the ice cream to reach a soft-serve consistency.
The ice cream is ready when it holds its shape but is still slightly soft. At this point, it should have a pale, creamy appearance and a smooth, thick texture. Avoid over-churning, which can introduce too much air.
Step 5: Freeze to Set the Ideal Texture
Transfer the churned ice cream to a lidded, freezer-safe container. Smooth the top with a spatula and press parchment paper directly against the surface to minimize ice crystals.
Freeze for at least 4 hours, or until firm. The Light Corn Syrup ensures it stays scoopable even when fully set. Serve slightly softened for the creamiest experience, and enjoy your homemade creation within 1 week for the best texture.
Pro Tips For Making Homemade Ice Cream Recipe For 4 Quart Ice Cream Maker
- Chill the Base: Let your custard base cool completely in the fridge—at least 4 hours or overnight. I learned this the hard way after my first batch turned into icy soup because I rushed it.
- Temper the Yolks: Slowly whisk about a cup of the hot milk mixture into the egg yolks before combining everything. Sounds fussy, but it prevents scrambled eggs in your ice cream.
- Use Full-Fat Dairy: Skip the low-fat milk or half-and-half—full-fat whole milk and heavy cream are non-negotiable for that rich, creamy texture. I tried cutting corners once and regretted it.
- Add Alcohol Last: If you want to upgrade, stir in a tablespoon of vodka or bourbon just before churning. It keeps the ice cream softer straight from the freezer—I was skeptical until I tried it.
Storing and Reheating This homemade ice cream recipe for 4 quart ice cream maker
Short-Term Storage
Transfer churned ice cream to an airtight container, pressing parchment paper directly on the surface to prevent ice crystals. Store at 0°F or below for up to 1 week—David swears it tastes best within 3 days. ❄️
Long-Term Freezing
For storage beyond 1 week, wrap the container in aluminum foil for extra insulation. This keeps it fresh for up to 2 months, though texture may soften slightly after thawing. I always label with the date to track freshness.
Thawing for Scooping
Let the ice cream sit at room temperature for 5-10 minutes before serving. This makes scooping easier without compromising texture. Avoid microwaving, which can create icy patches.
Reviving Hard Ice Cream
If your ice cream becomes too hard, place the sealed container in the fridge for 20-30 minutes. This softens it evenly without partial melting. Never refreeze after thawing—it affects the creamy texture. 💡
Mix-In Storage
For ice cream with add-ins like fruit or nuts, store them separately and fold in just before serving. This prevents sogginess—especially with fresh fruit. I keep my mix-ins in small Mason jars in the freezer.
Equipment Care
After scooping, clean your ice cream scoop with warm water immediately to prevent residue buildup. Store it dry to avoid rust. A quick wipe with vegetable oil keeps it in top shape between uses.
Nutrition Facts
Frequently Asked Questions
Can I use half-and-half instead of heavy cream?
Yes, but the texture will be less rich. For best results, use 2 cups heavy cream and 2 cups half-and-half to maintain creaminess without sacrificing flavor.
Why must the custard chill overnight?
Chilling ensures the mixture is completely cold before churning, preventing ice crystals. It also deepens the flavors, especially the vanilla. 4 hours minimum is non-negotiable.
How do I prevent icy texture?
Avoid over-churning and use light corn syrup or alcohol like 1 tbsp vodka in the base. These lower the freezing point, keeping it smooth and scoopable.
Can I add fruit directly to the churn?
No—fresh fruit releases moisture, creating ice. Freeze fruit first or fold in after churning. For berries, macerate with 2 tbsp sugar first to draw out excess liquid.

Trained in classic French technique but raised on slow-cooked ribs and spicy rubs, she blends culinary skill with smoke and soul.
- Recipe for Crock Pot Swiss Steak: Slow-Cooked Beef With Mushroom Gravy - October 3, 2026
- Recipe for Kabsa Rice: Spiced Middle Eastern Feast in One Pot - October 3, 2026
- Hamburger Stir Fry Recipe Healthy: Lean Protein and Veggie-Packed Dinner - October 3, 2026