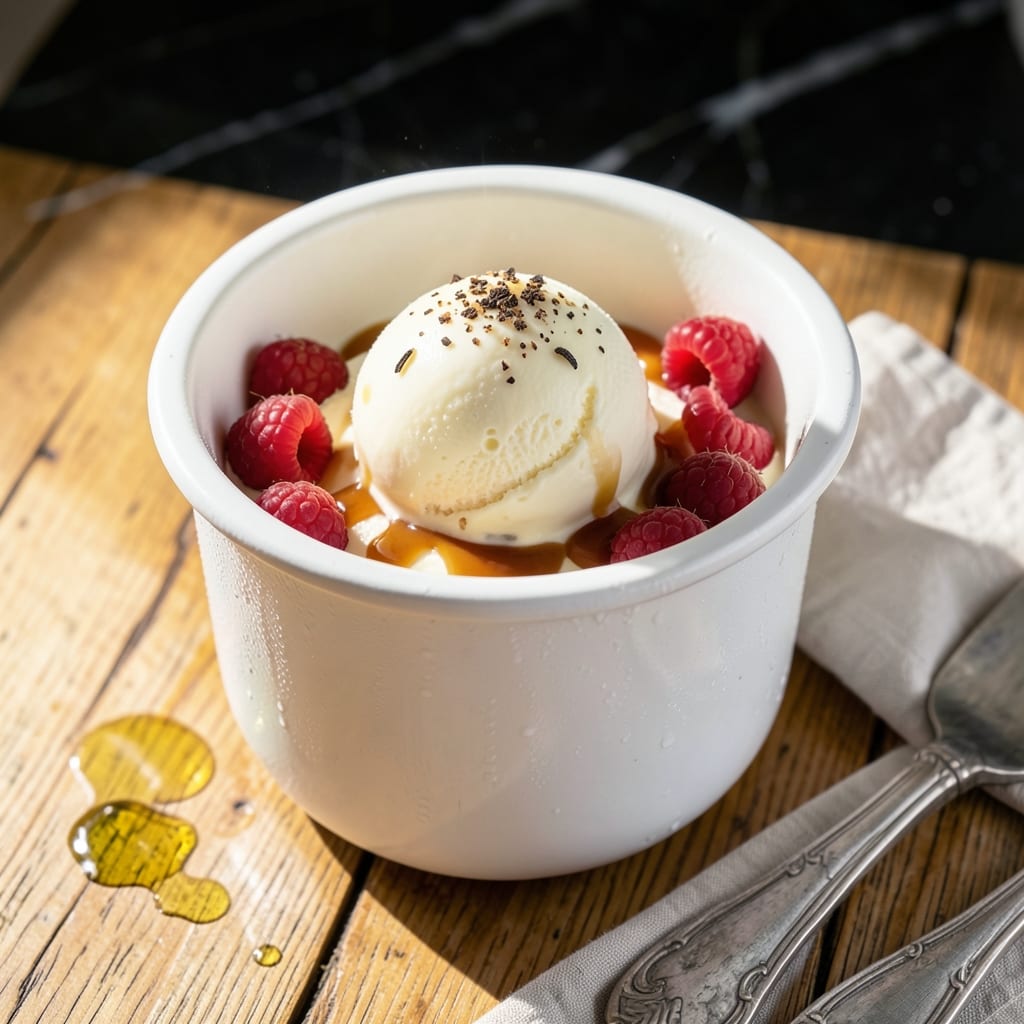
There’s something special about the slow, rhythmic turn of a hand crank that transforms simple ingredients into creamy perfection. I developed this recipe to capture that old-fashioned texture you just can’t get from modern machines.
The secret lies in the balance of rich cream, whole milk, and just enough sugar to sweeten without overpowering. A touch of vanilla and a pinch of salt elevate the flavors, creating that nostalgic taste we all remember from childhood.
What emerges from the churn is impossibly smooth ice cream with a texture that’s both light and indulgent. The hand-cranking process incorporates just the right amount of air for that perfect consistency.
Serve immediately for a soft, scoopable treat or freeze for a firmer texture. This method rewards patience with results worth the effort.
Ingredients for Homemade Ice Cream Recipe for Hand Crank
Rich cream, whole milk, and sugar form the foundation for this nostalgic treat.
| Ingredient | Amount | Notes |
|---|---|---|
| Heavy Cream 🥛 | 2 cups | Full-fat for creamiest texture |
| Whole Milk 🥛 | 1 cup | Do not substitute low-fat |
| Granulated Sugar 🍚 | ¾ cup | Dissolved fully for smoothness |
| Pure Vanilla Extract 🌿 | 1 tbsp | Not imitation vanilla |
| Fine Sea Salt 🧂 | ¼ tsp | Balances sweetness perfectly |
| Large Egg Yolks 🥚 | 4 whole | Pasteurized if preferred |
| Ice ❄️ | 4 cups | Crushed for churn |
| Rock Salt 🧂 | 1 cup | For lowering ice temperature |
[recipe_ingredient_scaler]
The cream is non-negotiable here. Whole Foods 365 or Organic Valley heavy cream delivers the fat content needed for that ultra-creamy texture. I always check the label for at least 36% milkfat. The milk should complement, not dilute—whole milk only. For the vanilla, Nielsen-Massey or Rodelle extracts are worth the splurge for that deep, complex flavor.
No heavy cream? Full-fat coconut milk works in a pinch (though the flavor profile changes). Substitute half-and-half at half the amount for the milk, but expect a lighter result. The sugar can be swapped for superfine sugar for even smoother texture. If avoiding raw eggs, pasteurized egg yolks are available at most Whole Foods locations.
This base keeps in the fridge for 24 hours before churning. Once churned, store in an airtight container with parchment pressed to the surface to prevent ice crystals. Best consumed within 1 week for optimal texture.
Why You’ll Love This Recipe
- No Fuss Mixing: I just dump the cream, milk, sugar, vanilla, and salt in a bowl—no cooking, no tempering, just stir and crank.
- Velvety Vanilla: The heavy cream and real vanilla make it so rich and smooth I swear it melts before it hits the bowl.
- Backyard Party Hero: I’ve served this at summer picnics and birthday parties, and it’s always the first thing to disappear.
- Pint After Pint: Honestly, it’s so budget-friendly compared to store-bought premium tubs, and leftovers keep well for days.
Step-by-Step Instructions for Homemade Ice Cream for Hand Crank
Master the custard base and churning process for perfectly smooth, old-fashioned ice cream every time.
Step 1: Create the Custard Base
In a medium saucepan, combine the 2 cups Heavy Cream and 1 cup Whole Milk over medium heat. Warm the mixture until small bubbles form at the edges—do not let it boil. This gentle heating ensures the dairy won’t scorch.
In a separate bowl, whisk together the 0.75 cup Granulated Sugar, 4 whole Large Egg Yolks, 1 tbsp Pure Vanilla Extract, and 0.25 tsp Fine Sea Salt until pale and slightly thickened. Slowly pour about 1 cup of the warm cream mixture into the egg yolk mixture while whisking constantly to temper the eggs.
Step 2: Thicken the Custard
Return the tempered egg mixture to the saucepan with the remaining cream. Cook over low heat, stirring constantly with a wooden spoon, until the custard thickens enough to coat the back of the spoon. This should take 8-10 minutes.
Watch for the custard to reach 170-175°F on an instant-read thermometer. At this temperature, the eggs are fully cooked but the mixture remains smooth. Be patient—rushing this step risks curdling. The mixture should be thick but still pourable.
Step 3: Chill the Custard Completely
Strain the custard through a fine-mesh sieve into a clean bowl to remove any cooked egg bits. Press plastic wrap directly onto the surface to prevent a skin from forming. Refrigerate for at least 4 hours, or preferably overnight, until completely cold.
This chilling step is crucial for both food safety and texture. A properly chilled base churns faster and produces creamier ice cream. The mixture should be as cold as the refrigerator temperature before proceeding.
Step 4: Prepare the Hand Crank Freezer
Fill the hand crank ice cream maker‘s outer bucket with alternating layers of 4 cups Ice and 1 cup Rock Salt, starting and ending with ice. The rock salt lowers the freezing point, creating the ultra-cold environment needed to churn the custard into ice cream.
Pack the ice and salt tightly—any gaps reduce efficiency. The ice should come to the top of the bucket. This layering ensures even freezing as you churn.
Step 5: Churn Until Firm
Pour the chilled custard into the inner canister of the hand crank freezer. Insert the dasher and lid, then begin turning the crank. Start with steady, even turns—this prevents the mixture from freezing to the sides too quickly.
Continue churning for 20-30 minutes until the mixture thickens to the consistency of soft-serve ice cream. The crank will become noticeably harder to turn as the mixture freezes. Stop when the ice cream holds its shape but is still slightly soft.
For the creamiest texture, transfer the ice cream to a lidded container and freeze for 4-6 hours to firm up completely before serving.
Pro Tips For Making Homemade Ice Cream Recipe For Hand Crank
- Chill the Base: I learned this the hard way—always refrigerate your cream, milk, and sugar mixture for at least 4 hours before churning. It cuts cranking time in half and keeps the texture smooth.
- Pre-Chill the Crank: Pop the hand crank’s canister in the freezer for 15-20 minutes before starting. Sounds weird, but it works: the ice cream sets faster and you’re not fighting warm metal.
- Skip the Overfill: Resist the urge to fill the canister past the 2/3 mark—it overflows when it freezes and makes a mess. I ruined a batch and a shirt before figuring this out.
- Use Fine Salt: Fine sea salt dissolves completely and distributes evenly, unlike coarse salt which leaves little crunchy bits. My grandmother swore by this, and she was right.
Creative Variations of This homemade ice cream recipe for hand crank
Chocolate Lover’s Dream
Fold in ½ cup mini chocolate chips or chopped dark chocolate during the last 5 minutes of churning. I prefer Ghirardelli 60% cacao for balanced sweetness. The chocolate melts slightly, creating ribbons throughout your ice cream. 🌟
Berry Swirl Delight
Prepare a quick berry compote by simmering 1 cup mixed berries with 2 tbsp sugar and 1 tsp lemon juice for 10 minutes. Cool completely, then alternate layers with the churned ice cream in your storage container. Swirl gently with a knife.
Coffee Buzz Version
Dissolve 2 tbsp instant espresso powder in 1 tbsp hot water, then stir into the custard base before chilling. This adds a rich coffee flavor without watering down the mixture. I use Medaglia d’Oro for consistent quality.
Nutty Crunch
Toast ½ cup chopped pecans or walnuts in a dry skillet over medium heat for 3-4 minutes until fragrant. Cool completely before adding during the final churning stage. The warmth brings out the natural oils for maximum crunch.
Cookie Dough Surprise
Mix ½ cup store-bought cookie dough (like Pillsbury) into chunks and fold in at the end. For a homemade touch, use your favorite egg-free dough recipe. The cold of the ice cream firms up the dough perfectly.
This variation feels indulgent but keeps the process simple. My philosophy of maximizing flavor while minimizing friction shines here. 💛
Nutrition Facts
Frequently Asked Questions
Why does my ice cream turn icy?
Icy texture usually means the custard wasn’t cold enough before churning or the churning process was too short. Always chill the base for at least 4 hours and churn until thick, about 20-30 minutes.
Can I use a different sweetener?
Yes, but adjust carefully. Honey or maple syrup can replace sugar, but reduce other liquids slightly since they add moisture. For best results, stick to granulated sugar for classic texture.
How do I know when it’s done churning?
The mixture should look like soft-serve and hold its shape when a spoon is inserted. The crank will also become much harder to turn as it thickens. Stop before it gets rock-hard.
Can I make this without eggs?
Use a no-cook base with 1 can sweetened condensed milk mixed with 2 cups heavy cream and your flavorings. It’s faster and still delicious!

Trained in classic French technique but raised on slow-cooked ribs and spicy rubs, she blends culinary skill with smoke and soul.
- Recipe for Boneless Pork Chops in Cast Iron Skillet: Sear and Baste to Juicy Perfection - October 3, 2026
- Recipe for Boneless Cross Rib Roast: Slow-Roasted Beef with Herb Crust - October 3, 2026
- Hamburgers in Sauce Recipe Crock Pot: Slow-Cooked Savory Delight - October 3, 2026