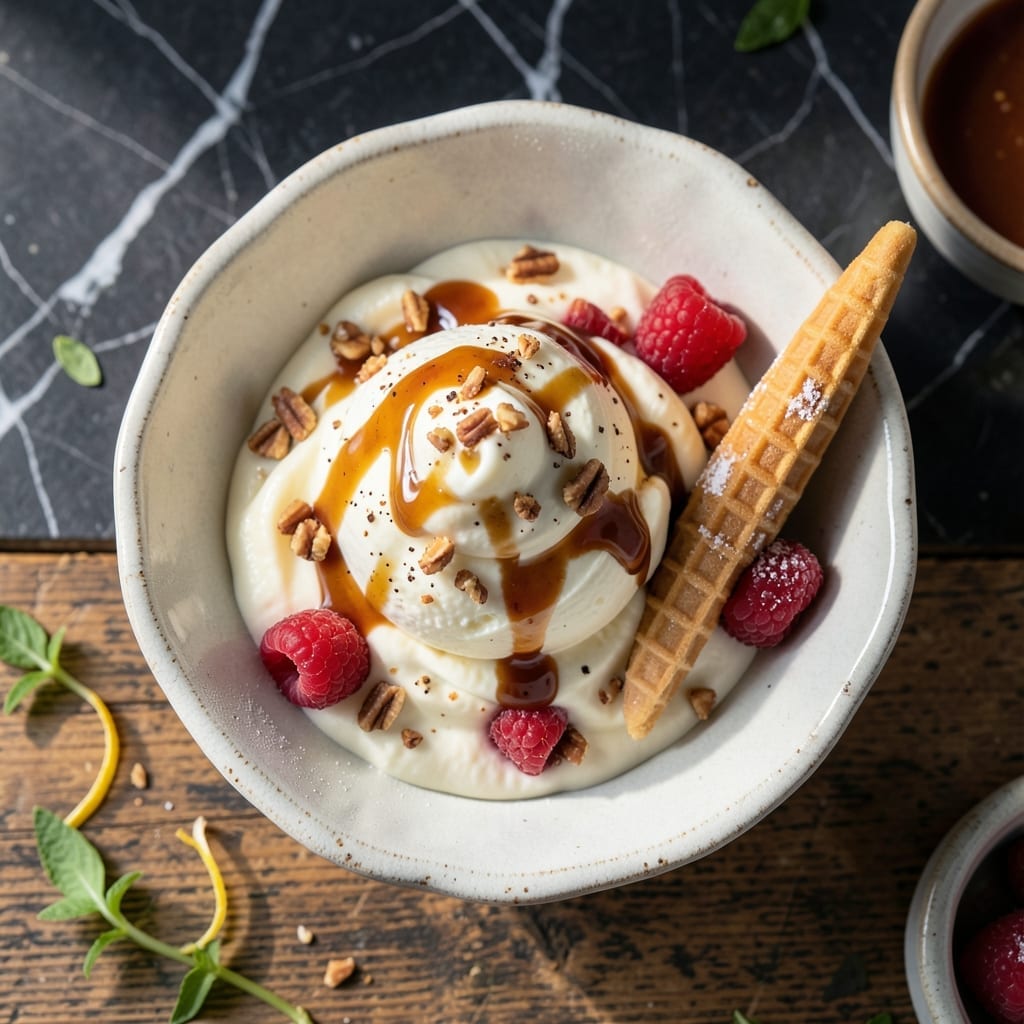
There’s nothing quite like homemade ice cream for that perfect creamy texture and rich flavor. This recipe delivers velvety results without requiring an ice cream maker, proving that great desserts don’t need special equipment.
The secret lies in using evaporated milk, which creates an ultra-smooth base with just the right amount of richness. I’ve tested this method extensively, and it consistently produces ice cream that rivals any store-bought version.
What you’ll get is a dessert that’s smooth, creamy, and packed with flavor—whether you prefer classic vanilla or something more adventurous. The process is straightforward, with simple ingredients you likely already have on hand.
Best of all, this recipe is incredibly versatile. You can customize it with your favorite mix-ins or flavors, making it the perfect canvas for your ice cream creativity.
Ingredients for Homemade Ice Cream Recipe Using Evaporated Milk
Velvety homemade ice cream starts with these rich, creamy pantry staples and a few special touches.
| Ingredient | Amount | Notes |
|---|---|---|
| Evaporated Milk 🥛 | 2 cups | 2 cans, full-fat for creaminess |
| Heavy Whipping Cream 🥛 | 2 cups | Cold, for ultra-smooth texture |
| Granulated Sugar 🍚 | 1 ½ cups | Fine white sugar preferred |
| Vanilla Extract 🌿 | 2 tsp | Pure vanilla for best flavor |
| Large Egg Yolks 🥚 | 4 whole | Fresh, for custard base |
| Salt 🧂 | ¼ tsp | Fine grain for even distribution |
| Vanilla Bean 🌱 | 1 whole | Split and scraped, optional |
| Whole Milk 🥛 | ½ cup | For adjusting consistency |
| Unsalted Butter 🧈 | 2 tbsp | For richness in custard |
| Pure Maple Syrup 🍁 | 2 tbsp | Optional for depth of flavor |
[recipe_ingredient_scaler]
The evaporated milk is non-negotiable here—it’s doing the heavy lifting for that ultra-smooth base. Carnation brand is my go-to (every grocery store carries it), but any full-fat version works. For the cream, Organic Valley or Darigold are top-tier if you want that extra richness. The vanilla? Rodelle or Nielsen-Massey—splurge on the good stuff for this one (worth every penny).
No vanilla bean? Double the extract to compensate. Swapping the sugar? Superfine works in a pinch, but avoid brown sugar—it’ll throw off the texture. If you’re avoiding eggs entirely, cornstarch as thickener is your backup plan. The butter can be omitted, but you’ll lose some depth. For a lighter version, half-and-half instead of heavy cream still tastes great.
The custard base keeps in the fridge for 2-3 days before churning (or freezing). Once made, store ice cream in an airtight container with parchment pressed directly on the surface—prevents those pesky ice crystals. Stays fresh for 2-3 weeks in the freezer (if it lasts that long).
Why You’ll Love This Recipe
- No Churn Needed: I can make this without hauling out the ice cream maker—just evaporated milk, cream, and a little whisking.
- Rich Vanilla Swirl: The egg yolks and vanilla create this deep, velvety flavor that store-bought can’t touch.
- Party in a Tub: Honestly, I double the batch and it disappears at every BBQ and birthday we bring it to.
- Leftovers? Please.: Between us, there never are any—but if there were, this keeps beautifully for a week.
Step-by-Step Instructions for Homemade Ice Cream Using Evaporated Milk
This foolproof method yields luxuriously creamy ice cream without any special equipment.
Step 1: Create the Custard Base
In a medium saucepan, combine the 2 cups Evaporated Milk, 2 cups Heavy Whipping Cream, and 1.5 cups Granulated Sugar. Heat over medium heat until the sugar fully dissolves and tiny bubbles form at the edges—about 5-7 minutes.
While heating, split the 1 whole Vanilla Bean lengthwise, scrape the seeds into the mixture, and add the pod. This infuses maximum vanilla flavor. Remove from heat just before boiling to prevent scorching the dairy.
Step 2: Temper the Egg Yolks
In a separate bowl, whisk the 4 whole Large Egg Yolks with the 0.25 tsp Salt until pale and slightly thickened. Slowly pour about 1 cup of the hot cream mixture into the yolks while whisking constantly—this tempering prevents scrambled eggs.
Once fully incorporated, pour the tempered yolk mixture back into the saucepan with the remaining cream. Add the 2 tbsp Unsalted Butter and cook over low heat for 3-5 minutes, stirring constantly, until the custard thickens enough to coat the back of a spoon.
Step 3: Add Flavorings and Chill
Remove the custard from heat and stir in the 2 tsp Vanilla Extract and 2 tbsp Pure Maple Syrup. The vanilla extract adds depth, while the maple syrup contributes a subtle caramel note. Strain the custard through a fine-mesh sieve to remove the vanilla pod and any cooked bits.
Stir in the 0.5 cup Whole Milk to adjust the consistency. Cover the surface with plastic wrap to prevent a skin from forming, and refrigerate for at least 4 hours or overnight until completely chilled—this is crucial for smooth texture.
Step 4: Freeze and Aerate
Pour the chilled custard into a shallow freezer-safe container. Freeze for 1 hour, then vigorously whisk the mixture to break up ice crystals. This manual aeration mimics the churning action of an ice cream maker.
Repeat this whisking process every 30-45 minutes for the next 2-3 hours until the ice cream reaches your desired consistency. The final product should be thick, creamy, and scoopable, with no large ice crystals.
Pro Tips For Making Homemade Ice Cream Recipe Using Evaporated Milk
- Chill the Base: Always refrigerate your custard mixture for at least 4 hours before churning—it prevents ice crystals and gives you that creamy texture. I learned this the hard way after my first batch came out icy.
- Temper the Yolks: Slowly whisk the hot evaporated milk into your egg yolks, a little at a time, or you’ll end up with scrambled eggs. Sounds tedious, but it works.
- Use Cold Cream: Make sure your heavy whipping cream is ice cold before mixing—it whips better and creates a lighter, fluffier ice cream base.
- Add Alcohol Sparingly: A teaspoon of vodka or rum in the mix lowers the freezing point for a smoother texture, but too much will keep it from setting. My grandmother swore by this, and she was right.
Storing and Reheating This Dish
Freezer Storage
Transfer your ice cream to an airtight container and press parchment paper directly on the surface to prevent ice crystals. It stays fresh for 2-3 weeks at 0°F or below. I always use glass containers from Central Market for this. ❄️
Fridge Custard Base
The custard base keeps beautifully in the fridge for 2-3 days before freezing. Store it in a sealed container with plastic wrap touching the surface. This gives you flexibility if you want to prep ahead.
Thawing Tips
Let ice cream sit at room temperature for 5-10 minutes before scooping. For quicker results, microwave in 10-second bursts at 30% power. David swears by this method when he’s impatient for a taste.
Reviving Texture
If ice crystals form after storage, simply whisk vigorously or pulse in a food processor for 30 seconds. Add a splash of whole milk if needed to restore creaminess. This trick saves even slightly freezer-burnt batches.
Flavor Preservation
Store mix-ins separately and fold them in after thawing slightly. This prevents sogginess and keeps textures distinct. I learned this the hard way with chocolate chips that turned rock-hard in the freezer. 💡
Portion Control
For easy serving, portion into small containers before freezing. 4-ounce ramekins work perfectly for individual servings. This also helps with quick thawing when you only want a small treat.
Nutrition Facts
Frequently Asked Questions
Why use evaporated milk instead of regular milk?
Evaporated milk has 60% less water than regular milk, creating a richer base for creamier ice cream. It prevents icy texture while adding depth of flavor without extra fat.
Can I make this without tempering the eggs?
Skipping tempering risks scrambled eggs in your custard. Always slowly add hot liquid to yolks while whisking to gently raise their temperature. Whisk for 1-2 minutes to ensure smoothness.
How do I prevent ice crystals from forming?
Press plastic wrap directly on the custard surface before chilling. During freezing, whisk every 30-45 minutes for 2-3 hours to break up crystals. Store with parchment pressed on top.
What’s the best way to add mix-ins?
Fold in chocolate chips, nuts, or fruit after the first 1 hour of freezing. This prevents them from sinking to the bottom. For best texture, chill mix-ins first.

Trained in classic French technique but raised on slow-cooked ribs and spicy rubs, she blends culinary skill with smoke and soul.
- Recipe for Boneless Pork Chops in Cast Iron Skillet: Sear and Baste to Juicy Perfection - October 3, 2026
- Recipe for Boneless Cross Rib Roast: Slow-Roasted Beef with Herb Crust - October 3, 2026
- Hamburgers in Sauce Recipe Crock Pot: Slow-Cooked Savory Delight - October 3, 2026