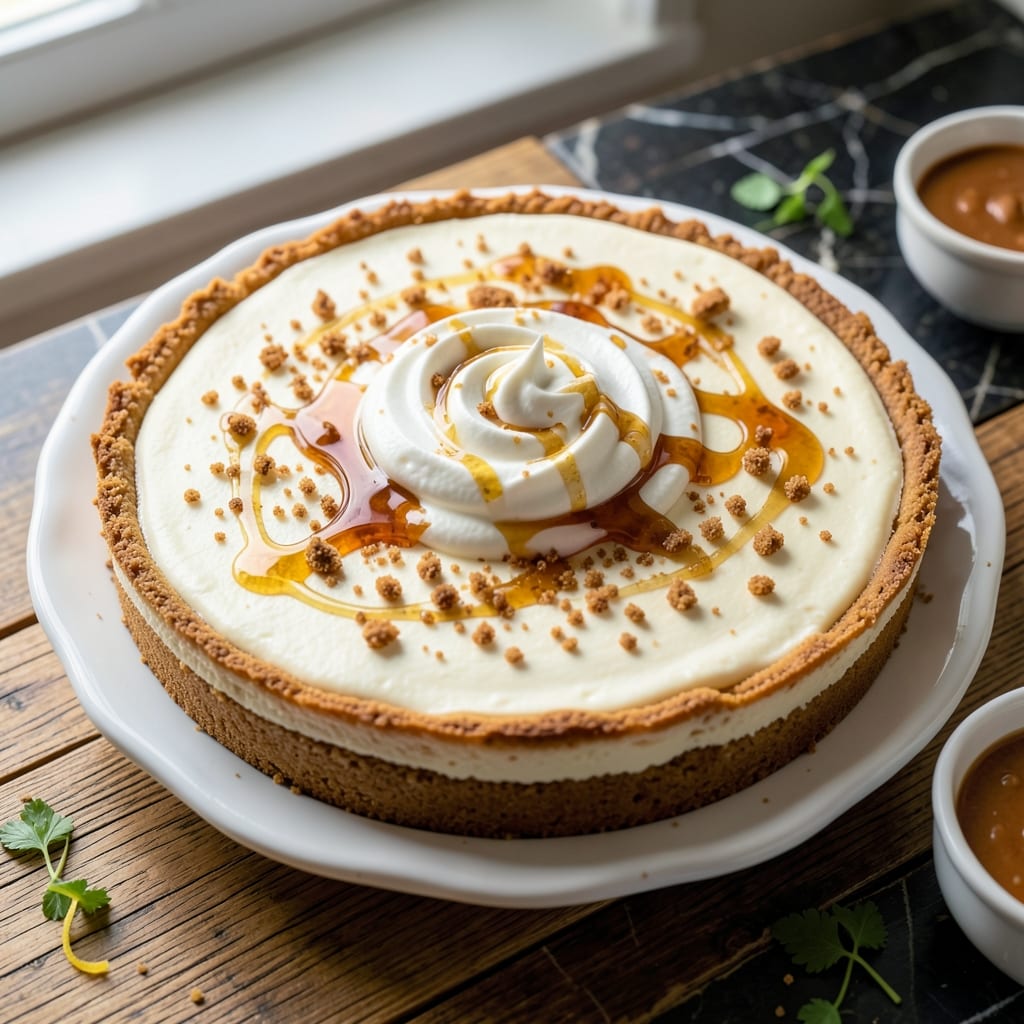
There’s a reason classic cheesecake never goes out of style—it delivers timeless flavor with a perfect balance of textures. This version starts with a buttery graham crust that provides just the right crunch against the velvety filling.
The filling itself is where the magic happens: smooth cream cheese blended with just enough sugar and vanilla to let the dairy shine. A touch of sour cream adds the ideal tang to round out the sweetness.
Baked low and slow, this cheesecake emerges with a set yet creamy center that holds its shape when sliced. The contrast between the firm crust and the silky filling creates that signature experience everyone craves.
Serve it plain or topped with fruit compote for a dessert that feels both nostalgic and special.
Ingredients for Honey Maid Cheesecake
Classic flavors start with graham crackers, rich dairy, and a touch of tang for perfection.
| Ingredient | Amount | Notes |
|---|---|---|
| Honey Maid Graham Crackers 🍪 | 2 cups | Crushed into fine crumbs |
| Unsalted Butter 🧈 | ½ cup | Melted for crust |
| Granulated Sugar 🍚 | ¼ cup | For crust sweetness |
| Cream Cheese 🧀 | 4 packages | Full-fat, softened to room temperature |
| Granulated Sugar 🍚 | 1 ¼ cups | For filling sweetness |
| Sour Cream 🥛 | ¾ cup | Full-fat for tangy richness |
| Vanilla Extract 💧 | 2 tsp | Pure extract for best flavor |
| Large Eggs 🥚 | 4 whole | Room temperature for smooth texture |
| All-Purpose Flour 🌾 | 2 tbsp | For filling stability |
| Salt 🧂 | ½ tsp | Fine sea salt preferred |
| Fresh Lemon Juice 🍋 | 1 tbsp | Brightens filling flavor |
[recipe_ingredient_scaler]
The crust is all about the Honey Maid graham crackers—their sweetness and buttery crunch are non-negotiable. Kroger or Walmart carry them in the cookie aisle. Use full-fat cream cheese for that signature velvety texture; Philadelphia is the gold standard. Sour cream adds the perfect tang, so don’t swap it for Greek yogurt (trust me, the texture suffers).
No Honey Maids? Generic graham crackers work in a pinch, but adjust sugar to taste. Need to lighten it up? Low-fat cream cheese at half the amount plus extra sour cream keeps it creamy. The flour stabilizes the filling—cornstarch at the same amount is an easy swap. Always use room-temperature eggs and cream cheese to avoid lumps.
Tightly wrap and refrigerate the cheesecake for at least 4 hours, but overnight is ideal. Leftovers keep for 5 days in the fridge or freeze slices for up to 3 months. Let it sit at room temperature for 30 minutes before serving for the best texture.
Why You’ll Love This Recipe
- No-Fuss Crust: That Honey Maid and butter combo presses together in seconds, no baking required.
- Rich and Creamy: The cream cheese filling is so smooth it practically melts on your tongue.
- Potluck Hero: Honestly, it’s my go-to for birthdays, holidays, or just because Tuesdays need dessert.
- Budget Winner: A box of grahams and a few blocks of cream cheese feed a crowd without breaking the bank.
Step-by-Step Instructions for Honey Maid Cheesecake
This classic method ensures a perfectly firm yet creamy texture with a buttery graham cracker base.
Step 1: Prepare and Press the Graham Cracker Crust
Preheat your oven to 350°F. Combine 2 cups Honey Maid Graham Crackers (crushed into fine crumbs) with 0.25 cup Granulated Sugar in a bowl. Pour in 0.5 cup Unsalted Butter that has been melted and mix until the crumbs are evenly moistened. The mixture should hold together when pinched between your fingers.
Press the crumb mixture firmly into the bottom of a 9-inch springform pan, using the back of a measuring cup to create an even layer. Press about ½ inch up the sides of the pan to form a shallow edge. Bake for 8-10 minutes until lightly golden and set. Cool completely on a wire rack before adding the filling.
Step 2: Beat the Cream Cheese and Sugar Until Smooth
In a large bowl, beat 4 packages Cream Cheese (softened to room temperature) with 1.25 cups Granulated Sugar using an electric mixer on medium speed for 3-4 minutes. The mixture should be completely smooth with no lumps visible.
Scrape down the sides of the bowl frequently with a rubber spatula to ensure even mixing. I’ve found that room temperature cream cheese blends more smoothly and prevents overmixing, which can incorporate too much air and cause cracks in the finished dessert.
Step 3: Incorporate Remaining Filling Ingredients
Add 0.75 cup Sour Cream, 2 tsp Vanilla Extract, 1 tbsp Fresh Lemon Juice, and 0.5 tsp Salt to the cream cheese mixture. Beat on low speed just until combined, about 1 minute. Avoid overmixing at this stage.
Add 4 whole Large Eggs one at a time, mixing just until each is incorporated. Then add 2 tbsp All-Purpose Flour and mix for another 30 seconds until smooth. The batter should be thick and creamy, with a velvety texture. Pour the filling over the cooled crust, smoothing the top with a spatula.
Step 4: Bake and Cool the Cheesecake Properly
Bake in the preheated oven at 350°F for 50-60 minutes. The edges should be set and lightly golden, while the center may still jiggle slightly when gently shaken. This slight jiggle indicates it’s not overbaked, which is key to a creamy texture.
Turn off the oven and crack the door open 1-2 inches. Let the cheesecake cool in the oven for 1 hour to prevent cracking. Then, transfer it to the counter to cool completely, about 2 hours, before refrigerating for at least 4 hours or overnight.
Pro Tips For Making Honey Maid Cheesecake
- Room Temp Cream Cheese: Take the cream cheese out at least 2 hours before mixing—cold blocks leave lumps no matter how long you beat it. I learned this the hard way after my first three cheesecakes looked like cottage cheese.
- Crush Fine, Press Hard: Pulse the Honey Maid crackers into fine crumbs, then press the crust into the pan with a glass for an even, compact base. My grandmother swore by this, and her crust never crumbled.
- Avoid Overmixing: Once the sugar and cream cheese are smooth, stop mixing. Overworking the batter incorporates air, which can cause cracks on the surface.
- Water Bath Works: Wrap the springform pan in foil and bake it in a water bath—this gentle heat prevents cracks and gives that silky texture. Sounds weird, but it works.
Health Benefits of These Flavors
Calcium Powerhouse
The cream cheese and sour cream in this dessert provide a significant dose of calcium—about 20% of your daily needs per slice. Calcium is essential for strong bones and teeth, and it also plays a role in muscle function and nerve signaling. 💪
Protein Boost
Each serving contains approximately 8 grams of protein, thanks to the eggs and cream cheese. Protein helps keep you feeling full and supports muscle repair. This makes the dessert a bit more satisfying than typical sweets.
Energy from Healthy Fats
The full-fat dairy in this recipe delivers healthy fats that provide sustained energy. These fats also help your body absorb fat-soluble vitamins like vitamin A and vitamin D, which are present in the eggs and cream cheese.
Quick Energy from Carbs
The graham cracker crust offers a source of quick-digesting carbohydrates
These carbs provide immediate energy, while the protein and fats in the filling help balance blood sugar levels. The combination keeps energy levels steady rather than causing spikes and crashes. Dairy products like cream cheese are naturally rich in vitamin B12, which supports brain function and red blood cell production. One slice can provide about 15% of your daily B12 needs, making this dessert a surprisingly good source. 💡 While this dessert offers nutritional benefits, remember that it’s still high in sugar and calories. Enjoying a slice as part of a balanced diet allows you to benefit from its nutrients without overindulging. Balance is key!Vitamin B12 Source
Moderation Matters
Nutrition Facts
Frequently Asked Questions
Can I use a different type of cracker for the crust?
Yes, but graham crackers are ideal for flavor and texture. Digestive biscuits or vanilla wafers work too. Adjust sugar to taste if using less sweet options.
Why does my cheesecake crack on top?
Cracks usually form from overmixing or rapid cooling. Mix filling just until smooth and let it cool gradually in the oven with the door slightly open.
Can I make this ahead of time?
It tastes even better after 24 hours in the fridge. Store covered for up to 5 days or freeze slices for 3 months.
Is there a way to make this lighter?
Use low-fat cream cheese and light sour cream, but texture may be less creamy. The flour helps stabilize, so don’t skip it.

Trained in classic French technique but raised on slow-cooked ribs and spicy rubs, she blends culinary skill with smoke and soul.
- Recipe for Boneless Pork Chops in Cast Iron Skillet: Sear and Baste to Juicy Perfection - October 3, 2026
- Recipe for Boneless Cross Rib Roast: Slow-Roasted Beef with Herb Crust - October 3, 2026
- Hamburgers in Sauce Recipe Crock Pot: Slow-Cooked Savory Delight - October 3, 2026