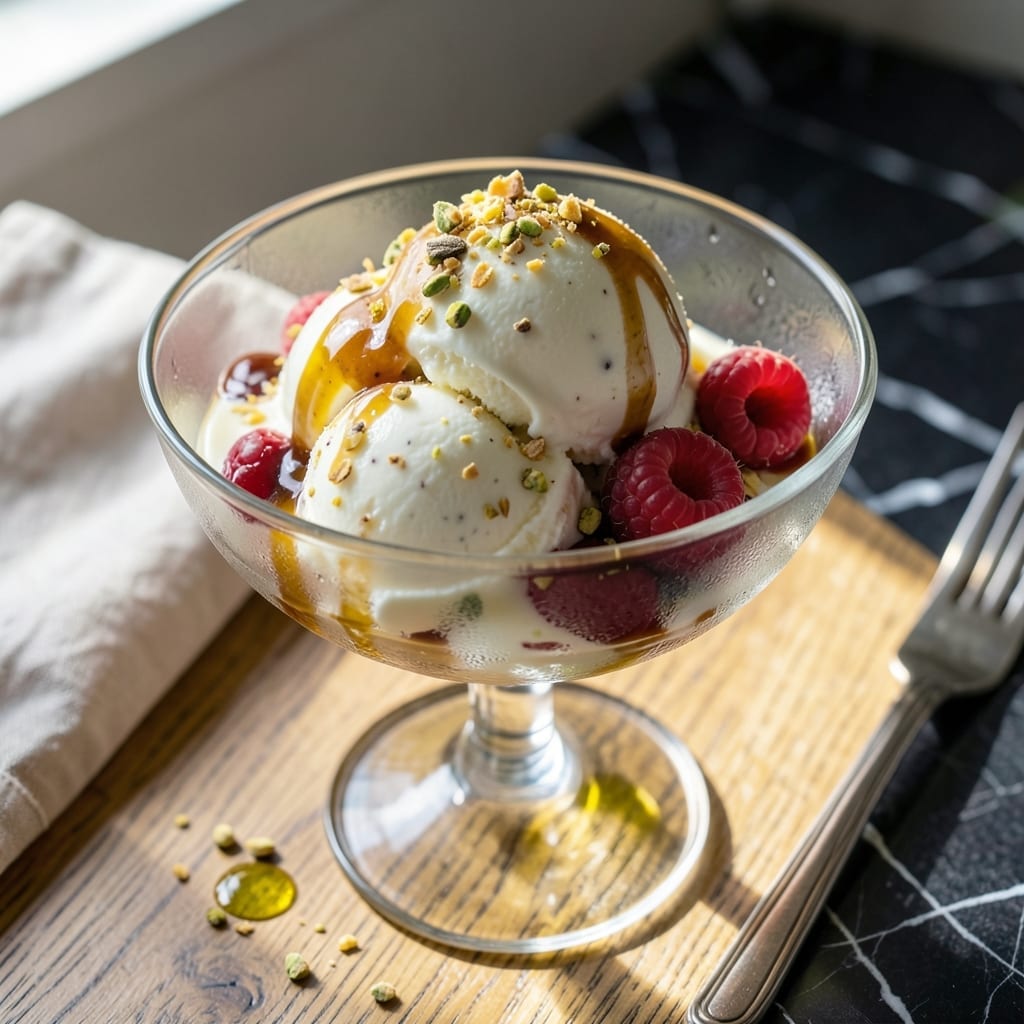
Creamy ice cream without heavy cream is absolutely possible—and this recipe proves it. The secret lies in a simple combination of whole milk, sweetened condensed milk, and a touch of cornstarch to create that signature velvety texture.
This method delivers ultra-creamy results by using ingredients you likely already have. The condensed milk adds richness while the cornstarch stabilizes the mixture, preventing ice crystals from forming during freezing.
What you’ll get is smooth, scoopable ice cream with a luxurious mouthfeel. It’s light yet indulgent, with a clean, pure flavor that lets your chosen mix-ins shine.
Perfect for customizing with fruits, chocolate, or nuts. Here’s how to make it.
Ingredients for Ice Cream Recipe No Heavy Cream
Creamy results start with whole milk and condensed milk plus a few pantry staples.
| Ingredient | Amount | Notes |
|---|---|---|
| Whole Milk 🥛 | 4 cups | Cold, full-fat preferred |
| Sweetened Condensed Milk 🥛 | 1 can | 14 oz can, standard size |
| Cornstarch 🌾 | 2 tbsp | For stabilizing texture |
| Granulated Sugar 🍚 | ¾ cup | Adjust to taste preference |
| Pure Vanilla Extract 🌿 | 2 tsp | High-quality for best flavor |
| Table Salt 🧂 | ¼ tsp | Enhances all flavors |
| Large Egg Yolks 🥚 | 3 whole | For richness and creaminess |
| Heavy Cream 🚫 | 0 cup | Omitted per recipe concept |
| Fresh Fruit 🍓 | 1 cup | Diced, optional mix-in |
| Semi-Sweet Chocolate Chips 🍫 | ½ cup | Optional mix-in choice |
| Chopped Nuts 🥜 | ½ cup | Toasted, optional mix-in |
[recipe_ingredient_scaler]
The whole milk is non-negotiable—full-fat for best results. Sweetened condensed milk adds that signature richness; Eagle Brand is the standard at most grocery stores. Cornstarch is your stabilizer, preventing those dreaded ice crystals. Most supermarkets carry it in the baking aisle. For the egg yolks, fresh, large eggs yield the creamiest texture.
No whole milk? 2% works in a pinch but expect slightly less richness. Swap condensed milk for coconut condensed milk for a dairy-free version. Vanilla extract can be replaced with vanilla bean paste for more depth. The sugar amount is flexible—reduce by half if you prefer less sweetness. Mix-ins are totally customizable.
The base keeps in the fridge for 24 hours before churning. Once churned, freeze in an airtight container for up to 2 weeks. For best texture, let it sit at room temperature for 10 minutes before scooping.
Why You’ll Love This Recipe
- One-Bowl Wonder: I mix everything right in the saucepan—no separate bowls, no extra dishes.
- Velvety Vanilla: The whole milk and condensed milk blend into this ridiculously smooth, rich base that tastes like a premium scoop.
- Freezer Friendly: I make a double batch and stash it for weeks—it keeps beautifully and softens just right after 10 minutes on the counter.
- Pantry Staples: Between us, I always have these ingredients on hand, so it’s a last-minute dessert I can pull off without a store run.
Step-by-Step Instructions for Ice Cream No Heavy Cream
This method delivers ultra-creamy results without heavy cream, using precise technique and quality ingredients.
Step 1: Create the Custard Base with Egg Yolks
In a medium saucepan, whisk together the 4 cups Whole Milk, 0.75 cup Granulated Sugar, 2 tbsp Cornstarch, and 0.25 tsp Table Salt until the sugar and cornstarch fully dissolve. This prevents lumps during cooking.
Place the saucepan over medium heat and warm the mixture until it reaches 180°F and small bubbles form around the edges. Remove from heat and gradually temper the 3 whole Large Egg Yolks by slowly pouring about 1 cup of the hot milk mixture into the yolks while whisking constantly. This prevents scrambling.
Step 2: Thicken and Infuse Flavor
Return the tempered egg mixture to the saucepan and cook over medium-low heat, stirring constantly with a wooden spoon or silicone spatula. The custard will thicken noticeably within 5-7 minutes—you’ll know it’s ready when it coats the back of a spoon and your finger leaves a clean path when drawn through it.
Remove from heat and stir in the 2 tsp Pure Vanilla Extract and 1 can Sweetened Condensed Milk. The condensed milk adds richness and sweetness, compensating for the absence of heavy cream. Combine thoroughly until the mixture is smooth and fully incorporated.
Step 3: Chill Completely for Optimal Texture
Pour the custard into a clean bowl and press plastic wrap directly onto the surface to prevent a skin from forming. Refrigerate for at least 4 hours, or preferably overnight. This chilling step is critical—it allows the custard to fully set and develop depth of flavor.
The mixture should be cold throughout (below 40°F) before churning. If you’re in a hurry, you can place the bowl in an ice bath and stir occasionally to speed up the process, but don’t skip this step.
Step 4: Churn and Add Mix-Ins
Pour the chilled custard into your ice cream maker and churn according to the manufacturer’s instructions, typically 20-25 minutes. The ice cream is ready when it reaches a soft-serve consistency and holds its shape when scooped.
During the last 2 minutes of churning, add your chosen mix-ins—whether it’s the 1 cup Fresh Fruit, 0.5 cup Semi-Sweet Chocolate Chips, or 0.5 cup Chopped Nuts. This ensures even distribution without overworking the machine.
Step 5: Freeze to Firm Perfection
Transfer the churned ice cream to a lidded container, smoothing the top with a spatula. Press plastic wrap directly against the surface again to minimize ice crystals. Freeze for at least 4 hours or until firm.
The texture should be scoopable but solid, with a velvety mouthfeel that belies the absence of heavy cream. For best results, let it sit at room temperature for 5-10 minutes before serving to soften slightly.
Pro Tips For Making Ice Cream Recipe No Heavy Cream
- Chill the Base: After mixing the milk, sugar, and cornstarch, refrigerate the base for at least 4 hours—this prevents ice crystals and gives you that velvety texture.
- Dissolve Cornstarch Well: I learned this the hard way—whisk the cornstarch into the cold milk first to avoid lumps, then heat gently while stirring constantly.
- Skip Low-Fat Milk: Whole milk is non-negotiable here; anything less and your ice cream will taste thin and icy.
- Add Vanilla Last: Stir in the vanilla extract after the base cools slightly to preserve its flavor—heating it too much dulls the aroma.
Perfect Pairings for ice cream recipe no heavy cream
Topping Pairings
Fresh berries like strawberries or raspberries add a bright, tangy contrast to the creamy base. I toss 1 cup diced fruit with 1 tbsp honey and let it macerate for 30 minutes before serving. 🍓
Sauce Drizzles
Warm chocolate sauce or caramel sauce takes this to dessert paradise. I use Hershey’s for chocolate and Smucker’s for caramel—they’re perfectly balanced for this light ice cream. Drizzle generously over each scoop.
Crunchy Additions
Toasted nuts or cookie crumbles add texture. I love ½ cup chopped pecans toasted with 1 tsp cinnamon and 1 tbsp maple syrup. Alternatively, crushed Oreo cookies create a cookies-and-cream vibe.
Waffle Cone Upgrade
Serve in crisp waffle cones for the full experience. I warm mine in the oven at 300°F for 5 minutes to enhance their aroma. The contrast between warm cone and cold ice cream is magical. ✨
Beverage Pairings
Cold brewed coffee or iced tea cuts through the sweetness. For adults, a glass of Moscato d’Asti with its light fizz and peach notes pairs beautifully. I always keep these options ready for serving.
Nutrition Facts
Frequently Asked Questions
Can I use skim milk instead of whole?
Whole milk is strongly recommended for the creamiest texture. Skim milk will work but may produce a slightly icier result. For best results, stick with full-fat whole milk.
Why do we need cornstarch?
Cornstarch acts as a stabilizer, preventing ice crystals from forming during freezing. Without it, your ice cream might become grainy. 2 tbsp is the perfect amount for smooth texture.
Can I make this without an ice cream maker?
Yes! Freeze in a shallow container, stirring vigorously with a fork every 30 minutes for 3-4 hours. This breaks up ice crystals manually.
How long will homemade ice cream last?
Stored in an airtight container, it keeps well for up to 2 weeks. For best texture, consume within 1 week of making.

Trained in classic French technique but raised on slow-cooked ribs and spicy rubs, she blends culinary skill with smoke and soul.
- Best Smoked Oxtail Recipe: Deep-Rich Flavor After Low-and-Slow Cooking - October 14, 2026
- Pit Boss Smoked Prime Rib Roast Recipe: Bark-to-Bone Crispness in 4 Hours - October 14, 2026
- Smoked Tuna Steak Recipe: Seared Crust Meets Silky Centers - October 14, 2026