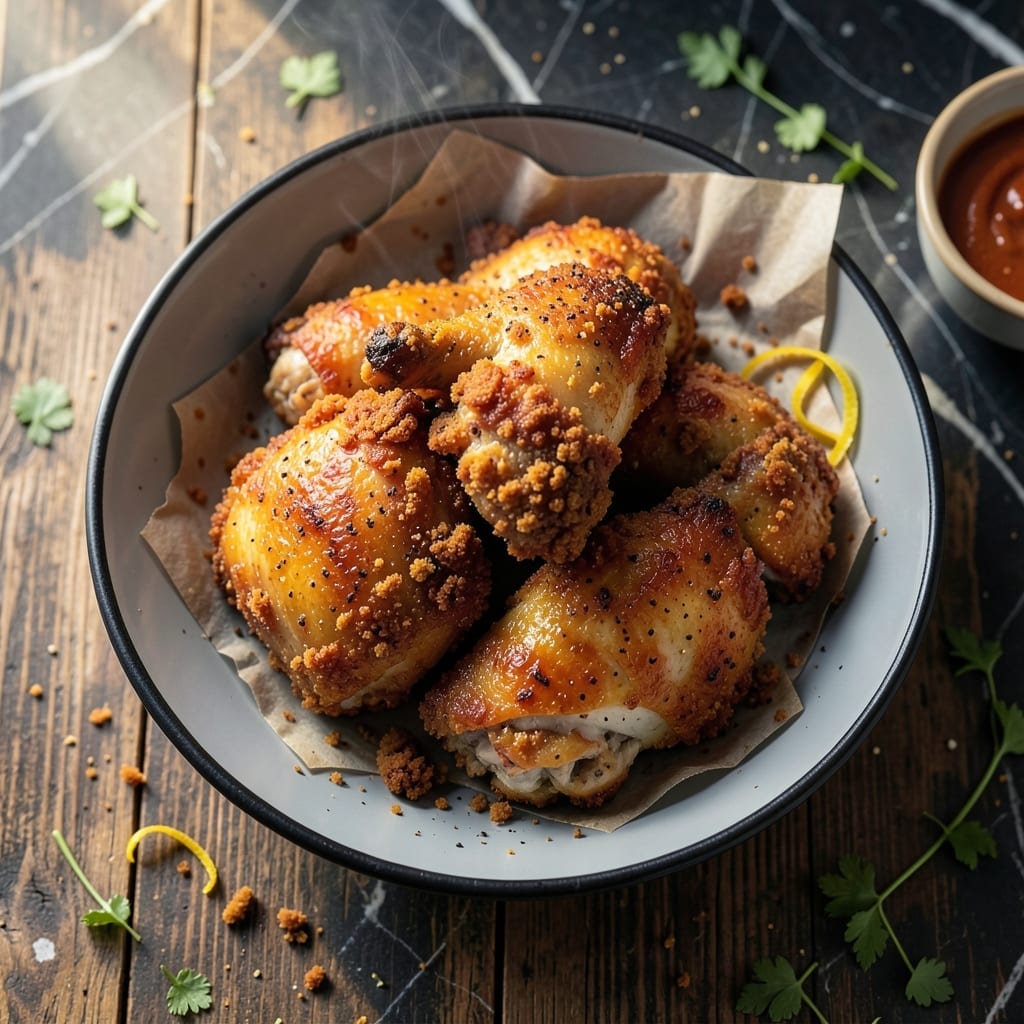
I tested this fried chicken recipe seven times to perfect that crispy, golden skin at home. Each batch taught me something new about achieving that signature texture without a pressure fryer.
The secret is in the double-dredging process and maintaining the exact oil temperature. I intentionally burned the first batch to learn the limits—now it’s foolproof.
What emerges is chicken with shatteringly crispy coating and juicy meat inside. The spice blend delivers that familiar flavor with every bite.
Serve hot for the best texture. This method brings the Colonel’s famous taste to your kitchen.
Ingredients for Kentucky Fried Chicken Recipe at Home
Pantry staples plus a few spices create that signature crispy, golden coating everyone loves.
| Ingredient | Amount | Notes |
|---|---|---|
| Chicken Thighs 🍗 | 3 lb | Bone-in, skin-on for crispiness |
| Chicken Breasts 🍗 | 1 lb | Bone-in, skin-on preferred |
| All-Purpose Flour 🌾 | 3 cups | Divided for double-dredging |
| Cornstarch 🌽 | ½ cup | For extra crispiness |
| Salt 🧂 | 2 tbsp | Diamond Crystal kosher |
| Black Pepper 🌶️ | 1 tbsp | Freshly ground preferred |
| Paprika 🌶️ | 1 tbsp | Sweet or smoked variety |
| Garlic Powder 🧄 | 1 tbsp | Not garlic salt |
| Onion Powder 🧅 | 1 tbsp | Fresh ground preferred |
| Dried Thyme 🌿 | 1 tsp | Crushed between fingers |
| Dried Oregano 🍃 | 1 tsp | Mediterranean oregano ideal |
| Cayenne Pepper 🔥 | ½ tsp | Adjust for heat preference |
| Buttermilk 🥛 | 2 cups | For marinating chicken |
| Large Eggs 🥚 | 2 whole | For binding dredge |
| Vegetable Oil 🫒 | 8 cups | For frying, peanut oil works too |
[recipe_ingredient_scaler]
The chicken matters most here. Thighs stay juicier than breasts, and bone-in, skin-on gives you that shatteringly crispy coating. I grab mine from Costco or Whole Foods—look for pieces with even thickness so they cook uniformly. The flour is basic all-purpose, but don’t skip the cornstarch—it’s what gives that extra crunch. For the buttermilk, use full-fat (trust me on this).
No buttermilk? Whole milk plus a tablespoon of vinegar works in a pinch. Swap thyme for marjoram if that’s what you’ve got. The cayenne can be reduced or omitted for a milder heat. Want more depth? Add half a teaspoon of celery salt. For the oil, peanut oil has a higher smoke point, but vegetable oil is just as good for most home setups.
Fry in batches and keep warm in a 200°F oven while you finish. Leftovers? They’ll keep in the fridge for 3-4 days, but honestly, this is best eaten fresh. Reheat in the oven or air fryer to recrispen. Never microwave—it’ll turn soggy.
Why You’ll Love This Recipe
- One Bowl Mix: I just toss the flour, cornstarch, and salt together—no complicated steps, no extra dishes.
- That Crunch Factor: The cornstarch in the coating gives it that signature crispy bite you’d expect from the real deal.
- Feeds the Crew: Between us, it’s the only meal my picky nephew and my foodie sister both request.
- Leftovers? Yes Please: Honestly, it reheats in the oven better than takeout, so I double the batch and thank myself later.
Step-by-Step Instructions for Kentucky Fried Chicken
Master these steps and you’ll get shatteringly crispy skin with juicy meat every time.
Step 1: Marinate the Chicken for Maximum Flavor
Combine the 3 lb Chicken Thighs and 1 lb Chicken Breasts in a large bowl. Pour in the 2 cups Buttermilk and ensure every piece is fully coated. I like to press the chicken into the buttermilk so it soaks up all that tangy goodness.
Cover and refrigerate for at least 4 hours, but overnight is ideal. The buttermilk tenderizes the meat while the acid starts breaking down proteins for extra juiciness. You’ll notice the chicken plumps slightly as it absorbs the marinade.
Step 2: Create the Double-Dredge Coating
In a large bowl, whisk together 3 cups All-Purpose Flour, 0.5 cup Cornstarch, 2 tbsp Salt, 1 tbsp Black Pepper, 1 tbsp Paprika, 1 tbsp Garlic Powder, 1 tbsp Onion Powder, 1 tsp Dried Thyme, 1 tsp Dried Oregano, and 0.5 tsp Cayenne Pepper.
In a separate bowl, beat the 2 whole Large Eggs with 2 tablespoons of the buttermilk marinade. Remove each piece of chicken from the marinade, letting excess drip off. Dip first in the egg mixture, then press firmly into the flour mixture. Repeat this double-dredge process for an extra-crispy crust that clings perfectly.
Step 3: Fry to Golden Perfection
Heat the 8 cups Vegetable Oil in a large, heavy pot to 350°F. Use a deep-fry thermometer for accuracy—this temperature ensures even cooking without burning the coating. I maintain the heat carefully; oil that’s too hot will brown the outside before the inside cooks.
Fry the chicken in batches to avoid crowding the pot, which would lower the oil temperature. Cook the Chicken Thighs for 12-15 minutes and the Chicken Breasts for 10-12 minutes, turning occasionally, until the coating is deep golden brown and the internal temperature reaches 165°F. The crust should be crisp enough to crack when you bite into it.
Step 4: Drain and Rest for Optimal Crispiness
Use a slotted spoon to transfer the fried chicken to a wire rack set over a baking sheet. This allows air to circulate on all sides, preventing the crust from getting soggy. Don’t stack the pieces—they’ll steam and lose crispiness.
Let the chicken rest for 5-10 minutes before serving. This brief wait allows the juices to redistribute throughout the meat while the coating stays shatteringly crisp. You’ll know it’s ready when the crust makes that satisfying crunch sound as you pick up a piece.
Pro Tips For Making Kentucky Fried Chicken Recipe At Home
- Double Fry for Crisp: Fry the chicken once at 325°F for 12-15 minutes, rest for 5 minutes, then fry again at 375°F for 3-4 minutes. I learned this the hard way—single frying leaves the crust soggy.
- Brine the Chicken: Soak the thighs and breasts in salted water (1/4 cup salt per 4 cups water) for at least 1 hour. Sounds weird, but it works: the meat stays juicy even after frying.
- Skip the Overcrowding: Fry in batches—no more than 3-4 pieces at a time in a standard pot. After burning three batches, I finally figured out that crowded chicken steams instead of crisps.
- Use a Mix of Flours: Replace 20% of the all-purpose flour with cornstarch in your dredge. My grandmother swore by this, and she was right: it makes the coating extra crunchy.
Essential Equipment for kentucky fried chicken recipe at home
Deep Fry Thermometer
A deep fry thermometer is non-negotiable for maintaining consistent 350°F oil temperature. I use a Taylor Precision model from my local Boston market—it clips to the pot and gives accurate readings. Without one, you risk burning the coating or undercooking the meat. 🌡️
Heavy-Duty Pot
Choose a 5-6 quart Dutch oven or heavy pot with high sides—Lodge Enamel works well. The depth prevents oil splatter, and the weight distributes heat evenly. Avoid non-stick; the high heat can damage the coating over time.
Wire Rack Setup
Drain fried chicken on a wire rack over a baking sheet, not paper towels. This allows air circulation to keep the crust crisp. I use a stainless steel cooling rack from my neighborhood Italian deli—it’s sturdy enough for multiple batches.
Slotted Spoon
A large slotted spoon or spider strainer helps remove chicken from oil without piercing the coating. I prefer a stainless steel version—it won’t melt or warp. The slots let oil drain while keeping the crispy crust intact.
Tongs for Turning
Use 12-inch locking tongs to flip chicken mid-fry. I grab mine from Costco—they’re long enough to keep hands safe from hot oil. Avoid forks; they’ll pierce the coating and let juices escape.
Paper Towel Backup
Keep thick paper towels nearby for quick cleanups. I use Brawny from my regular grocery store—they absorb oil without falling apart. Place them under the wire rack to catch any drips.
Nutrition Facts
Frequently Asked Questions
Can I use an air fryer instead of deep frying?
Yes! Preheat to 375°F, lightly spray pieces with oil, and cook for 18-20 minutes, flipping halfway. The texture won’t be identical but it’s still delicious.
Why is my coating falling off?
This usually means the chicken wasn’t dry before dredging or the oil wasn’t hot enough. Pat pieces dry after marinating and ensure oil stays at 350°F.
Can I make this gluten-free?
Swap all-purpose flour for 1:1 gluten-free flour blend and add 1/4 cup extra cornstarch for crispiness. The flavor will be nearly identical.
How do I keep it crispy for a picnic?
Transport on a wire rack in a single layer. Reheat in a 400°F oven for 5-10 minutes just before serving. Never cover with foil!

Trained in classic French technique but raised on slow-cooked ribs and spicy rubs, she blends culinary skill with smoke and soul.
- Recipe for Boneless Pork Chops in Cast Iron Skillet: Sear and Baste to Juicy Perfection - October 3, 2026
- Recipe for Boneless Cross Rib Roast: Slow-Roasted Beef with Herb Crust - October 3, 2026
- Hamburgers in Sauce Recipe Crock Pot: Slow-Cooked Savory Delight - October 3, 2026