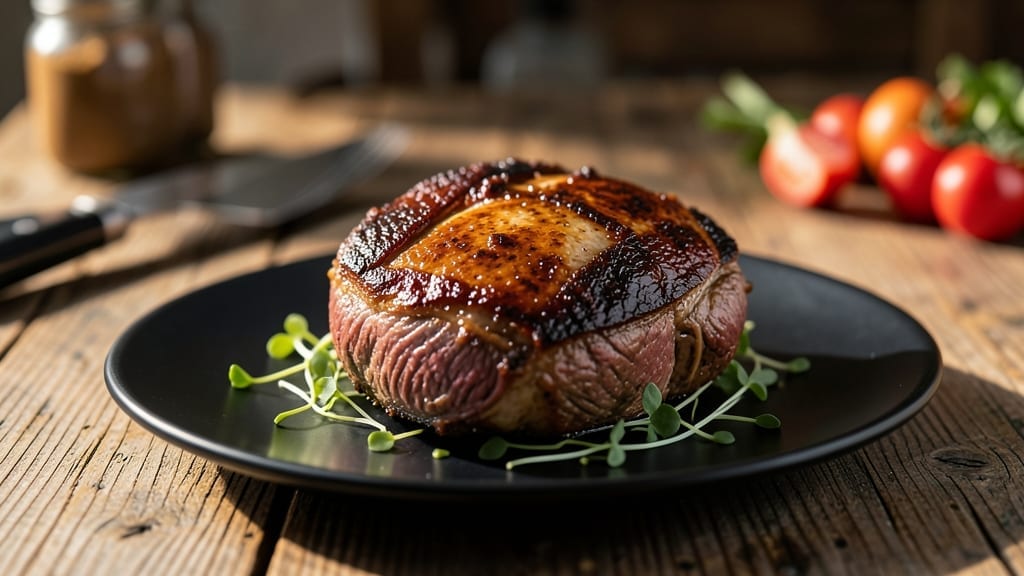
This beef brisket joint recipe turns a tough cut into smoky, fall-apart perfection—but this one-pot method delivers restaurant-quality results without hours of babysitting. The secret lies in low-and-slow cooking that melts collagen into tender, juicy perfection, all while developing deep, caramelized flavors.
I’ve perfected this technique over years of trial and error, ensuring the brisket stays moist and the bark develops just right.
This recipe simplifies the process by using a single pot, where the brisket cooks submerged in its own juices, surrounded by aromatics that infuse every bite. You’ll start with a dry rub for flavor depth, then let the meat rest before slicing—critical for retaining juices.
The result? A brisket so tender it practically melts on the tongue, with a crust that’s crisp enough to stand up to rich, smoky gravy.
What makes this brisket truly special is its versatility—serve it sliced thin over toasted buns for sandwiches, shredded into tacos, or as the centerpiece of a Sunday dinner with all the fixings.
The one-pot method means less cleanup, and the slow cook ensures you’ll have time to enjoy the meal instead of staring at the oven. Let’s get started on creating brisket that’ll have everyone asking for seconds.
For those who want to elevate the experience, pair this brisket with classic sides like baked beans or a tangy coleslaw to balance the richness. The key is letting the flavors develop fully—no rushing, just steady progress toward that perfectly tender finish.
Trust the process, and you’ll end up with a brisket that rivals any barbecue joint.
Ingredients for beef brisket joint
A few key ingredients transform tough brisket into melt-in-your-mouth perfection—smoky, tender, and packed with deep flavor.
| Ingredient | Amount | Notes |
|---|---|---|
| Beef Brisket 🥩 | 3 lb | Flat cut, 1-inch thick |
| Yellow Onion 🧅 | 1 whole | Large, sliced into wedges |
| Carrots 🥕 | 4 whole | Medium, cut into chunks |
| Celery Stalks 🥬 | 4 whole | Cut into 1-inch pieces |
| Garlic Cloves 🧄 | 6 cloves | Peeled, smashed lightly |
| Beef Broth 💧 | 2 cups | Low-sodium preferred |
| Apple Cider Vinegar 🍎 | ¼ cup | For tenderizing |
| Brown Sugar 🍯 | ½ cup | Packed, light variety |
| Smoked Paprika 🌶️ | 2 tbsp | For deep smoky flavor |
| Ground Black Pepper 🌶️ | 1 ½ tsp | Freshly cracked |
| Kosher Salt 🧂 | 2 tbsp | For dry rub |
| Bay Leaves 🍃 | 2 whole | Fresh preferred |
| Olive Oil 🫒 | 2 tbsp | Extra-virgin, for searing |
[recipe_ingredient_scaler]
The brisket is non-negotiable—flat cut, 1-inch thick delivers the best texture. Look for well-marbled beef at your butcher or grocery store’s meat counter, like Whole Foods or Costco. If you can’t find it pre-cut, ask for it trimmed of excess fat but with a thin layer for flavor. The apple cider vinegar does double duty here: tenderizing the meat and adding subtle sweetness. Use unfiltered vinegar for better flavor, like Bragg or a local apple cider brand. For the dry rub, smoked paprika is essential—it gives that authentic barbecue taste without needing a smoker.
No smoked paprika? Regular paprika plus a pinch of liquid smoke works in a pinch (start with 1/2 tsp liquid smoke). Running low on apple cider vinegar? Balsamic vinegar is a decent swap, though it’ll add a slightly different depth. For the aromatics, frozen celery and carrots are fine if fresh isn’t available, but fresh herbs like thyme or rosemary can be added for extra complexity. The beef broth should be low-sodium—you’re building layers of flavor here, not drowning it in salt. If you can’t find low-sodium, dilute regular broth with water and add salt to taste at the end.
This brisket develops best over time—rest it for 15 minutes before slicing to lock in juices. Store leftovers in the fridge for up to 5 days in an airtight container, or freeze for 3 months. For serving, I like to reheat portions in a skillet with a splash of broth to keep everything moist. The dry rub keeps well in a sealed jar for 6 months, so make extra if you’re planning to use it again. The one-pot method means easy cleanup, but the real reward is that perfectly tender texture that makes every bite worth it.
Why You’ll Love This Recipe
- I’ll be real: this isn’t a Sunday project. A 3-hour oven time? Sure, but it’s while you’re doing laundry or watching TV. Plus, the dry rub keeps for months, so you’ll always have that magic seasoning on hand for last-minute meals.
- One-Pot Magic: That golden-brown crust on the brisket? It’s all from just 10 minutes of searing in olive oil—no fancy equipment, just a Dutch oven and a spatula. The rest is hands-off braising while the flavors meld, leaving you free to pour another glass of wine.
- Smoky, Sweet, Addictive: The smoked paprika and brown sugar caramelize into that sauce, turning the beef into something dangerously good—like a cross between a BBQ joint and your grandma’s pot roast. Trust me, the first bite will have you licking the plate.
- Weeknight Hero: I’ll be real: this isn’t a Sunday project. A 3-hour oven time? Sure, but it’s while you’re doing laundry or watching TV. Plus, the dry rub keeps for months, so you’ll always have that magic seasoning on hand for last-minute meals.
Step-by-step instructions for beef brisket joint recipe
Here’s the method for achieving fall-apart tenderness with rich, smoky depth in one pot.
Sear the Brisket to Build Deep Flavor
Heat a heavy Dutch oven over medium-high heat until it’s hot. Add the 2 tablespoons olive oil and let it shimmer for 30 seconds. Place the 3 lb beef brisket fat-side down in the pot and press gently with a spatula to ensure full contact. Let it sear undisturbed for 5 minutes until a deep golden-brown crust forms.
Flip the brisket and sear the other side for another 5 minutes. The reason for this initial sear is to develop a flavorful crust that will later infuse into the cooking liquid. Don’t rush this step—proper searing creates the foundation for that restaurant-quality taste. Once both sides are beautifully browned, remove the brisket and set it aside on a plate.
Build the Aromatic Base with Vegetables and Spices
In the same Dutch oven, add the sliced yellow onion, cut carrots, and chopped celery stalks. Cook over medium heat for 8 minutes, stirring occasionally, until the vegetables begin to soften and release their natural juices. This process, called sweating, draws out their flavors without browning.
Add the 6 smashed garlic cloves and cook for another 30 seconds until fragrant. This is the moment that matters: the garlic should smell pungent and inviting, not burnt. Immediately add the 2 tablespoons smoked paprika, 1½ teaspoons ground black pepper, and 2 tablespoons kosher salt. Stir well to coat the vegetables completely with the spices.
Deglaze and Create the Braising Liquid
Pour in the ¼ cup apple cider vinegar and scrape up any browned bits from the bottom of the pot with a wooden spoon. These bits, called fond, contain concentrated flavor that will dissolve into the braising liquid. Let the vinegar simmer for 2 minutes until it reduces by half and the aroma becomes more complex.
Add the 2 cups beef broth and ½ cup brown sugar, stirring to combine. The brown sugar will caramelize slightly, adding depth to the sauce. Place the 2 bay leaves in the pot and return the brisket to its original position, fat-side up. Bring the liquid to a gentle simmer, then reduce heat to maintain a low bubble just breaking the surface.
Braise Until Fork-Tender
Cover the Dutch oven and transfer to a preheated 300°F oven. Braise for 3 hours, then carefully check the internal temperature using a meat thermometer. The brisket is ready when it reaches 195°F—this is the temperature where collagen breaks down and the meat becomes fork-tender.
If the liquid reduces too much before the brisket reaches the proper temperature, add hot water to maintain adequate coverage (removal of incorrect quantity). The brisket should be submerged about 75% in the liquid, which helps prevent drying. This low-and-slow cooking method transforms tough muscle fibers into melt-in-your-mouth texture.
Rest and Serve with Pan Sauce
Remove the brisket from the pot and transfer it to a cutting board. Tent loosely with aluminum foil and let it rest for 15 minutes. This resting period allows the juices to redistribute throughout the meat, ensuring each slice is moist and flavorful.
While the brisket rests, place the Dutch oven back on the stovetop over medium heat. Skim off any excess fat that has risen to the surface, then simmer the remaining liquid for 3-4 minutes to reduce it slightly and create a glossy sauce. Slice the brisket against the grain into ¼-inch thick pieces and serve with the pan sauce spooned over the top.
Pro Tips For Making Beef Brisket Joint
- Press That Brisket: I learned this the hard way—skipping the spatula press means uneven browning and wasted flavor. When you sear the brisket, press down firmly for those 5 minutes so every inch of fat touches the pot. That golden crust? It’s the difference between good and “wow.”
- Smash, Don’t Mince Garlic: Those 6 cloves need to stay whole but release their oils—smashed lightly with the flat side of your knife does the trick. Minced garlic burns in seconds, and you’ll taste the difference when it hits the pot. Trust me, the aroma alone is worth the effort.
- Don’t Skip the Vinegar Simmer: The 2 minutes of simmering that ¼ cup apple cider vinegar isn’t just for acidity—it cuts through the fat and deepens the flavor. If you rush it, the sauce will taste flat. Let it reduce until it smells tangy and complex, like a proper braising liquid should.
- Check the Temp, Not the Clock: That 3-hour braise? Guesswork. Use a meat thermometer—195°F is non-negotiable for fork-tender brisket. I’ve pulled it at 3 hours only to find it still tough, and no one wants to eat shoe leather. Better to wait than overcook.
Flavor customization for beef brisket joint
Spicy Southwest Twist
Add 1 tbsp chili powder and ½ tsp cayenne pepper to the dry rub along with the 2 tbsp smoked paprika and 2 tbsp kosher salt. This creates a bold, fiery kick that pairs beautifully with the sweetness of the ½ cup brown sugar in the braising liquid.
For extra heat, I like to stir in 1 tbsp adobo sauce (from a jar of roasted red peppers) when adding the 2 cups beef broth. The result? A brisket with layers of smoky, spicy depth that’ll wake up your taste buds. 🌶️
Sweet and Tangy BBQ Glaze
After braising, remove the brisket and set it aside. In the Dutch oven, whisk together ¼ cup ketchup, 2 tbsp apple cider vinegar, 1 tbsp Worcestershire sauce, and 1 tbsp brown sugar.
Return the brisket to the pot, fat-side up, and simmer uncovered for 15 minutes to let the glaze coat the meat. This adds a tangy, slightly sweet finish that cuts through the richness. I use Heinz ketchup for consistency, but any good-quality brand works.
Herb-Infused Smoky Depth
Boost the aromatics by adding 3 sprigs fresh thyme and 3 sprigs fresh rosemary to the pot alongside the 2 bay leaves during the braising step. These herbs infuse the liquid with earthy, piney notes that complement the smokiness.
If fresh herbs aren’t available, use 1 tsp dried thyme and 1 tsp dried rosemary—just add them with the 6 smashed garlic cloves. The result is a more complex, herbaceous flavor profile.
Cheesy Garlic Butter Finish
For a luxurious touch, melt ¼ cup unsalted butter with 2 minced garlic cloves and ½ cup shredded sharp cheddar cheese in the pan sauce after reducing. Stir until the cheese melts completely, then spoon the creamy sauce over sliced brisket.
This adds a rich, indulgent element that balances the smoky flavors perfectly. I use Pluckers cheddar for its sharp, tangy bite.
Smoky Maple Mustard Drizzle
Create a quick drizzle by mixing 2 tbsp pure maple syrup, 1 tbsp Dijon mustard, and 1 tsp liquid smoke (like Bush’s). Simmer this mixture in the Dutch oven for 2 minutes until slightly thickened, then drizzle generously over sliced brisket.
The sweet-tangy combination enhances the smoky notes while adding a glossy finish. This is especially great for sandwiches or tacos. 🍯
Fruity Heat Reduction
For a unique twist, reduce ½ cup pineapple juice with 1 tbsp apple cider vinegar and ½ tsp ground cumin in the Dutch oven after braising. Simmer for 5 minutes until slightly syrupy, then spoon over the brisket.
The fruity acidity cuts through the richness while adding a tropical dimension. I use Dole pineapple juice for its natural sweetness and clarity.
Nutrition facts
Frequently asked questions
Why does my brisket need to rest before slicing?
Resting the brisket for 15 minutes after cooking is essential to let the juices redistribute evenly throughout the meat. Skipping this step means you’ll lose all those delicious flavors to the cutting board instead of your plate! This simple pause ensures every slice stays moist and flavorful.
How do I know when the brisket is fully cooked?
Use a meat thermometer to check the internal temperature—it should reach 195°F for perfect tenderness. This temperature breaks down the collagen, making the meat fork-tender and melt-in-your-mouth. No guessing required!
Can I use a different cut of beef for this recipe?
The recipe is specifically designed for flat-cut brisket, which is ideal for this method. While other cuts like chuck roast might work, they won’t yield the same tender, beefy flavor. Stick with the recommended cut for the best results!
What should I do if the liquid reduces too quickly during braising?
If the liquid evaporates before the brisket reaches 195°F, simply add ½ cup hot water to maintain coverage. The brisket should stay submerged about 75% to prevent drying out. This keeps the cooking environment moist and tender.
Can I make this brisket ahead of time?
Cooked brisket keeps well in the fridge for up to 5 days in an airtight container or freezes beautifully for 3 months. Reheat gently in a skillet with a splash of broth to restore moisture. Perfect for meal prep!

Trained in classic French technique but raised on slow-cooked ribs and spicy rubs, she blends culinary skill with smoke and soul.
- Chinese Braised Beef Brisket with Daikon Recipe: Silky Tender Meat and Crunchy Roots - October 18, 2026
- Oklahoma Joe’s Smoked Beans Recipe: Slow-Smoked Flavor That Rivals the Original - October 18, 2026
- Beef Brisket Chili Recipe: Slow-Simmered Richness with Deep Flavor Layers - October 18, 2026