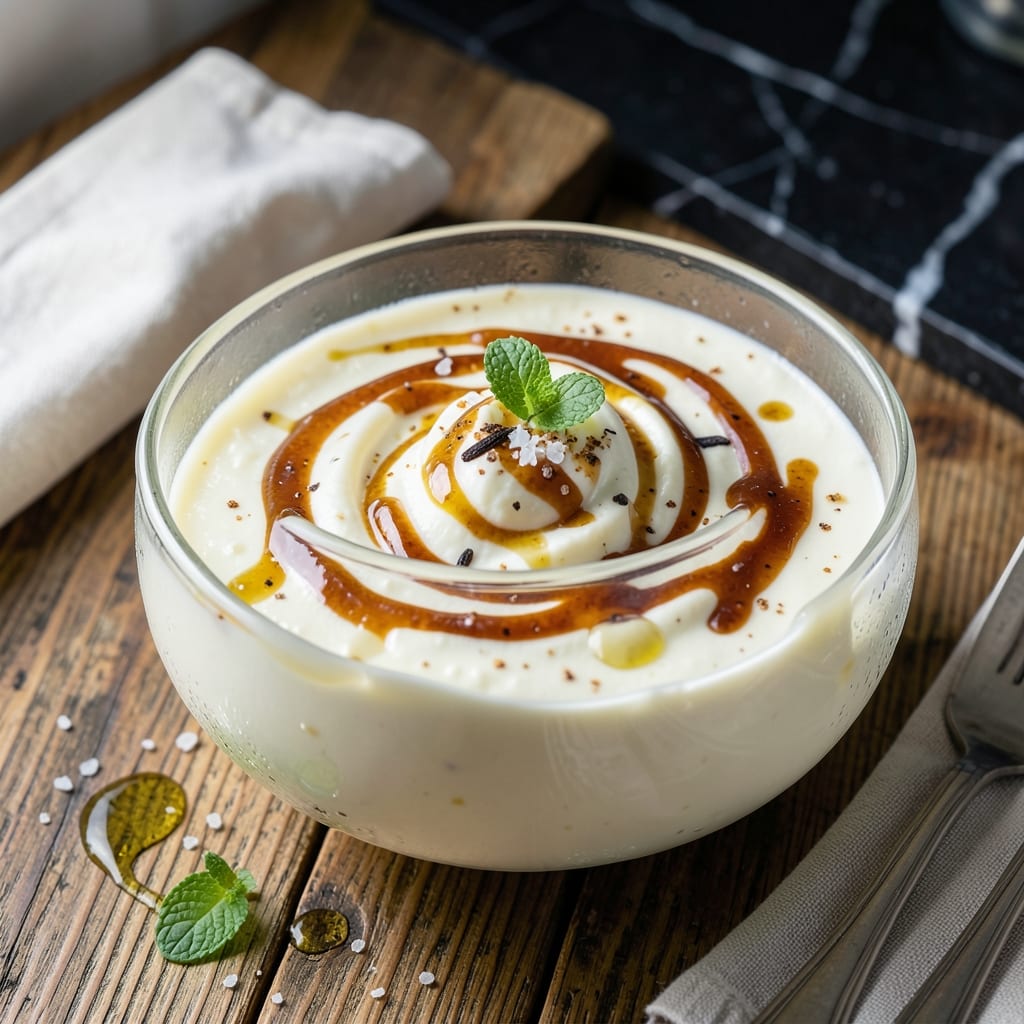
There’s a simpler way to enjoy frozen dairy at home without the complexity of traditional ice cream. This method delivers a creamy, smooth texture with minimal effort and basic ingredients.
I developed this approach to recreate that nostalgic homemade treat from childhood, but with a lighter touch. The key is balancing the milk-to-sugar ratio and controlling the freezing process for the perfect consistency.
What you get is a refreshing dessert that’s rich enough to satisfy but light enough to enjoy anytime. The texture lands somewhere between soft-serve and traditional ice cream, with a clean dairy flavor.
No special equipment is required—just a freezer and a little patience. The result speaks for itself.
Ingredients for Recipe for Ice Milk
Basic pantry staples and a little patience create this nostalgic frozen treat.
| Ingredient | Amount | Notes |
|---|---|---|
| Whole Milk 🥛 | 4 cups | Cold, full-fat preferred |
| Granulated Sugar 🍚 | ¾ cup | Adjust to taste preference |
| Vanilla Extract 🌿 | 2 tsp | Pure extract for best flavor |
| Heavy Cream 🥛 | ½ cup | Cold, for creaminess |
| Salt 🧂 | ¼ tsp | Fine grain sea salt |
| Corn Syrup 🧈 | 2 tbsp | Light variety for smoothness |
| Egg Yolks 🥚 | 2 whole | Large eggs, room temperature |
| Vanilla Bean 🌱 | 1 whole | Split and scraped (optional) |
| Fresh Lemon Juice 🍋 | 1 tsp | For brightness (optional) |
| Chocolate Syrup 🍫 | ¼ cup | For drizzling (optional) |
[recipe_ingredient_scaler]
The milk is the foundation here. Whole milk from a local dairy gives the richest flavor, but any full-fat variety works. I grab mine from Whole Foods when I’m there for other things—just check the date. The heavy cream is non-negotiable for that velvety texture (trust me on the full-fat version). If you’re feeling fancy, vanilla bean paste adds those pretty specks and extra depth.
No heavy cream? Half-and-half in a pinch works but expect a lighter result. Swap granulated sugar for superfine sugar if you want ultra-smooth texture. The corn syrup keeps it soft and scoopable—agave or honey can substitute but may alter flavor slightly. Skip the egg yolks for a simpler version, though they do add richness. For chocolate lovers, melted dark chocolate swirled in is divine.
This keeps 2-3 weeks in an airtight container in the freezer. Let it sit at room temperature for 5-10 minutes before scooping for easier serving. For best texture, give it a quick stir every hour during the first 3-4 hours of freezing.
Why You’ll Love This Recipe
- 5-Minute Mix: I just dump everything in a bowl, whisk, and freeze—no fancy equipment, no fuss.
- Velvet Vanilla: The whole milk and heavy cream blend into this ridiculously smooth texture with just the right vanilla punch.
- Weekend or Weeknight: I’ve served this at summer cookouts and sneaked spoonfuls straight from the freezer on a random Tuesday.
- Stretches Further: Honestly, one batch fills my freezer with leftovers that last us a week without breaking the grocery budget.
Step-by-Step Instructions for Ice Milk
Here’s my trusted method for achieving that perfect creamy texture with minimal effort.
Step 1: Heat the Milk and Sugar Mixture
In a medium saucepan, combine the 4 cups Whole Milk and 0.75 cup Granulated Sugar. Heat over medium heat until the mixture is warm and the sugar has completely dissolved, stirring frequently. You’ll see tiny bubbles forming at the edges—this is your cue that it’s ready for the next step.
Don’t let it boil. If you notice steam rising or the mixture starting to simmer, reduce the heat immediately. This gentle warming ensures the sugar dissolves evenly without scorching the milk.
Step 2: Temper the Egg Yolks
In a separate bowl, whisk the 2 whole Egg Yolks until smooth and slightly pale. Slowly pour about 1 cup of the warm milk mixture into the egg yolks while whisking constantly. This tempering process prevents the eggs from curdling when added to the hot liquid.
Pour the tempered egg mixture back into the saucepan with the remaining warm milk. Return to medium-low heat and cook, stirring constantly, until the mixture thickens enough to coat the back of a spoon. This should take about 5-7 minutes.
Step 3: Add Cream and Flavorings
Remove the saucepan from heat and stir in the 0.5 cup Heavy Cream, 2 tbsp Corn Syrup, 0.25 tsp Salt, and 2 tsp Vanilla Extract. If using, add the seeds scraped from the 1 whole Vanilla Bean for an extra layer of vanilla flavor.
For a touch of brightness, stir in the 1 tsp Fresh Lemon Juice. This balances the sweetness and enhances the overall flavor profile. Let the mixture cool to room temperature, stirring occasionally to prevent a skin from forming on top.
Step 4: Chill and Churn
Transfer the mixture to a clean container and refrigerate for at least 4 hours or overnight. Chilling is crucial—it ensures the mixture is completely cold before churning, which helps achieve that smooth, creamy texture.
Once chilled, pour the mixture into your ice cream maker and churn according to the manufacturer’s instructions, typically 20-25 minutes. The ice milk is ready when it reaches a soft-serve consistency.
Step 5: Freeze and Serve
Transfer the churned ice milk to a lidded container and freeze for at least 2 hours to firm up. For serving, let it sit at room temperature for 5-10 minutes to soften slightly. Drizzle with 0.25 cup Chocolate Syrup if desired before serving.
The final texture should be smooth and creamy, with a rich, velvety mouthfeel. This homemade version captures that nostalgic ice milk taste while delivering a satisfying, creamy experience.
Pro Tips For Making Recipe For Ice Milk
- Chill the Base: Always refrigerate your milk and sugar mixture for at least 4 hours before churning—I learned this the hard way after ending up with soupy ice milk on my first three attempts.
- Use Full-Fat Dairy: Skip the low-fat milk or cream substitutes; the richness from whole milk and heavy cream is what gives ice milk its creamy texture without turning icy.
- Don’t Over-Churn: Watch the machine closely and stop churning as soon as it reaches a soft-serve consistency—overdoing it incorporates too much air, making the final product fluffy instead of dense.
- Add Vanilla Last: Stir in the vanilla extract after the mixture has cooled slightly, not while it’s hot, to preserve its full flavor—my grandmother swore by this, and she was right.
Dietary Considerations for This Dish
Lactose Intolerance Options
For those with lactose sensitivity, swap whole milk for lactose-free milk—I’ve had great results with Lactaid brand. The heavy cream can be replaced with coconut cream for a dairy-free version, though the flavor will have a subtle coconut note. 💡
Lower Sugar Version
Reduce the granulated sugar by half and add 1-2 tbsp monk fruit sweetener for a lower-calorie option. The corn syrup can be omitted, but expect a slightly firmer texture. I find Swerve blends well without aftertaste.
Egg-Free Adaptation
Skip the egg yolks entirely for a simpler custard-free base. The result will be lighter but still creamy. To compensate, increase the heavy cream to 1 cup for richness. This works well for vegans if using plant-based cream.
Gluten-Free Assurance
This recipe is naturally gluten-free, as none of the ingredients contain wheat. However, check labels on vanilla extract and corn syrup—some brands use gluten-based additives. I trust McCormick and Karo for safe options.
Diabetic Considerations
Replace all sweeteners with erythritol or allulose—both measure like sugar. Use unsweetened almond milk and omit corn syrup. The texture may be slightly icier, but it’s a workable solution. 💪
Allergen Alerts
Contains dairy and eggs. For nut allergies, ensure all toppings like chocolate syrup are nut-free. Always clean equipment thoroughly to avoid cross-contamination with other allergens in your kitchen.
Nutrition Facts
Frequently Asked Questions
Can I make this without an ice cream maker?
Yes! Pour the chilled mixture into a shallow freezer-safe container. Freeze for 1 hour, stir well, then repeat every 30 minutes for 3-4 hours to break up ice crystals.
Why does my mixture turn icy?
This usually happens if the sugar content is too low or it freezes too fast. Ensure you use the full 0.75 cup sugar and stir during freezing. Adding 1 tbsp vodka can help prevent ice crystals.
How long does homemade ice milk last?
It stays fresh for 2-3 weeks in an airtight container. For best texture, let it soften at room temperature for 5-10 minutes before scooping.

Trained in classic French technique but raised on slow-cooked ribs and spicy rubs, she blends culinary skill with smoke and soul.
- Beef Brisket Rolls Recipe: Flaky Layers and Smoky Sweet Filling - October 15, 2026
- Masterbuilt Smoker Beef Brisket Recipe: Bark-To-Meat Ratio Hack for Unmatched Flavor - October 15, 2026
- Costco Beef Brisket Recipe: Low-and-Slow Masterpiece With Molasses-Kissed Crust - October 15, 2026