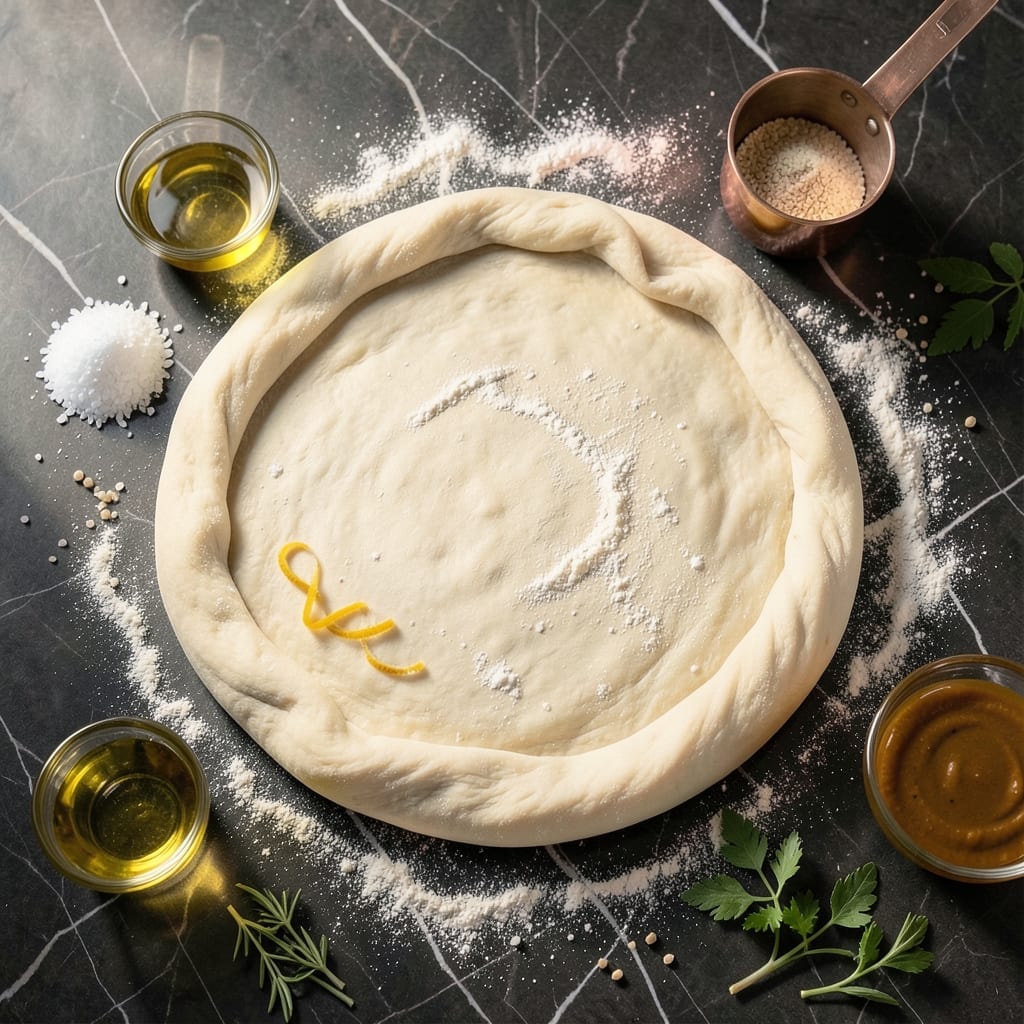
This overnight pizza dough recipe transforms your Ooni experience with minimal effort and maximum flavor. I developed this method after countless trials in my small Boston kitchen, focusing on the balance between convenience and authenticity.
The key is a slow fermentation in the refrigerator, allowing the dough to develop complex flavors while maintaining a manageable texture. This technique mimics traditional methods without requiring constant attention.
You’ll achieve a crust that’s crispy outside, airy inside, with the characteristic leopard-spotted bubbles that define wood-fired pizzas. The overnight rest ensures the dough is ready when you are.
Perfect for both beginners and experienced bakers, this recipe delivers professional results with simple ingredients and precise timing.
Ingredients for Ooni Pizza Dough Recipe Overnight
Simple ingredients yield wood-fired quality with overnight fermentation. Nothing exotic, just precision.
| Ingredient | Amount | Notes |
|---|---|---|
| Bread Flour 🌾 | 3 ½ cups | High-protein for chewy crust |
| Active Dry Yeast 🍞 | ¼ tsp | Instant yeast works too |
| Fine Sea Salt 🧂 | 1 ½ tsp | Diamond Crystal preferred |
| Granulated Sugar 💧 | 1 tsp | Feeds the yeast |
| Extra-Virgin Olive Oil 🫒 | 2 tbsp | For dough elasticity |
| Warm Water 💧 | 1 ¼ cups | 110°F to 115°F |
| Semolina Flour 🌾 | ½ cup | For dusting peel |
| All-Purpose Flour 🌾 | ½ cup | For dusting surface |
[recipe_ingredient_scaler]
The flour is non-negotiable. King Arthur Bread Flour delivers the right protein content for that chewy, airy texture characteristic of Neapolitan-style crusts. Yeast freshness matters—check the expiration date and store unopened packets in the freezer. Diamond Crystal sea salt dissolves evenly, avoiding hot spots in the dough. Warm water temperature is critical: use a thermometer for 110°F to 115°F to activate yeast without killing it.
No bread flour? All-purpose with 1 tbsp vital wheat gluten per cup gets close. Instant yeast can replace active dry at a 1:1 ratio—no proofing needed. For the olive oil, any high-quality extra-virgin works; avoid light or refined oils. The semolina for dusting prevents sticking while adding a subtle grit—cornmeal works in a pinch but alters texture slightly.
Dough ferments best in the coldest part of your fridge—usually the back of the bottom shelf. Keeps for 3 days refrigerated, or freeze portions for 1 month. Bring to room temperature before shaping for optimal stretch and minimal resistance.
Why You’ll Love This Recipe
- One Bowl Magic: I mix everything in a single bowl, let it rest overnight, and wake up to dough ready for my Ooni—no kneading, no fuss.
- Deep, Rich Flavor: The slow fermentation overnight gives it that complex, slightly tangy taste that bread flour and olive oil make irresistible.
- Weekend Ready: It’s my go-to for Friday movie nights or lazy Sunday lunches—just prep it the evening before and fire up the oven when guests arrive.
- Budget Stretcher: Five basic pantry staples, and I get enough dough for four pizzas—way cheaper than takeout and just as satisfying.
Step-by-Step Instructions for Ooni Pizza Dough Overnight
Master the overnight proof for a perfectly elastic, flavorful dough that handles like a dream.
Step 1: Activate the Yeast and Hydrate the Flour
In a large mixing bowl, combine the warm water, granulated sugar, and active dry yeast. Stir gently and let it sit for 5-7 minutes until the mixture becomes frothy and clouds form on the surface. This visual confirmation means the yeast is active and ready to work.
Add the 3.5 cups bread flour and 1.5 tsp fine sea salt to the bowl. Using a wooden spoon or dough whisk, mix until a shaggy dough forms. The dough will look rough and slightly sticky at this stage—that’s exactly what you want before kneading.
Step 2: Incorporate the Olive Oil and Knead
Pour in the 2 tbsp extra-virgin olive oil and continue mixing until it’s fully absorbed. Transfer the dough to a clean, lightly floured surface and knead for 8-10 minutes by hand, or 6-8 minutes in a stand mixer with a dough hook attachment.
The dough should become smooth, elastic, and slightly tacky to the touch. If it feels too sticky, resist the urge to add more flour—wet hands and patience will tame it. You’ll know it’s ready when it passes the windowpane test: stretch a small piece thinly between your fingers, and if light shines through without tearing, the gluten is properly developed.
Step 3: First Rise at Room Temperature
Lightly oil a clean bowl, place the dough inside, and cover it with a damp kitchen towel or plastic wrap. Let it rise at room temperature for 1-2 hours, or until it has doubled in volume. The dough should look puffy and jiggle slightly when gently shaken.
This initial rise kickstarts the fermentation process. The room temperature rise develops flavor and structure, while the overnight cold proof will enhance both even further. Don’t rush this step—underproofed dough will be dense and lack the airy pockets that make Ooni pizza crust special.
Step 4: Overnight Cold Proof for Maximum Flavor
After the first rise, punch down the dough to release excess gas. Cover the bowl tightly and refrigerate for 12-24 hours. The cold environment slows yeast activity, allowing for a long, slow fermentation that develops complex flavors and a perfect texture.
During this overnight proof, the dough will continue to rise slightly and develop the characteristic tang of wood-fired pizza crust. The next morning, you’ll notice the dough has a slightly sticky surface and a more relaxed structure—this is ideal for stretching.
Step 5: Divide, Shape, and Prepare for Stretching
Remove the dough from the refrigerator and let it sit at room temperature for 30-60 minutes to take the chill off. Turn it out onto a surface dusted with 0.5 cup all-purpose flour and divide it into 4 equal portions (about 250g each).
Shape each portion into a tight ball by pulling the edges toward the center and pinching them together. Place the balls on a tray dusted with 0.5 cup semolina flour, cover loosely, and let them rest for 30 minutes. This final rest makes the dough easier to stretch and ensures it holds its shape in the Ooni. The semolina prevents sticking while adding a subtle texture to the crust.
Pro Tips For Making Ooni Pizza Dough Recipe Overnight
- Proof in the Fridge: Let the dough cold-ferment in the fridge for 12-24 hours—this slow rise developes deeper flavor and a chewier texture. I learned this the hard way when my first few pies tasted flat and dense.
- Use Bread Flour: Skip all-purpose flour; bread flour’s higher protein content (12-14%) gives that elastic, stretchy texture you need for Ooni’s high-heat cooking. After burning three batches with the wrong flour, I finally figured out why my crust kept tearing.
- Salt the Yeast Properly: Keep the salt and yeast separate when mixing—direct contact can kill the yeast. I was skeptical until I tried it, but my dough rises consistently now.
- Oil the Bowl Lightly: Coat the bowl with just 1 teaspoon of olive oil before the first rise—enough to prevent sticking but not so much that it makes the dough greasy. Sounds weird, but it works.
Make-Ahead Tips for This ooni pizza dough recipe overnight
Prep Ahead of Time
The dough can be mixed and kneaded up to 2 days before you plan to bake. I often prep mine on Friday evening for Sunday pizza night in my cramped Boston kitchen. The flavors deepen the longer it rests in the fridge. 💪
Portion and Freeze
After the overnight proof, divide the dough into 4 equal balls as the recipe instructs. Wrap each tightly in plastic wrap, then place in a freezer bag. It freezes beautifully for up to 3 months. Thaw overnight in the fridge before using.
Room Temperature Rest
When ready to use frozen dough, transfer it from the freezer to the fridge the night before. The next day, let it sit at room temperature for 2-3 hours before shaping. This gradual thaw prevents texture issues.
Dough Ball Storage
If you’ve pre-portioned your dough but aren’t baking immediately, store the balls in an airtight container in the fridge. They’ll keep for 2-3 days this way. Dust with semolina flour to prevent sticking.
Ooni-Ready Timing
For the best results, take your dough out of the fridge 1 hour before you start your Ooni. This gives it time to warm up slightly, making it more pliable for stretching. I set a timer to remind myself when I’m prepping other toppings.
Emergency Fix
If your dough over-proofs in the fridge and looks flat, don’t panic. Shape it gently on a well-floured surface, then let it rest for 15-20 minutes before stretching. It will often recover beautifully. 💡
Nutrition Facts
Frequently Asked Questions
Can I use all-purpose flour instead of bread flour?
Yes, but add 1 tbsp vital wheat gluten per cup of all-purpose flour to boost protein. Bread flour’s higher protein creates better elasticity and chew, but this substitution works in a pinch.
Why does the dough need to rest before stretching?
A 30-minute rest relaxes the gluten, making the dough easier to stretch without snapping back. Skipping this can lead to uneven shapes and a tougher crust.
What if my dough doesn’t rise overnight?
Check yeast freshness first. If cold, let it sit at room temp for 1-2 hours to finish proofing. Old yeast or a fridge that’s too cold can slow fermentation.
Can I bake this dough in a regular oven?
Yes! Preheat to the highest setting (500-550°F) with a pizza stone. It won’t mimic Ooni’s wood-fired flavor but will still yield a crispy crust.

Trained in classic French technique but raised on slow-cooked ribs and spicy rubs, she blends culinary skill with smoke and soul.
- Beef Brisket Rolls Recipe: Flaky Layers and Smoky Sweet Filling - October 15, 2026
- Masterbuilt Smoker Beef Brisket Recipe: Bark-To-Meat Ratio Hack for Unmatched Flavor - October 15, 2026
- Costco Beef Brisket Recipe: Low-and-Slow Masterpiece With Molasses-Kissed Crust - October 15, 2026